How to Make a Concrete Planter with a Silicone Mold
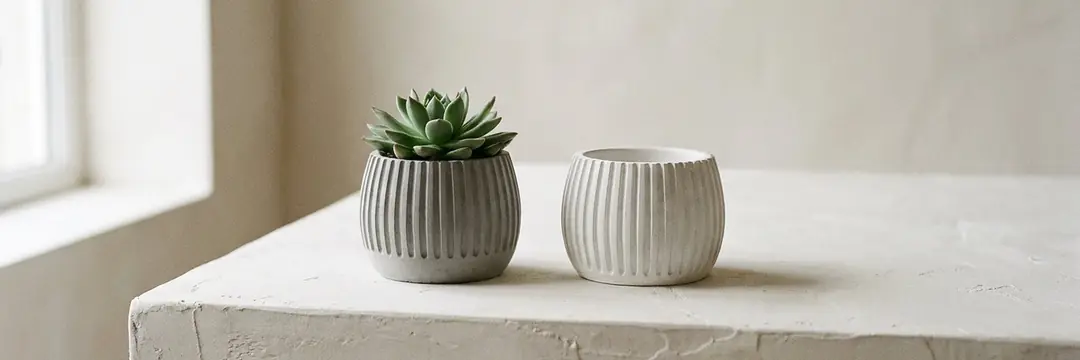
Making a concrete planter is an afternoon's work with the right mold and the right mix. But for a planter that doesn't crack, doesn't retain water and doesn't harm the plant, you need to follow a few rules. In this guide we walk you through a silicone-mold concrete planter gram by gram, including the drainage hole and the 28-day cure.
In short
- Our calculator works out the powder and water you need for your mold.
- Pigment is capped at 10% of the cement weight; color usually saturates at 5–6%.
- Tap or vibrate the mold to release bubbles, and apply the release agent in a very thin coat.
- Open the drainage hole with a pipe while pouring, or drill it after curing: gravel is no substitute for a hole.
- Concrete reaches about a third of its strength in 24 hours and full strength in 28 days.
- Wet cement is alkaline: never work without gloves, goggles and a dust mask.
In this guide
- Concrete planter materials
- Which mortar? Concrete, stone powder
- Concrete planter mix: water-to-powder ratio
- How to color a concrete planter
- Concrete planter with a silicone mold, step by step
- How to make a drainage hole
- How many hours does concrete stay in the mold? Demolding and curing
- Painting, waterproofing and getting it ready for plants
- Cracks, bubbles, breakage: fixes
- Frequently asked questions
Concrete planter materials
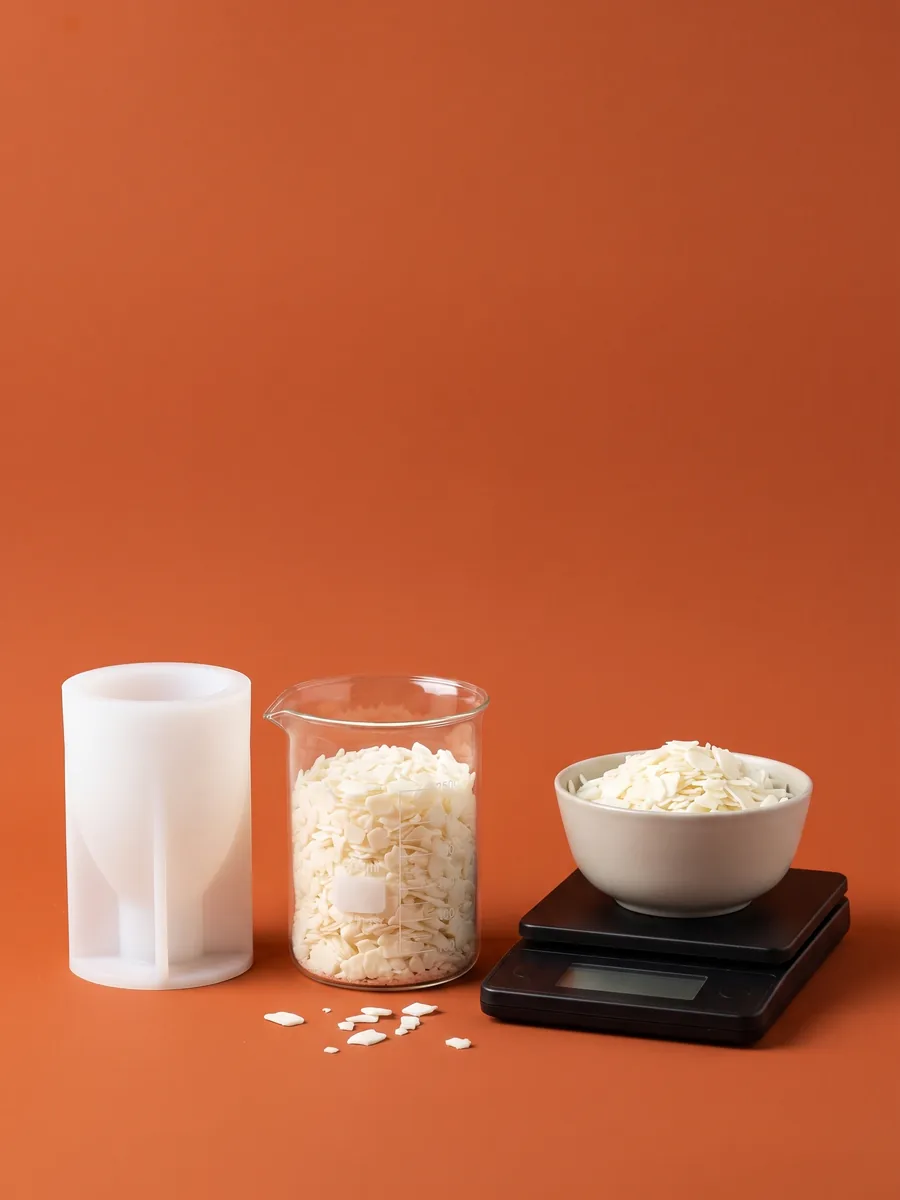
You don't need a workshop to make a concrete planter in a silicone mold, but three things are a must: a good mold, a scale and protective gear. Wet cement is alkaline, so never work with bare hands.
The outer mold and the part that forms the inside of the planter. Large molds come with plastic support pieces to hold their shape.
Concrete planter moldsFine-grained ready-mix casting concrete, or a mix of cement and fine sand. Concrete with coarse gravel won't reach the detail in a silicone mold.
A kitchen scale with 1 g precision is enough to weigh the mortar and the water in grams.
Precision scaleWaterproof gloves, safety goggles and a dust mask when working with dry powder.
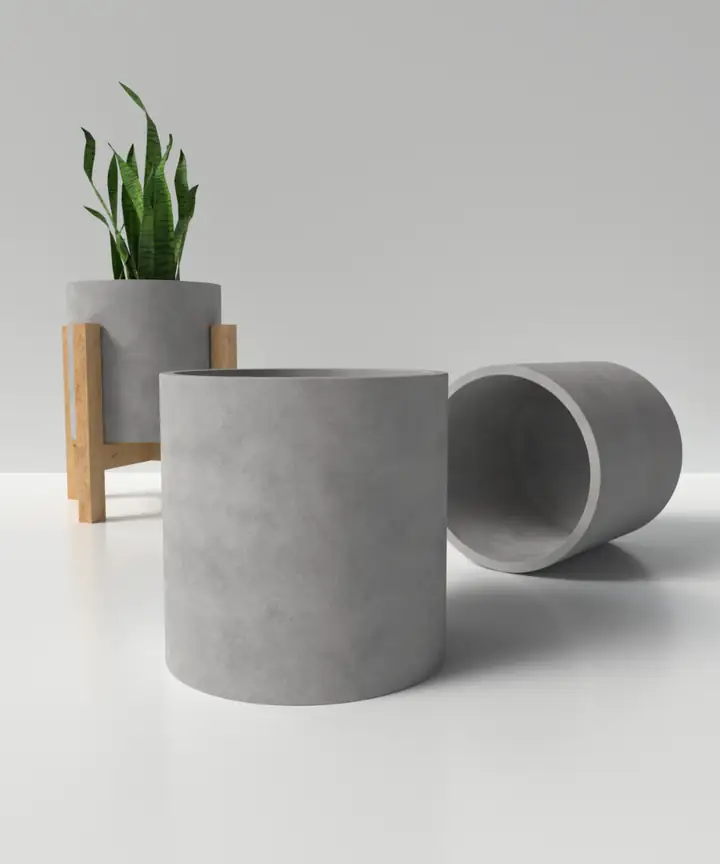 Large Cylinder Planter MoldView
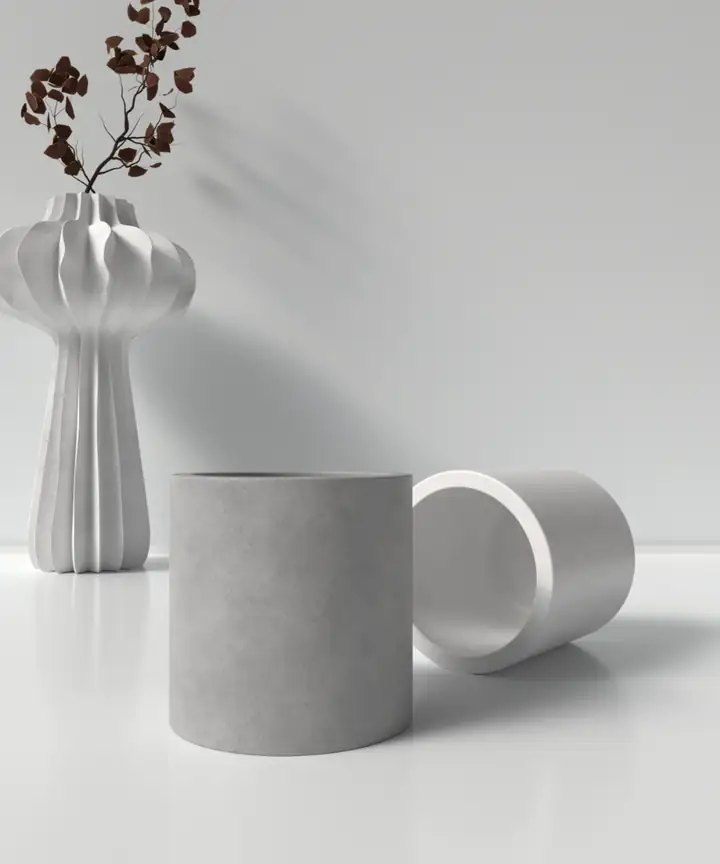 Cylinder Planter / Candle Holder Mold - K12View
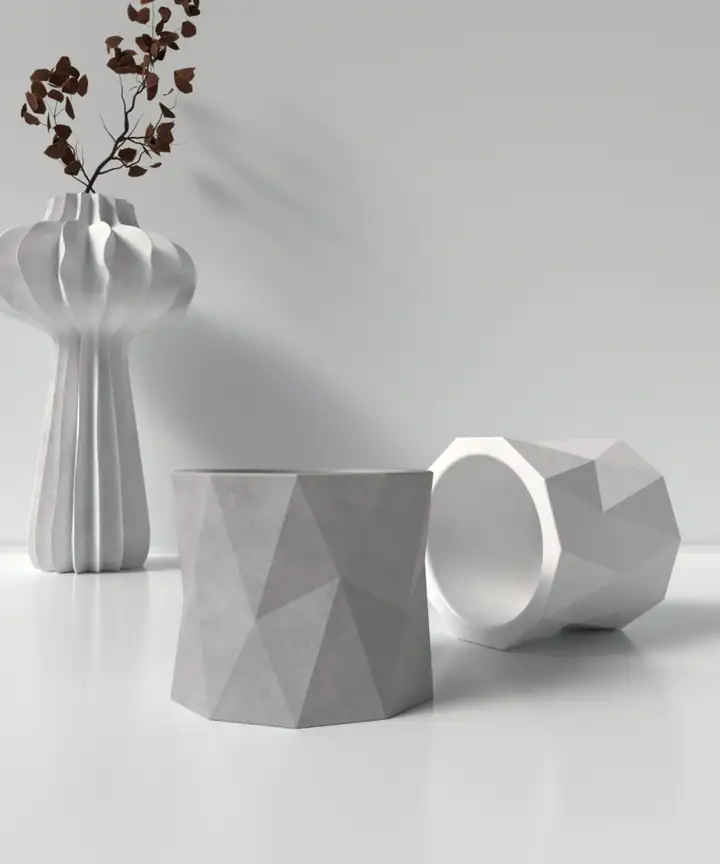 Geometric Planter / Candle Holder Mold K11View
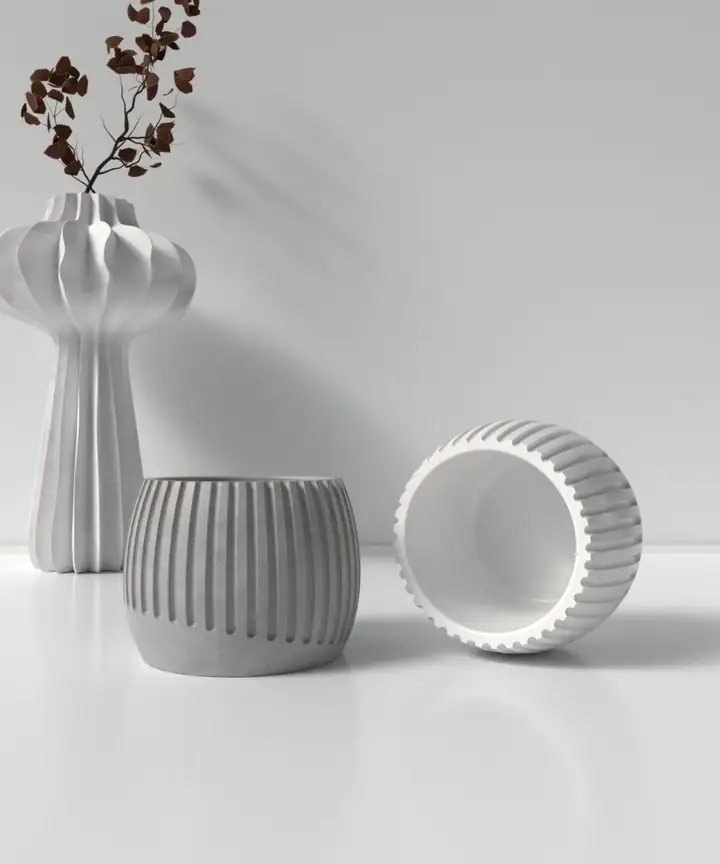 Patterned Planter / Candle Holder Mold K10View
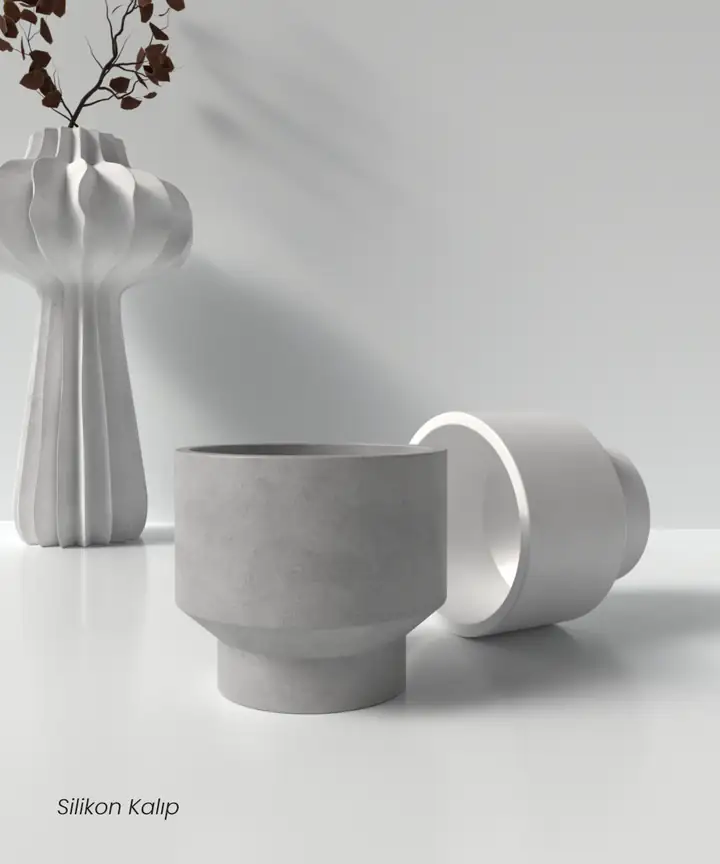 Bowl Candle Holder / Planter Mold M1View
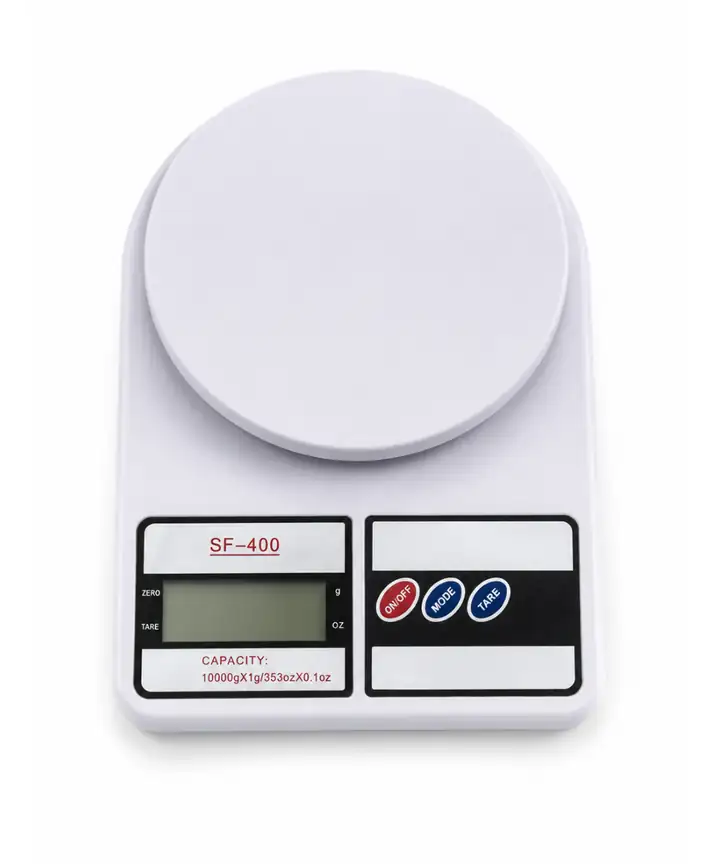 Electronic Precision Digital Kitchen Scale 1 g – 10 kgView
Which mortar? Concrete, stone powder
Our silicone planter molds are suitable for casting concrete, stone powder, plaster. But not every material is equally good for a planter: it gets wet all the time, carries the weight of the soil and often sits in the sun.
| Cement-based concrete | Stone powder (mostly plaster-based) | |
|---|---|---|
| Mix | Water ratio on the bag | Ratio on the package |
| Release from the mold | Hours for fast-setting mortar, at least 18 hours for regular mortar | Depends on the product |
| Water resistance | Durable after curing | Not suitable for constant wetting |
| For planters | Best option | Dry plants and decor |
We explained the difference between stone powder and plaster in our how to use stone powder post. The rest of this guide is about cement-based concrete.
As we note in our mold use and care guide, concrete shouldn't stay in the mold longer than necessary. Fast-setting casting concretes that demold in a few hours speed up your work and protect the life of the mold.
Concrete planter mix: water-to-powder ratio
The most important number in a concrete planter mix is the water ratio. Too much water weakens the concrete and leaves voids inside; too little keeps the mix from reaching the detail. Follow the ratio on the bag, and weigh both the powder and the water on the scale.
Our calculator works out the powder and water you need for your mold.
| Mold | Object size | Mortar powder | Mixing water |
|---|---|---|---|
| Cylinder Planter K12 | 9 × 9 cm | ~306 g | ~86 g |
| Bowl Planter M1 | Ø 8.7 × 10 cm | ~347 g | ~97 g |
| Geometric Planter K11 | Ø 10.5 × 8.5 cm | ~406 g | ~114 g |
| Patterned Planter K10 | Ø 10 × 7.5 cm | ~425 g | ~119 g |
| Large Cylinder Planter | Ø 20 × 20 cm | ~2,400 g | ~672 g |
Values are approximate; prepare 10% extra to allow for loss while pouring.
In finely patterned silicone molds, the concrete is prepared slightly more fluid than usual so it fills every recess, and the mold is vibrated. But every extra bit of water takes away strength; if you can, use a plasticizer additive instead of adding water.
How to color a concrete planter
There are two ways to color concrete: color the mix, or paint the surface after curing. For coloring the mix, iron oxide pigments made for concrete and mortar are used; the amounts are limited by the US standard ASTM C979.
The pigment ratio is calculated from the cement in the mix, not from the total mortar. Pigment added beyond saturation doesn't darken the color; it only adds cost. Add the pigment to the mixing water and disperse it, then add the powder; pigment thrown onto dry powder spreads in patches. If you don't know the cement content of a ready-mix, start with a little pigment and make a small test pour. White cement gives a cleaner color in pastel shades.
Don't
Mixing acrylic paint into fresh concrete, using granule candle dye (it dissolves in wax, not in water), or pushing the pigment above 10% to make the color darker.
Do
Add the iron oxide pigment to the mixing water, check the shade on a dried test piece, and leave surface painting until after the cure.
Concrete planter with a silicone mold, step by step
- 1
Protect yourself and get ready
Put on waterproof gloves, goggles and a dust mask. Cover your work area and set the mold on a flat, sturdy surface.
- 2
Prepare the mold
The mold should be clean and dry. If you use a release agent, apply a water-based one in a very thin coat and wipe off the excess; built-up release agent leaves small voids on the surface. Place the inner piece and the support pieces.
- 3
Weigh
Weigh the mortar powder and the water separately. If you use pigment, add it to the water and disperse it well.
- 4
Stir
Add the water to the powder slowly and mix until there are no lumps and the consistency is smooth. Don't prepare more than you can pour in 30 minutes.
- 5
Pour in layers
Pour the mix in a thin stream from the edge of the mold. When the mold is half full, tap it to release the air, then finish filling. Leave no gaps at the base or in the corners.
- 6
Release the bubbles
Tap the sides of the mold, strike the table with a rubber mallet, or rest a sander against the mold to vibrate it. Keep going until no more bubbles come to the surface.
- 7
Open the drainage hole
If the mold has no hole pin, press a plastic pipe wrapped in tape through the fresh concrete at the base down to the bottom of the mold.
- 8
Cover and let it rest
Cover the top of the mold with plastic and leave it untouched for the time given on the mortar's package. The cover keeps the surface from drying early and cracking.
- 9
Demold and cure
Peel the mold off the planter and wash the mold right away. Cure the planter by keeping it damp for 5–7 days; finish the sealing steps before planting.
Wet cement is alkaline and irritates the skin; it must not splash into your eyes. Wear waterproof gloves and safety goggles, and use a dust mask when mixing dry powder and sanding dried concrete. Don't use aluminum cans as molds; alkaline cement reacts with aluminum. Keep children and pets away from the work area.
How to make a drainage hole
If there's no hole in the bottom of the planter, excess water has nowhere to go. A commonly repeated tip is to skip the hole and lay gravel on the bottom; this doesn't work. Gravel doesn't give the water a way out, the water still collects at the bottom of the planter, and the roots stay in the wet zone. A concrete planter needs a drainage hole.
Press a plastic pipe into the fresh concrete at the base until it touches the bottom of the mold. Once the concrete starts to harden, turn it gently so it comes out easily. Wrapping the pipe in tape or applying water-based release agent is enough.
Some planter molds have a hole pin in the base; the concrete is poured around the pin and the hole forms by itself.
When the cure is done, drill with a masonry bit at low speed and without hammer action. Rest the planter on a board and wet the spot you're about to drill.
Old recipes oil the rod. Don't use oil or petroleum jelly on a silicone mold; oil-based release agents can swell and soften silicone. Wrap the pipe in tape or use a water-based release agent.
How many hours does concrete stay in the mold? Demolding and curing
The answer depends on the mortar. With fast-setting cements, the set can finish in 15–20 minutes and the piece comes out of the mold in a few hours. For a regular mortar the manufacturer recommends waiting at least 18 hours; older data sheets say 48–72 hours. Go by the time on the package, but once the concrete has hardened enough, don't leave it in the mold longer than necessary.
The values come from the data sheet of a bench-top concrete. Cover the demolded planter with plastic and keep it damp by misting with water whenever the surface dries: 5 days at 21 °C and above, 7 days between 10–21 °C.
Painting, waterproofing and getting it ready for plants
If you plan to use live plants after casting, compare inner pots, drainage and preparation for the first watering in our guide to planting in concrete pots.
What paint do you use on a concrete planter?
Paint after curing is complete and the surface is fully dry. Water-based acrylic or exterior paints adhere well to concrete. Half-dipped finishes, painted bases or fine-brush geometric patterns highlight its texture. Apply a waterproofing product, rather than paint, to the interior in constant contact with soil and water. Compare pigments, surface paints and topcoats in our guide to painting stone powder and concrete.
How do you waterproof a concrete planter?
Concrete is porous and absorbs water. There are two kinds of sealer. Acrylic, film-forming sealers can be applied once the concrete has hardened. Silane and siloxane-based sealers that penetrate the concrete, on the other hand, generally wait for the full cure, about 28 days. A film-forming sealer applied too early traps the moisture in the concrete and can leave a white haze on the surface.
Before planting
Fresh concrete is alkaline and may release lime into the soil. Some maker guides recommend soaking the planter in water for a few days before planting, or rinsing it with a hose and changing the water daily; others recommend sealing the inside. These suggestions are largely based on experience; check material suitability separately for sensitive plants. Placing a plastic nursery pot inside is the most reliable approach.
Cracks, bubbles, breakage: fixes
Bubble holes on the surface
The planter cracked
An edge broke while demolding
White haze on the surface
Frequently asked questions
Which cement or mortar should I use for a concrete planter?
For a silicone mold, use fine-grained ready-mix casting concrete or a mix of cement and fine sand; concrete with coarse gravel won't reach the detail. Fast-setting casting concretes demold in a few hours and protect the life of the mold.
How do you make concrete planter mix, and what should the water ratio be?
Our calculator works out the powder and water you need for your mold.
How many hours does concrete stay in the mold?
It depends on the mortar: a few hours for fast-setting concretes, at least 18 hours for regular mortar. Go by the time on the package, and don't leave the concrete in the mold longer than necessary.
How do you make a drainage hole in a concrete planter?
While pouring, press a plastic pipe wrapped in tape from the fresh base down to the bottom of the mold, or after the cure, drill with a masonry bit in non-hammer mode. Putting gravel at the bottom is no substitute for a hole.
How do you paint and waterproof a concrete planter?
After the cure is done and the surface is dry, use water-based acrylic paint. Acrylic sealers go on once the concrete has hardened; silane and siloxane sealers that penetrate the concrete go on after about 28 days.
How do you make a concrete planter that won't break?
Don't add extra water, prepare the mix by weighing, vibrate the mold to remove voids, and cure the planter damp for 5–7 days. Concrete reaches about two-thirds of its strength in 7 days and full strength in 28 days.
Stone powder or concrete?
Concrete is better suited to planters; it resists water after curing. Most stone powders are plaster-based: they give fine detail and a white surface but aren't suitable for constant wetting, so they're better for dry decor and scented stones.
Your planter starts in the mold
Cylinder, geometric, patterned and bowl planter molds; made in our own workshop, in silicone. Ships in 1–3 business days.