How to Paint Stone Powder, Concrete and Plaster

Color stone powder by adding a compatible pigment before casting or applying suitable paint to the fully dried object. Follow both material and coating instructions and check the result on a small sample.
In short
- Pigment colors the body; surface paint colors the outer layer. They are different materials.
- Sealing does not automatically make a candle holder fireproof or suitable for constant water exposure.
Should you pigment or paint stone powder castings?
Do not assume the result
Adding an arbitrary paint can change the water ratio and casting behavior. Do not expect the same pigment weight to produce the same color in every material.
Choose the method for the purpose
Use compatible pigment for a solid-colored body; consider surface painting after curing for patterns, lines or two-tone effects. Make a small sample first.
Pigment colors the casting through its cross-section; paint covers only the areas where it is applied. This matters when assessing edge wear and the final look. Paint selected areas of a textured planter if you want to keep its relief visible, but assess decorative choices separately from water resistance.
This guide covers color and finishing. For casting ratios see how to use stone powder; for cement mixes see making concrete planters. Cage Art Studio does not sell paint, pigment, sealer or stone powder; we offer silicone molds for these projects.
What paint works on stone powder, concrete and plaster?
| Material | Coloring the mix | Surface and finish |
|---|---|---|
| Stone powder | Compatible pigment recommended for the product | Test suitable acrylic paint and sealer on a dry sample |
| Concrete | Mineral pigment suitable for cement | Concrete paint; assess water-contact coatings separately |
| Plaster | Pigment compatible with the plaster system | Suitable primer and paint after drying |
| Scented stone | Colorant recommended for the base material | Also test fragrance use on the sample |
Water-based does not guarantee compatibility. The paint label should specify mineral substrates, indoor or outdoor use and primer needs. With plaster, first check that the piece is dry. If the exact material on the package is unknown, do not choose technical ratios from the name stone powder alone.
How much pigment should you add?
Follow the manufacturer's weighing definition. Disperse pigment in the liquid before adding powder; extra pigment does not necessarily make a deeper black.
Concrete pigment may use a different calculation basis: the sources use cement weight, not total mortar. Use the pigment supplier's advice and the cement quantity. With sand, water and additives in the mix, total batch weight alone cannot determine the dose.
There is no single verified pigment ratio for all stone powder or plaster. Test a small batch and record the pigment, grams and material lot. Wet pieces can look darker; choose the color from a fully dry sample. Weigh rather than using spoons or drops to reproduce the shade.
How long should you wait before painting?
Demolding, drying and curing are different milestones. Meet the paint's dryness requirements. Thick bases, surroundings and airflow affect waiting time.
Some concrete coatings can be applied earlier; others require full curing, with examples around 28 days in the research. This is not a universal schedule. Read both casting and coating instructions. A film over a damp surface may develop haze or adhesion problems.
How do you paint a finished casting?
- 1
Identify the material
Add the stone powder to the water slowly and stir until no lumps remain. Record the exact stone powder, plaster or concrete product. Check that paint and sealer suit it, and read package instructions for drying and application.
- 2
Wait for curing and drying
A demolded piece is not necessarily ready. Let the casting cure and reach the dryness required by the paint maker; do not rush it with direct heat.
- 3
Prepare the surface
Remove loose dust and correct the surface as the material instructions allow. Check the paint data for primer requirements; do not try to strengthen a cracked piece with paint.
- 4
Paint a sample
Try the color on a small piece from the same casting. Apply thin, even paint and follow the stated interval between coats. Judge the dry shade under the lighting where it will be used.
- 5
Test the sealer
After the paint dries, seal the sample with a compatible product. Check darkening, gloss and brush marks; let the finish cure before treating the whole object.
- 6
Check the intended use
Decorative objects, planters and candle holders have different conditions of use. Expose a piece to water or heat only when its material and coating system permit it; label it and keep the recipe.
An overloaded brush can fill fine details. Coat count depends on coverage, absorbency and product instructions, not a universal rule. Seal half a sample and leave half bare to see the color change. This home comparison is not a strength or safety certificate.
How do you seal stone powder?
Remove excess before it builds up and follow drying instructions between coats. Controlled thin layers make buildup easier to manage than one heavy coat.
For scented stones, consider both the appearance and where fragrance will be applied. Local sources do not prove that all sealers completely block scent. Compare coated and uncoated samples under identical conditions instead of making a blanket claim. Base preparation is in making scented stones.
Can you safely use a tealight in a painted holder?
Painting a holder does not replace heat-suitability testing. Assess the coating's heat limit separately; do not use an object of unknown suitability with a burning candle.
A tealight's metal cup does not automatically protect the paint or sealer underneath. Its base can heat up even away from the flame. Use a sound, stable, heat-suitable holder system; stop if you notice cracks, softened coating or unusual odor. See making stone powder candle holders for the design stage.
What causes brush marks, blisters and uneven color?
Do not cover brush marks with an immediately thicker coat. Check surface preparation, drying intervals and the recommended tool. Isolate a blistered or sticky sample instead of hiding the problem with paint. For cracked castings, first check why stone powder cracks.
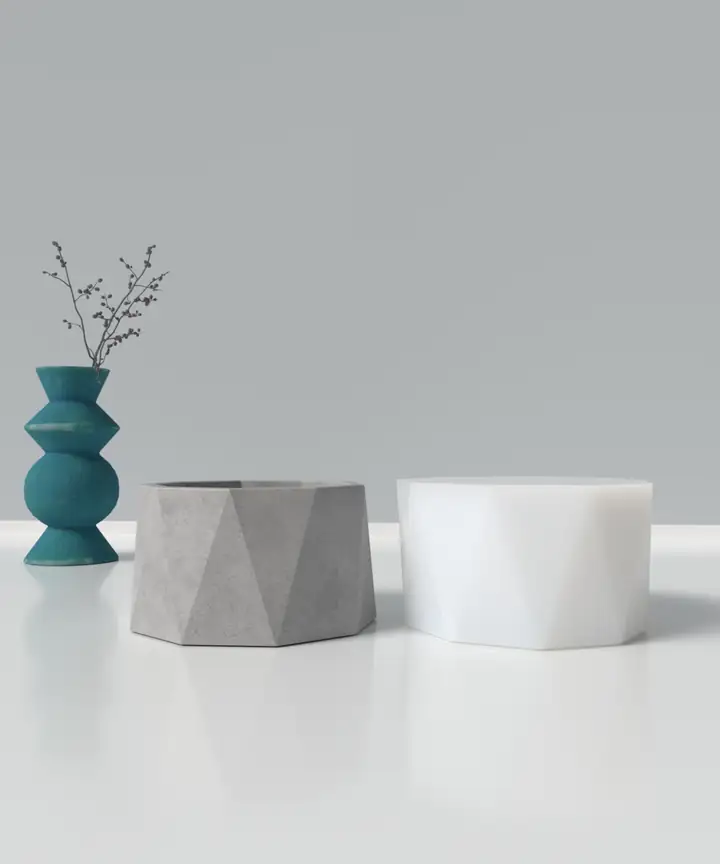 Concrete Planter Mold - K1View
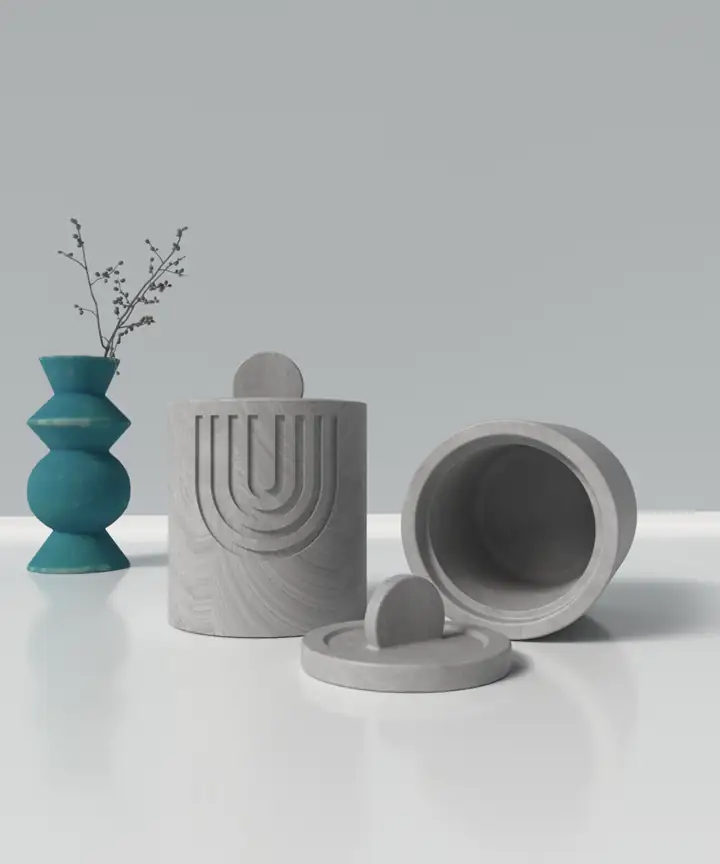 Patterned Concrete Planter Mold M1View
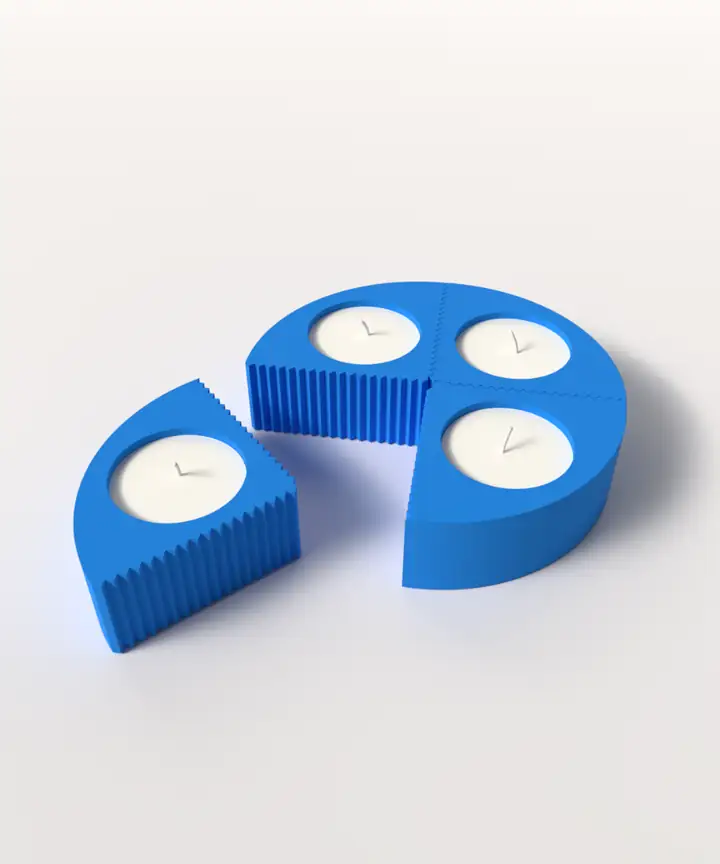 Concrete Tealight Holder Mold - H4View
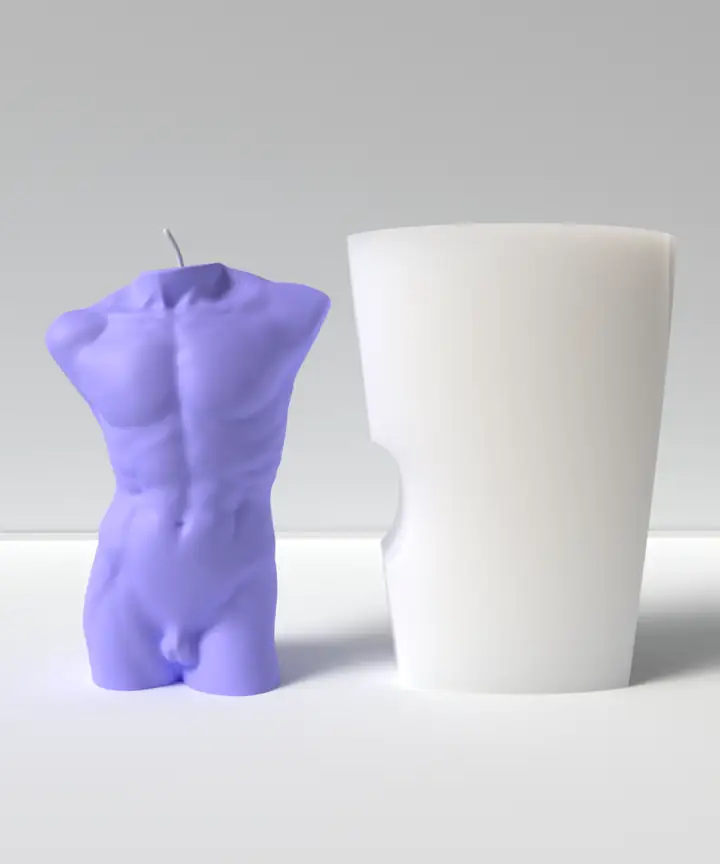 Male Bust Silicone MoldView
What are common questions about painting stone powder?
What paint should you use on stone powder?
Acrylic craft paints compatible with the casting material can be used on a fully dry surface. Stone powder comes in different formulas; confirm compatibility and primer requirements with the paint manufacturer.
Can you add candle dye to stone powder?
We do not recommend using granular candle dye instead of pigment for stone powder or concrete. Choose a pigment compatible with the mineral mix and a suitable paint for the surface.
Can you seal scented stones?
First test the compatibility of the scented casting material and coating on a sample. We cannot say that varnish will completely block the scent or leave it unchanged; assess scent release and appearance separately.
Does sealer make a candle holder fireproof?
No. A tealight’s metal cup also heats up; the heat suitability of the paint, sealer and casting material must be assessed together.
Choose the shape you want to paint
Explore silicone molds for planters, candle holders and sculptures.