Making Concrete and Plaster Candle Holders: Mold, Mix and Paint

Making concrete candle holders starts with the same material as a concrete planter, but it faces a different test: a flame will burn on it. In this guide we cover casting tealight, candlestick and lidded candle holders in silicone molds; choosing between concrete and plaster; heat safety; and sanding, paint and polish for a gift-ready finish.
In short
- The most durable material for a candle holder is cement-based concrete; plaster is decorative but heat sensitive.
- Always use the tealight in its metal cup; the flame and hot wax should not touch the concrete or plaster directly.
- A small mold takes little material, and our calculator works out the powder and water you need for your mold.
- Concrete takes 28 days to reach full strength.
- Never leave a burning candle unattended, and keep it at least 30 cm away from flammable items.
In this guide
- Concrete or plaster for a candle holder?
- Tealight, candlestick and lidded candle holder molds
- Candle holder mix ratio and gram calculation
- Making a concrete candle holder step by step
- Heat safety: how do you put a candle in a holder?
- Sanding, painting and polish
- Gift candle holders: finishing touches and packaging
- Common problems and fixes
- Frequently asked questions
Concrete or plaster for a candle holder?
A candle holder is a small piece, but it carries a different load than a planter: heat. In our how to make a concrete planter guide we talked about resistance to water and soil; here the yardstick is how the material behaves next to a flame.
| Concrete | Plaster or stone powder | |
|---|---|---|
| Heat resistance | Most durable; still, the flame should not touch it directly | Loses its crystal water in heat and weakens |
| Look | Gray, textured, heavy | White, fine detail, light |
| Release from the mold | A few hours in rapid-set mortar | Sets in 15–25 minutes |
| Sanding and polish | After curing | After fully dry |
| Best use | Tealights and candlesticks, everyday use | Decorative, gifts |
Plaster's sensitivity to heat is no minor detail: plaster manufacturer USG gives 49 °C as the safe drying temperature for plaster molds; above this, plaster begins to lose its water of crystallization, weakens and becomes powdery. This is why the flame and hot wax pool must not touch the plaster in a plaster candle holder. We explain the difference between stone powder and plaster in our stone powder guide. If you plan to use this material, follow the stone powder candle holder instructions; for cracks and breakage, see the why stone powder cracks checklist.
Tealight, candlestick and lidded candle holder molds
Candle holder molds fall into two families: molds with a tealight recess, and molds with a hole for a thin, tall taper candle. Lidded models are boxes that hold a candle or store small items. Sizes are taken from our product pages.
- Concrete Tealight H4
- 6.7 × 6.7 × 3 cm
- Large Tealight H3
- 18 × 6 × 3 cm
- Recess
- Ø 4.4 cm, 2.2 cm deep
- Geometric Candle Holder
- 6 × 7.2 or 6.5 × 8 cm
- Candle Holder Mold
- 8 × 23 cm
- Candle hole
- Ø 2.2 cm
- Minimal Candlestick Holder
- 5, 8 and 11 cm tall
- Geometric Candlestick Holder
- 9 × 9 × 3 cm
- Candlestick Holder, Set of 2
- 8.6 × 6.4 and 8.2 × 5.1 cm
- Lidded Square K23
- 9 × 6 cm
- Lidded Candle Holder Planter K17
- Ø 9 × 8 cm
- Use
- A box for a candle, matches or jewelry
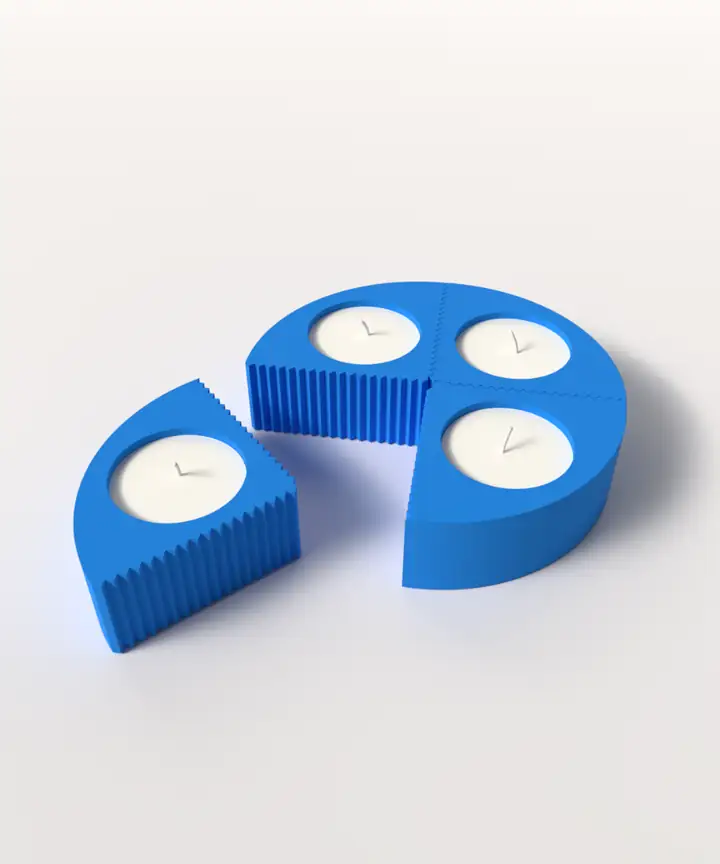 Concrete Tealight Holder Mold - H4View
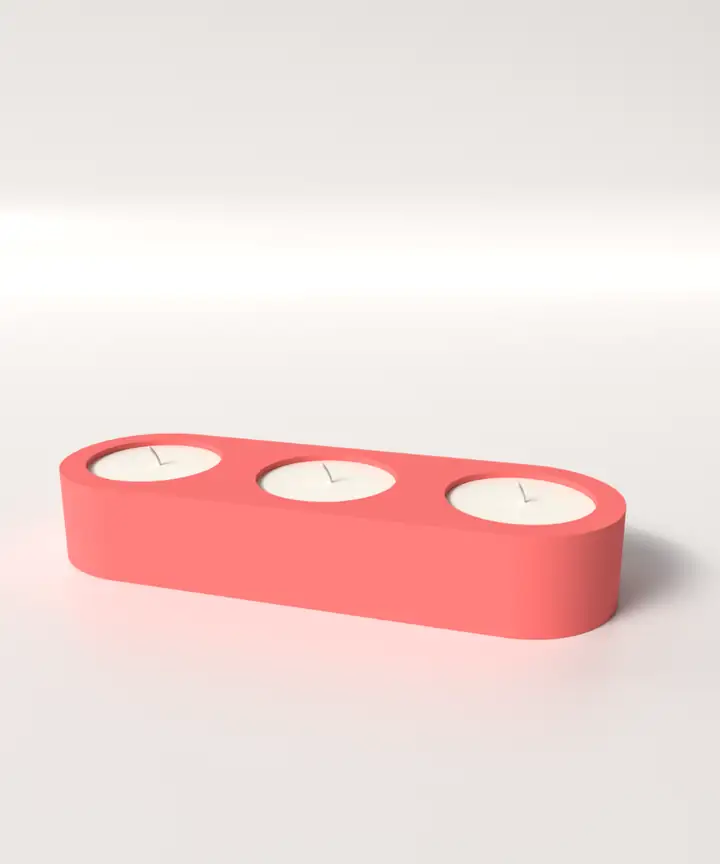 Large Tealight Holder Mold - H3View
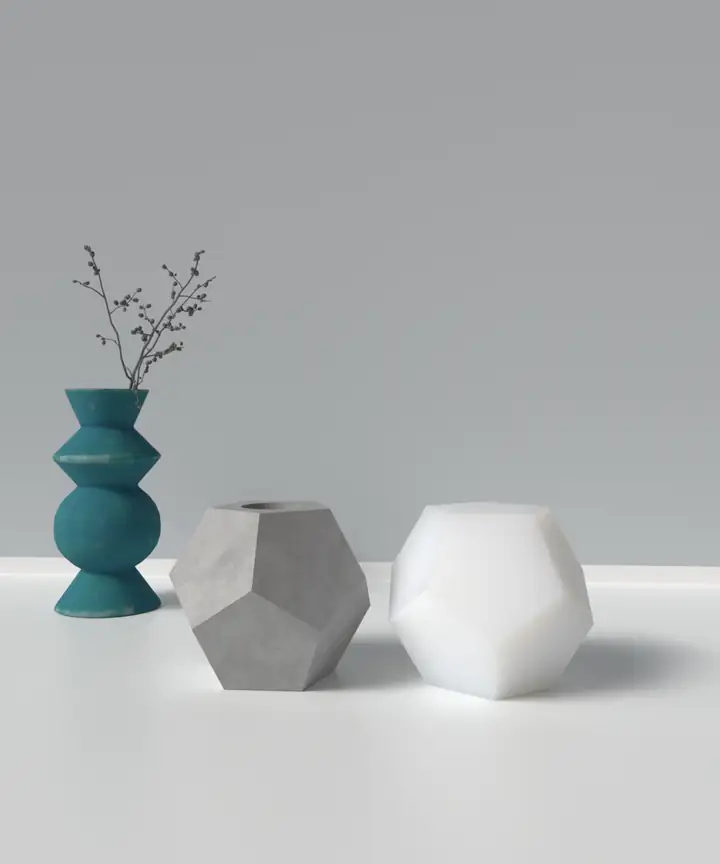 Geometric Candle Holder MoldView
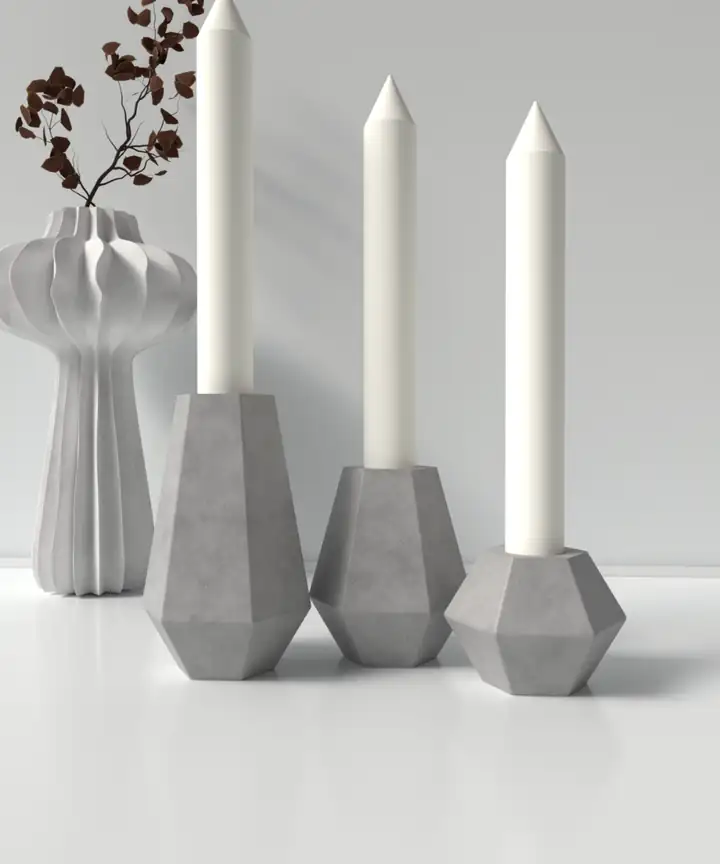 Minimal Candlestick Holder Silicone MoldView
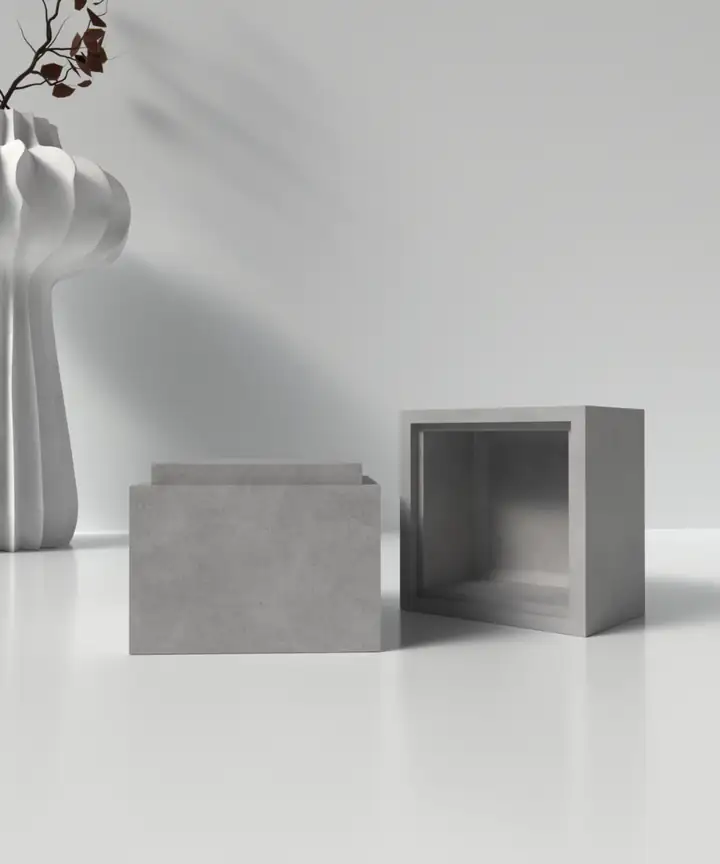 Lidded Square Candle Holder Mold K23View
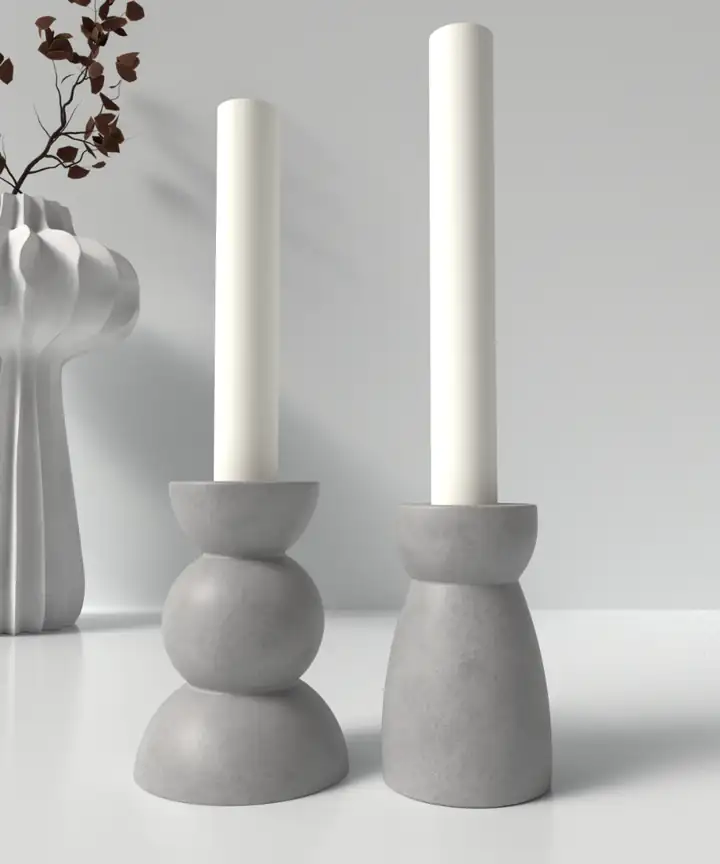 Candlestick Holder Mold, Set of 2View
The 2.2 cm hole is for thin, tall taper candles: the candle should fit snugly and stand upright. If it is loose, drip some melted wax into the bottom of the hole to hold the candle in place.
Candle holder mix ratio and gram calculation
The most common mistake with candle holders is preparing more mortar than needed. Because the mold is small, a difference of a few grams shifts the ratio; a scale is a must. First find the volume of the mold: fill the mold with water and weigh the water, or divide the wax capacity on the product page by 0.82. The H4 tealight mold's wax capacity of ~64 g means a volume of about 78 ml. Then calculate for your material:
| Material | Ratio | H4 tealight mold (~78 ml) |
|---|---|---|
| Concrete (our calculator) | Calculated for your mold by our calculator | See our calculator |
| Casting plaster | 65–70 g water per 100 g powder (USG) | ~75 g powder + ~50 g water |
Our calculator works out the powder and water you need for your mold. Add a 10% margin on top. You can also do the calculation in the concrete mode of our Calculator page.
In concrete, iron oxide pigment must be at most 10% of the cement weight; most pigments saturate at 5–6%. Candle dye chips don't dissolve in water; don't use them in concrete or plaster.
Making a concrete candle holder step by step
- 1
Prepare the mold
Wash and dry the mold and set it on a flat tray. Check that the protrusion that forms the tealight recess or candle hole sits level.
- 2
Protect yourself
Wear gloves and goggles; use a dust mask when working with dry powder. Don't breathe cement and plaster dust.
- 3
Weigh and mix
Weigh the powder and water according to the table and add the pigment to the water. With concrete, add the water to the powder slowly; with plaster, sprinkle the powder over the liquid. Aim for a lump-free, flowing consistency.
- 4
Pour and tap
Pour the mixture from one corner of the mold in a thin stream. In small molds, bubbles end up on the directly visible surface; after pouring, tap the mold lightly for a minute or two and poke the corners with a stick.
- 5
Level the base
The mouth of the mold is the base of the candle holder. Scrape off the excess mix with a spatula and level the surface; otherwise the candle holder wobbles.
- 6
Let it set
Cover the mold. Rapid-set concrete waits as long as the packaging says, and plaster waits until it has finished setting and its heat has passed.
- 7
Demold
Slowly peel the mold off the piece. With candlesticks that have thin edges, open the mold by flexing it from the bottom, not from the edge.
- 8
Cure and dry
Cure concrete by keeping it damp for 5–7 days, and dry plaster in a shaded, airy place. The candle holder should not be used while there is still moisture in it.
Heat safety: how do you put a candle in a holder?
No matter how beautiful a candle holder is, a flame burns on it. These rules protect both the holder and your home:
Always put the tealight in the recess in its metal or glass cup. Don't pour cup-free wax into a concrete or plaster recess; melted wax seeps into the pores and the heat passes straight into the material.
A thin, tall candle should fit snugly in the hole and stand upright. Put the candle out before the flame gets near the mouth of the holder.
Only in fully cured, dried concrete that is sealed inside. It is safer to pour the candle into a glass or metal container that fits inside. Don't pour candle wax into plaster containers.
Put the candle holder on a flat, heat-resistant surface. Stick felt on the base; concrete scratches furniture.
Never leave a burning candle unattended. Keep it at least 30 cm from flammable items such as curtains, books and furniture, and at least 7.6 cm from other candles. Don't burn it for more than 4 hours at a time; let it cool for at least 2 hours before lighting it again. Keep it away from children and pets.
For all the rules on burning a candle correctly, see our how to burn a candle article. If you will pour your own candle into a lidded holder, our soy candle making guide covers the temperatures and wick choice for container candles.
Sanding, painting and polish
Sanding
A demolded candle holder can have flash and sharp edges. Sand concrete after the curing period. Work from coarse to fine; wear a mask so you don't breathe the dust, or work with the surface lightly dampened. Moving the base of the candle holder in circles on flat sandpaper cures wobbling.
Painting
Paint once the surface is completely dry. Water-based acrylic paint adheres well to concrete and plaster. Half-painting, thin gold lines, gold leaf or a single matte color bring out the concrete texture. Leave the inside of the tealight recess and candle hole unpainted; paint can blister on a surface that heats up.
Don't do this for a marble effect
Mixing the two colors completely in the same cup: you get a single in-between shade.
Do this instead
For two colors, prepare two small batches, pour both into the mold at the same time and swirl once or twice with a stick. The veins show on the surface of the mold.
Polish and sealing
Polish protects the paint and makes wax drips easy to clean. On concrete, an acrylic sealer can be applied once the concrete has hardened; penetrating sealers wait about 28 days. Sealing plaster reduces dusting and makes the surface wipeable.
Gift candle holders: finishing touches and packaging
A gift candle holder gains value from its finish as much as from its material.
Present the candle holder with a tealight or taper candle and a small scented stone; match the colors to one another.
Making scented stonesWrite the material, care and safe burning rules: don't leave it unattended, keep it away from flammable items, use the tealight in its cup.
Concrete is heavy and its corners can break. Wrap the candle holder in paper and put it in a padded box; wrap the candle separately so the wax doesn't stain the concrete.
Stick felt on the base, check for flash, and wipe the surface with a dry cloth to remove dust.
If you're making a batch for engagement events or Teachers' Day, take a look at our gift candle ideas article, and if you're thinking of selling, our making and selling candles at home guide.
Common problems and fixes
The candle holder wobbles
Edges crumbled or broke
Small holes on the surface
Wax or oil stain
The plaster candle holder cracked or is dusting
Frequently asked questions
Is concrete or plaster better for a candle holder?
For a candle holder used with a candle, concrete is more durable. Plaster gives fine detail and a white surface but weakens in heat; with a plaster candle holder, always use the tealight in its metal cup and don't let the flame touch the plaster.
What is the mix ratio for a concrete candle holder?
Go by the ratio on the packaging. Our calculator works out the powder and water you need for your mold.
How many hours does a concrete candle holder stay in the mold?
A few hours with rapid-set casting concrete, and at least 18 hours with regular mortar. Plaster sets in 15–25 minutes.
Can you pour candle wax directly into a concrete candle holder?
Only into fully cured, dried concrete that is sealed inside; otherwise the wax and fragrance oil seep into the pores. It is safer to pour the candle into a glass or metal container that fits inside. Don't pour candle wax into plaster containers.
How do you paint and polish a concrete candle holder?
Once the surface is dry, use water-based acrylic paint and don't paint the inside of the recess. Then polish with an acrylic sealer.
Is a plaster candle holder safe?
If used correctly, yes: put the tealight in its metal cup, keep the flame and hot wax away from the plaster, and never leave the candle unattended. USG gives 49 °C as the safe drying temperature for plaster molds; above that, plaster weakens.
How do you pack a gift candle holder?
Wrap the candle holder in paper and put it in a padded box, wrap the candle separately, and add a small card with the safe burning rules. Sticking felt on the base protects furniture.
Choose a mold for your candle holder
Tealight, candlestick and lidded candle holder molds; made from silicone in our own workshop. Ships in 1–3 business days.