How to Use Epoxy Resin: Casting in Silicone Molds
The short answer to how to use epoxy resin: measure the resin and hardener in the ratio the manufacturer gives, mix slowly, pour no thicker than the product allows, and wait as long as the technical data sheet says. In this guide we walk you through small silicone mold pours step by step, with safety first.
In short
- Epoxy has two components: resin (A) and hardener (B). The label sets the ratio: if it is given by volume, measure by volume; if it is given by weight, measure on a scale.
- Adding more hardener does not speed up curing; the surface stays tacky.
- The reaction gives off heat: thick pours and large batches get hotter. Do not exceed the allowed thickness, and pour in layers if needed.
- Demolding and full cure times depend on the product, the thickness and the room temperature; follow the technical data sheet.
- Nitrile gloves, ventilation and eye protection are a must; wear a dust mask when sanding.
- To start, use shallow molds: coaster molds that are 10 × 10 cm and 1.6–1.8 cm deep.
In this guide
- What is epoxy resin, and how does it harden?
- Before you start: materials and equipment
- Mixing ratio: by volume or by weight?
- Pouring epoxy into a silicone mold: step by step
- Pour thickness and heat
- How many hours does epoxy resin take to cure?
- Why won't my epoxy cure? Common problems
- Safety: gloves, ventilation, mask
- Epoxy molds: choosing and caring for silicone molds
- Frequently asked questions
What is epoxy resin, and how does it harden?
Epoxy resin is made of two separate liquids: the resin (usually component A) and the hardener (component B). When you mix them, a chemical reaction starts, and the mixture turns from liquid to gel and from gel to a hard solid. In other words, epoxy does not dry by evaporating like water; it hardens through a reaction. That is why the ratio, the mixing and the temperature decide the result directly.
Hobby resins fall into two main groups. Coating (thin layer) resins are formulated for surface coatings and thin layers, while casting resins are formulated for thicker pours in molds. The product's technical data sheet (TDS) tells you which group it belongs to, how thick you can pour in one go, and whether it suits small pieces such as jewelry or keychains.
We don't sell epoxy resin; our silicone molds, however, are suitable for small resin castings. In this guide we don't give brand-specific numbers: for the ratio, thickness and times, always rely on the technical data sheet and the safety data sheet (SDS) of your own product.
Before you start: materials and equipment
A kit that suits mold casting and comes with a technical data sheet and a safety data sheet.
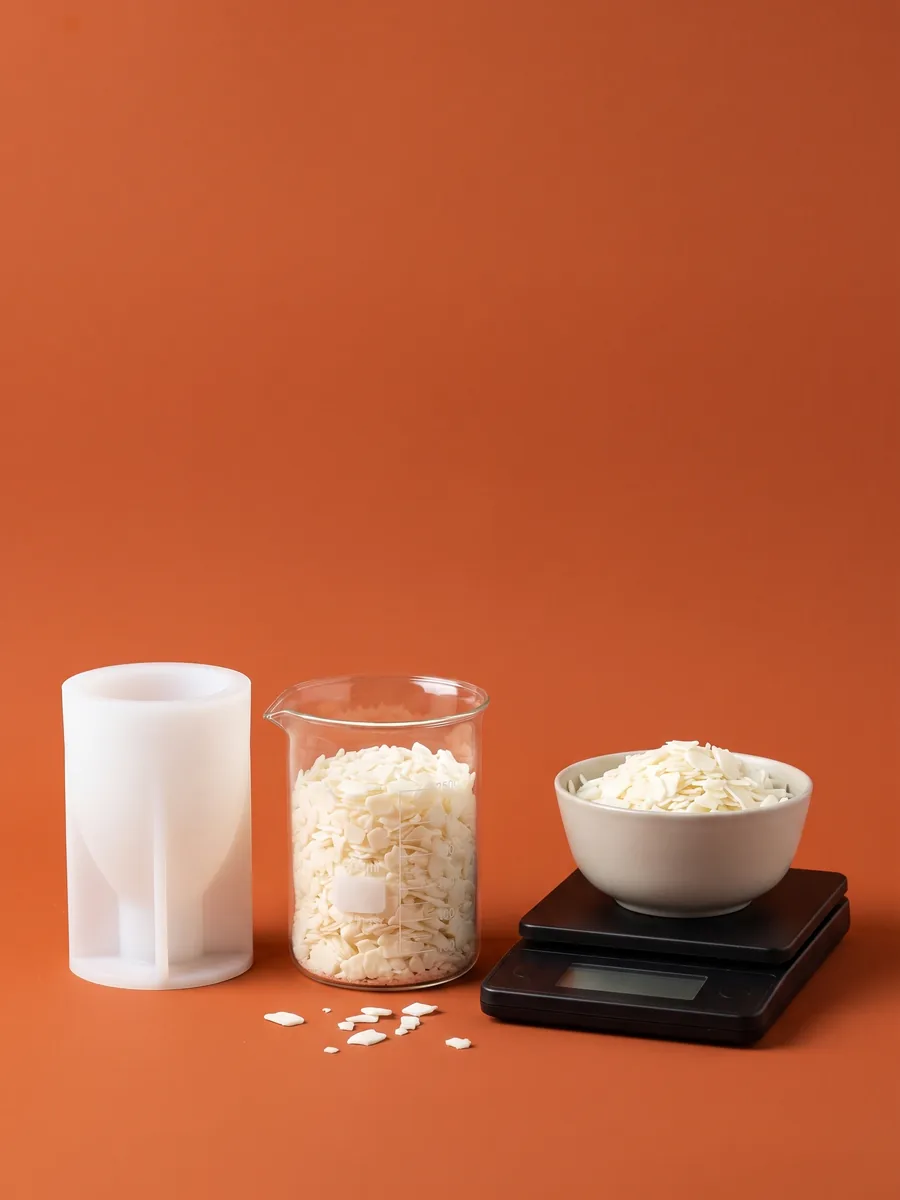
A graduated measuring cup if the ratio is given by volume, a precision scale if it is given by weight.
Precision scaleA clean, dry, flat-bottomed cup and a stick that can scrape the sides.
Resin must not touch your skin; wear safety goggles against splashes.
Clean and completely dry. Shallow shapes are the easiest for first pours.
Silicone moldsResin-compatible pigments; decorations such as dried flowers must be completely dry.
Mixing ratio: by volume or by weight?
The most common mistake with epoxy is the ratio. On the label, the ratio is written as "A:B", either by volume or by weight. They are not the same thing: resin and hardener have different densities, so if you apply a by-volume ratio in grams on a scale, the ratio shifts and the mixture will not harden fully.
| What does the label say? | How do you measure? | Watch out |
|---|---|---|
| Ratio by volume | With a graduated measuring cup, each component in its own cup | Read the mark at eye level |
| Ratio by weight | On a precision scale, in grams | Place the cup and zero the scale |
| Both are given | Pick one and measure with it all the way through | Do not mix the two methods |
Do not change the ratio because "a bit more hardener sets faster." Any component left over or short does not react; the surface stays tacky and the piece stays soft. Remember that with very small amounts even a single drop shifts the ratio; if the data sheet lists a minimum mixing amount, follow it.
Pouring epoxy into a silicone mold: step by step
The sequence below is for a shallow silicone mold such as a coaster or a small decoration. Take the times and temperatures from your own product's data sheet.
- 1
Prepare your workspace
Choose a well-ventilated, dust-free room. Cover the table and set the mold on a flat surface that won't shake; on a slanted surface the resin ends up thicker on one side.
- 2
Check the mold
The silicone mold must be clean and completely dry. A water drop or dust leaves a mark on the surface of the piece.
- 3
Work out the amount
Fill the mold with water and measure or weigh the water (1 g of water is about 1 ml). Prepare that much mixture, then dry the mold again.
- 4
Put on your gloves and measure the components
Put on nitrile gloves and goggles. Measure the resin and hardener in the ratio on the label, using the method the label specifies (volume or weight).
- 5
Mix slowly
Mix slowly for as long as the label says, scraping the sides and bottom of the cup. Unmixed resin left on the sides leaves sticky spots; whisking fast adds bubbles.
- 6
Add color and decorations
Add resin-compatible pigment a little at a time. Decorations such as dried flowers must be completely dry; if you dip them in resin before placing them, no air is trapped underneath.
- 7
Pour in a thin stream
Pour the mixture in a thin stream from the lowest point of the mold. Do not exceed the thickness the product allows in a single pour; in deep molds, pour in layers.
- 8
Remove the bubbles
Tap the mold lightly on the counter. Remove bubbles left on the surface with a toothpick, or by passing a heat gun over them from a distance for a short time; do not overheat the resin or the mold.
- 9
Cover, wait, demold
Cover the mold so dust can't get in and wait in a room with a steady temperature for as long as the data sheet says. Then flex the silicone from the edges and take the piece out.
Do not leave the mixture sitting in the cup: resin in a mass heats up faster than the thin layer in the mold. You can pour what is left into a small silicone mold; do not pour liquid resin down the sink.
Pour thickness and heat
The reaction between resin and hardener releases heat (an exothermic reaction). This heat grows as the mass of the mixture and the pour thickness grow. If you fill a deep mold with coating resin in one go, the resin can overheat; cracking, yellowing, bubbles and smoke can occur. A warm room speeds up the reaction, a cold room slows it down.
| Resin type | Where is it used? | Thickness |
|---|---|---|
| Coating (thin layer) | Surface coatings and thin layers | Layer thickness on the TDS; in deep molds, in layers |
| Casting resin | Deep molds, blocks and thick pieces | Maximum casting thickness on the TDS; usually cures more slowly |
Risky
Filling a deep mold with coating resin in one go, leaving the mixture in a large cup for a long time, preparing a big batch in a hot room.
Safe
Choosing the resin type that suits the mold, pouring in layers at the thickness on the TDS and waiting the time on the data sheet between layers, mixing only as much as you will use.
Put the mixing cup on a non-flammable surface from the start. If the cup gets too hot to hold or gives off smoke, do not lean over it, move flammable items away and ventilate the room.
How many hours does epoxy resin take to cure?
There is no single "drying time" for epoxy. The time depends on the product, the pour thickness and the room temperature; the same resin hardens at a different speed in a thin layer and in a thick pour. Technical data sheets usually list these stages separately:
| Stage | What does it mean? | What should you do? |
|---|---|---|
| Working time | How long the mixture stays pourable in the cup | Pour within this time, don't leave it in the cup |
| Gel and touch-dry state | The surface starts to harden, the inside is soft | Don't move the mold, keep it covered |
| Demolding | The piece is hard enough to hold its shape | Don't demold before the time on the TDS |
| Full cure | The resin reaches its final hardness | Wait this long before sanding, polishing and use |
A cold environment slows hardening and sometimes leaves the surface cloudy or tacky. A very hot environment speeds up the reaction and increases the heat. Work at the room temperature the data sheet recommends and keep the room steady while the piece cures.
Why won't my epoxy cure? Common problems
The surface stays tacky and won't cure
Bubbles
Cloudiness
Heat, cracking, yellowing
The piece stuck to the mold
Safety: gloves, ventilation, mask
The safety data sheet of most epoxy products carries warnings about skin and eye irritation and allergic skin reactions. Read the SDS of the product you use; the rules below apply to every product:
Don't let resin touch bare hands. If it does, wash right away with soapy water; don't clean skin with solvent.
Work in a well-ventilated place with the window open. Don't pour in small, closed rooms.
Wear safety goggles against splashes while mixing and pouring.
Wear a dust mask (respirator) when sanding or cutting hardened resin, and pick up the dust with a damp cloth instead of sweeping it.
Don't use plates, bowls and trays you make with epoxy for direct contact with food; this is only possible if the manufacturer documents that the product is suitable for food contact and the instructions are followed exactly. Don't use a silicone mold you have poured resin into for food afterward.
Don't eat or drink while you work, and keep children and pets out of the area. Don't pour liquid resin or hardener leftovers down the sink; follow the disposal information on the packaging.
Epoxy molds: choosing and caring for silicone molds
Our silicone molds are made from premium soft silicone, and their product pages state that they are suitable for epoxy casting. Shallow, simple shapes are the easiest for first pours:
| Mold | Piece size | Note |
|---|---|---|
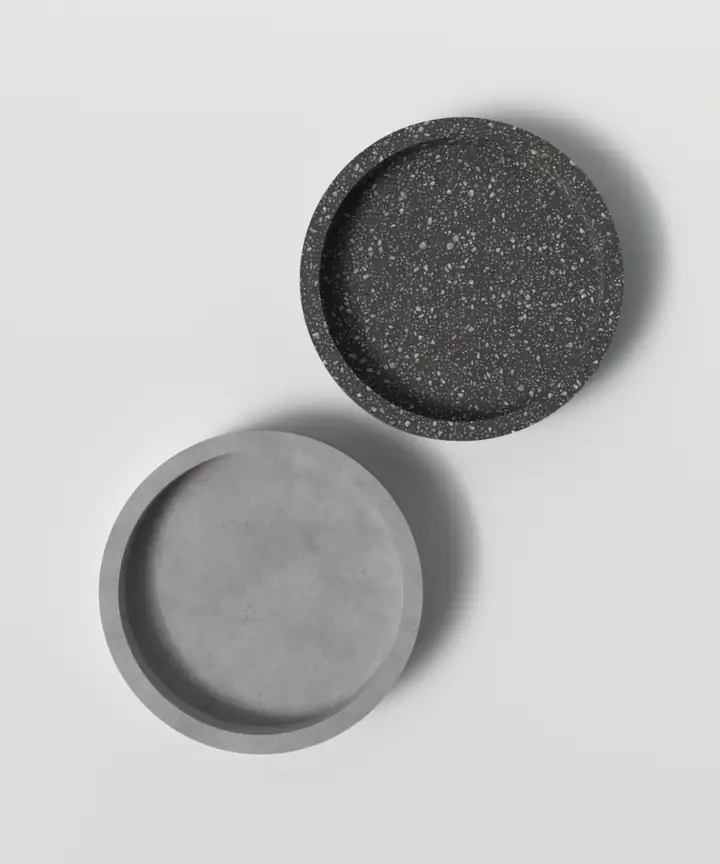
| Round Coaster Mold | 10 × 10 × 1.6 cm | Shallow; good for a first pour |
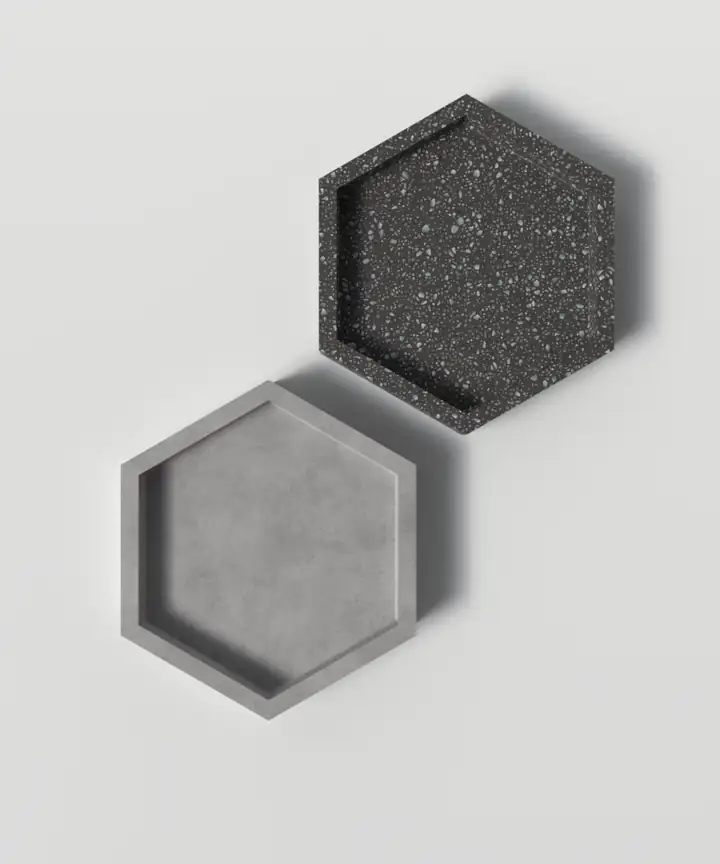
| Hexagon Coaster Mold | 10 × 10 × 1.6 cm | Remove bubbles from the corners |
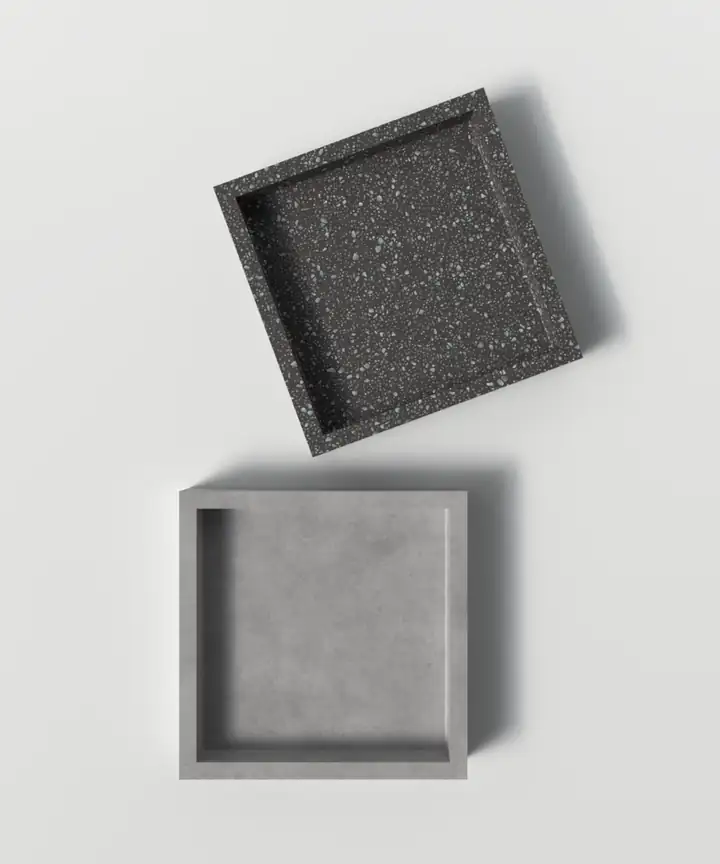
| Square Coaster Mold | 10 × 10 × 1.8 cm | One or two layers, depending on the thickness limit |
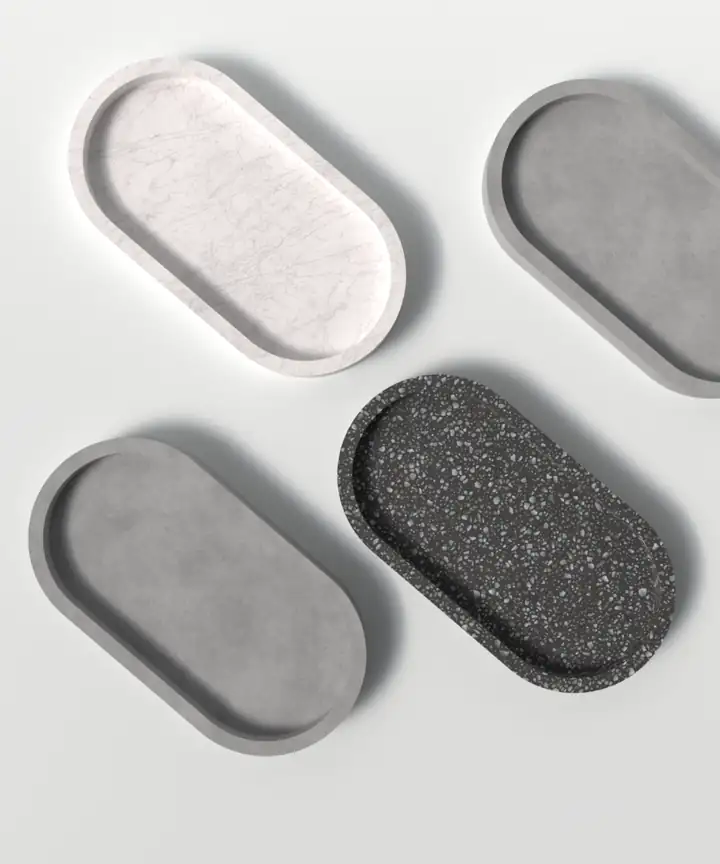
| Oval Serving Tray Mold - K14 | 18 × 9.5 cm | Decorative tray; not for food contact |
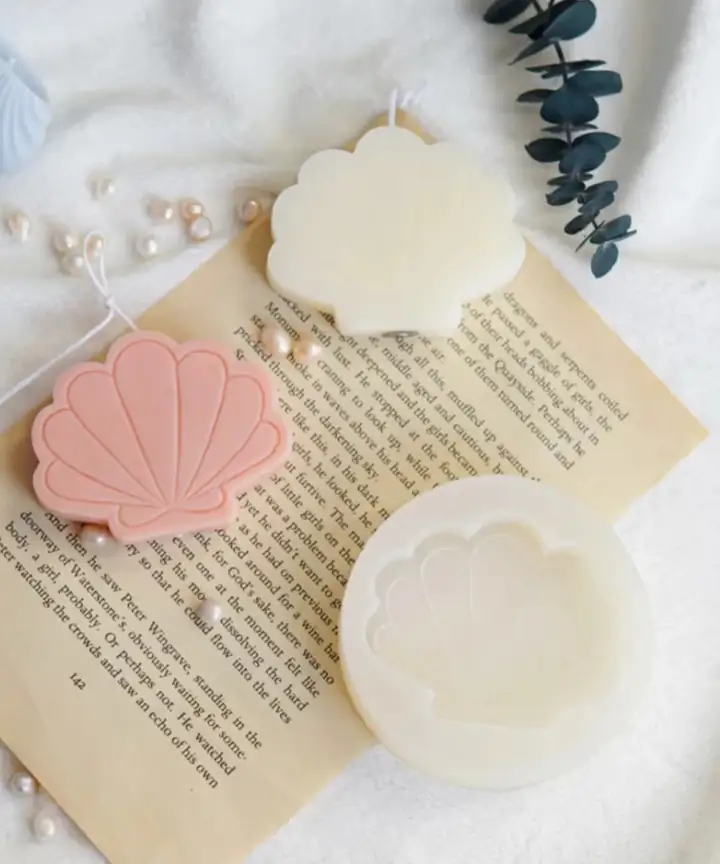
| Seashell Silicone Mold | 8 × 6.5 cm | Small decorations and trinkets |
If the mold is deeper than the thickness your resin allows in one pour, pour in layers. You can pour stone powder into the same molds too: how to use stone powder.
 Round Coaster MoldView
 Hexagon Coaster MoldView
 Square Coaster MoldView
 Oval Serving Tray Mold - K14View
 Seashell Silicone MoldView
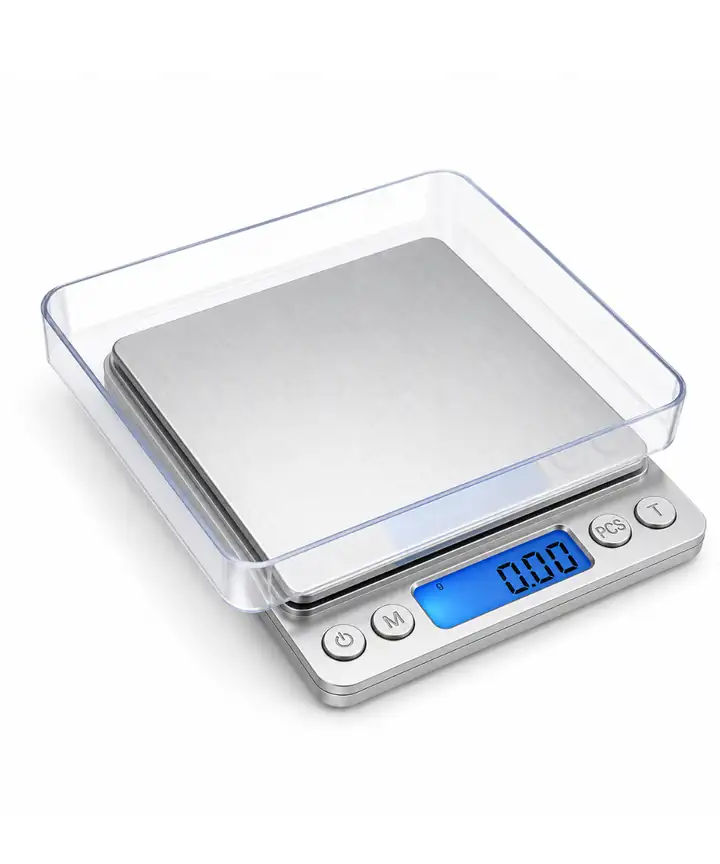 Mini Digital Precision Scale 0.1 g - 2 kgView
Cleaning and storage
Wash the mold with warm soapy water and a soft sponge after every pour, and dry it completely. Abrasive sponges and harsh solvents such as acetone damage the surface of the silicone. Store the mold flat, without folding it, in a cool, dry place out of the sun. Silicone molds are usually rated heat resistant up to about 230 °C; even so, direct flame and excessive heat will deform the mold.
Do you need an epoxy mold release?
Silicone releases pieces naturally; this slipperiness decreases with use, and pieces start to stick. At that point, apply a thin coat of a silicone-compatible release agent made for resin. Oil-based release agents can swell and soften silicone.
You can have a mold made of your own design, logo or product with our custom silicone mold service. Our molds are made from silicone in our own workshop.
Frequently asked questions
How do you use epoxy resin?
Measure the resin and hardener in the ratio on the label (by volume or by weight), mix slowly while scraping the sides, pour into the mold no thicker than the product allows, and wait as long as the technical data sheet says. Nitrile gloves and ventilation are a must.
How many hours does epoxy resin take to cure?
It varies with the product, the pour thickness and the room temperature; demolding and full cure times are on the technical data sheet. Full hardness can take several days for most products.
Why won't epoxy resin cure?
The most common causes are a wrong ratio, not enough mixing and a cold room. Extra hardener does not speed up curing; on the contrary, it leaves the surface tacky.
How do you remove epoxy from the mold, and does it stick?
Wait for the demolding time on the technical data sheet, then release the silicone by flexing it from the edges. Silicone usually lets go of resin easily; if sticking starts as the mold wears, apply a thin coat of a release agent suited to resin.
Which silicone molds are suitable for epoxy?
The silicone molds whose product pages say they are suitable for epoxy. To start, shallow shapes such as coaster molds that are 10 × 10 cm and 1.6–1.8 cm deep are the easiest.
How do you clean epoxy molds?
Wash with warm soapy water and a soft sponge, and dry completely. Don't use abrasive sponges or harsh solvents such as acetone; store the mold flat in a cool place without folding it.
Are plates and trays made with epoxy food safe?
Only if the manufacturer documents that the product is suitable for food contact and the instructions are followed exactly. If you are not sure, use the piece for decoration only.
How do you prevent bubbles in epoxy?
Mix slowly, pour the mixture in a thin stream, tap the mold lightly, and remove surface bubbles with a toothpick or a brief pass of heat. Cold, thickened resin lets go of bubbles with difficulty.
Silicone molds suitable for resin casting
Coaster, tray and small decoration molds. If you can't find the shape you want, write to our custom silicone mold service.