Candle Making Tips: 12 Common Problems and Fixes

Most candle making tips come down to one thing: knowing the cause of the problem. A candle whose center sinks, or that cracks, sweats or has no scent, almost always has a measurable reason: temperature, ratio, wick or cooling. In this guide we list the 12 most common problems as cause, fix and prevention.
In short
- Most problems come from four places: temperature, fragrance oil ratio, wick and cooling speed.
- Cool the candle slowly in a draft-free room at 18–25 °C; do not put it in the fridge.
- If the center sinks, pierce the surface and pour a second layer of about 3 mm.
- Do not exceed 10% fragrance oil; too much causes sweating, soot and mushrooming.
- In paraffin mold candles, 10% stearic acid (100 g per 1 kg) makes release from the mold easier.
- Before you sell or give away a new formula, test it for at least 4 burns.
In this guide
- 6 rules to follow when making candles
- Find your problem: symptom table
- Surface and appearance problems
- Why does the center of a candle sink? Pouring and mold problems
- Burning problems: tunneling, soot, mushrooming
- Scent problems: no scent and sweating
- Prevent problems from the start: the test burn
- Frequently asked questions
6 rules to follow when making candles
Before getting into the individual problems, here are six rules that prevent most of them from the start:
Measure wax, fragrance oil and dye in grams. Spoons and milliliters give different results every time.
Track the melting, fragrance-adding and pouring temperatures with a thermometer.
Soft soy wax for containers; Pillar Soy Wax or paraffin with stearic acid for molds.
Stay within 6–10%; any more seeps out onto the surface.
18–25 °C, draft-free room. No fridge, no cold marble counter.
Let soy candles cure for 1–2 weeks, and test a new formula with 4 burns.
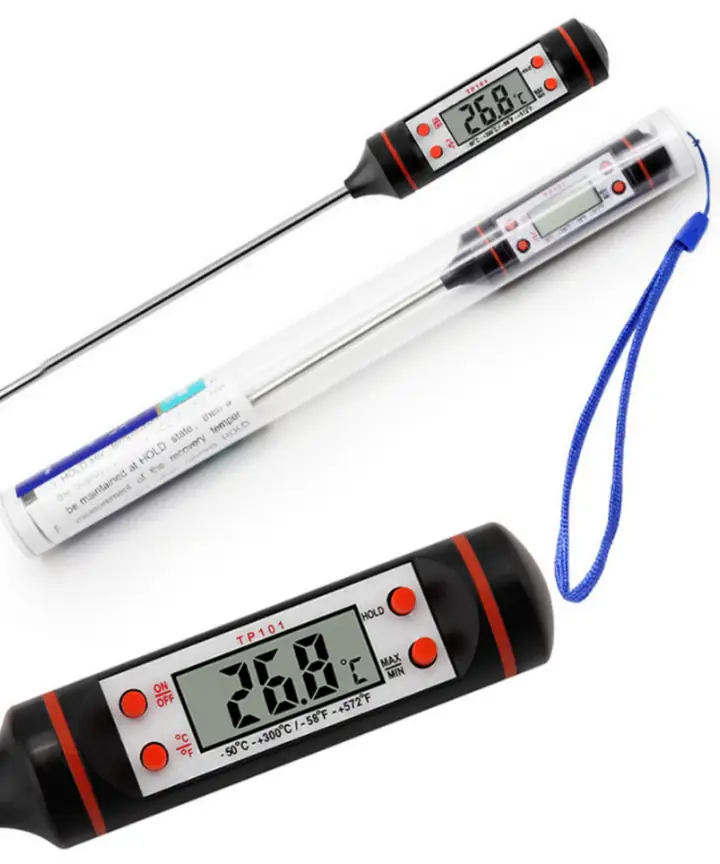 Digital ThermometerView
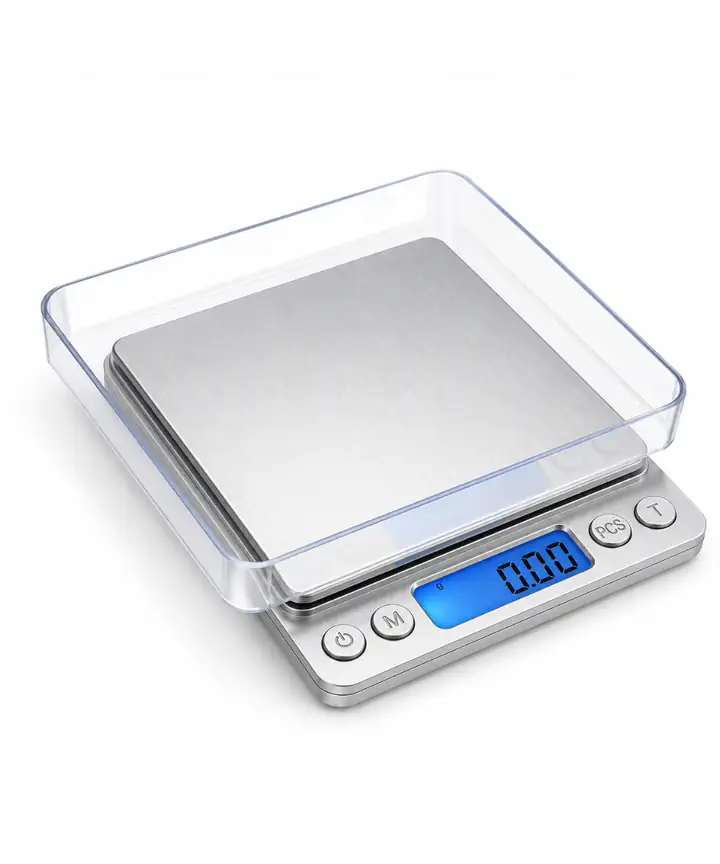 Mini Digital Precision Scale 0.1 g - 2 kgView
 Stearic Acid 250 gView
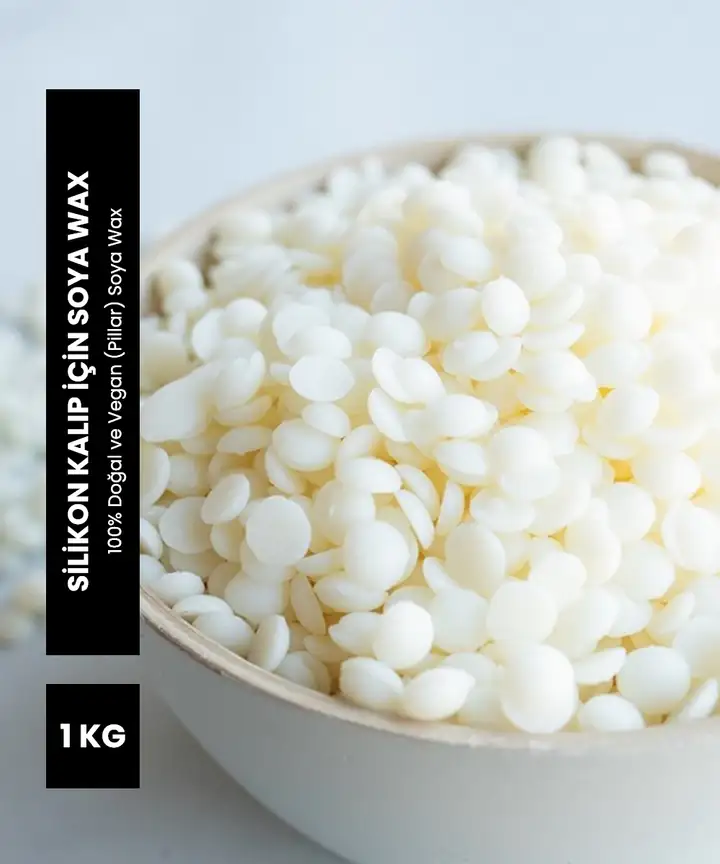 Pillar Soy Wax for Silicone Molds 1 kgView
 Wooden Cord Wick HolderView
 Metal Candle Stirring RodView
Find your problem: symptom table
Find the symptom you see on your candle; the table shows the most likely cause and the related section:
| Symptom | Most likely cause | Section |
|---|---|---|
| Deep pit in the middle, edges not melting | Thin wick, short first burn | Tunneling |
| White, crystal patches on the surface | Crystallization of soy wax | Frosting |
| Wet-looking patches on the glass | Wax pulled away from the glass | Wet spots |
| Dip around the wick | Trapped air, fast cooling | Sinking |
| Lines or splits on the surface | Uneven shrinking, cold room | Cracks |
| Holes on the surface or inside | Air bubbles | Bubbles |
| Oil droplets on the surface | Too much or unbound fragrance oil | Sweating |
| Blackened glass, black smoke | Long or thick wick | Soot and smoke |
| No scent when you open the lid | Too little fragrance oil, short cure | No scent |
| Carbon ball on the wick tip | Wick too thick, too much fuel | Mushrooming |
| Wax yellowed, color faded | Vanillin, light, overheating | Yellowing |
| Candle stuck to the mold | Soft wax, unmolded too early | Won't release from the mold |
Surface and appearance problems
Most problems in this group are cosmetic; they do not affect how the candle burns or smells. But if you are making candles to give or sell, looks matter at least as much as scent.
Frosting: white crystals on the surface
Wet spots: patches on the glass
Cracks: splits on the surface
Bubbles: holes on the surface and inside
Yellowing and color fading
Why does the center of a candle sink? Pouring and mold problems
Pouring flaws are most common in mold candles and paraffin. If you work with paraffin, stearic acid helps with both problems.
Sinking: why does the center of a candle sink?
Read our guide to candle sinkholes to assess depressions in container and molded candles separately and choose the timing of a second pour.
Candle won't come out of the mold or breaks
Our recommended ratio is 10%: 100 g per 1 kg of paraffin. Some manufacturers start at 5% and increase as needed. If you want a mottled pattern, stay at 2–3%; more suppresses the pattern. Too much stearic acid can make the candle brittle and clog the wick. Details: Paraffin Guide.
For using and cleaning the mold, see the mold use & care guide page; for step-by-step pouring, see the Making Candles with Silicone Molds guide.
Burning problems: tunneling, soot, mushrooming
The wick is at the center of burning problems. In a well-wicked container candle, the flame is calm and about 2.5 cm tall; the melt pool reaches the edge, goes down to a depth of 6–19 mm, and the sides of the glass stay clean.
Tunneling: a candle that hollows out in the middle
Soot and black smoke
Mushrooming: carbon ball on the wick
For the right wick thickness, see the How to Choose a Candle Wick guide.
Scent problems: no scent and sweating
No scent or a very weak one
Follow the fragrance weight, temperature, curing and wick checks step by step in our guide to weak candle fragrance.
Sweating: oil droplets on the surface
Prevent problems from the start: the test burn
Most problems are caught with a test burn before selling or gifting. Make 2–3 candles with the same container, wax and fragrance oil but wicks of different thickness, and burn them together.
- 1
Wait at least 24 hours
Let the test candles cure after pouring; for a scent test in soy candles, 1–2 weeks is better.
- 2
Take notes
Write down the wax, fragrance oil and its ratio, dye, wick and container diameter. Change only one thing in each test.
- 3
Place them right
Set the candles 7.6–15 cm apart on a heat-resistant, draft-free surface.
- 4
Burn for 4 hours
Trim the wick to 6 mm, light it and put it out after 4 hours. By the 3rd–4th hour, the pool should come within about 6 mm of the edge.
- 5
Cool it and repeat
Let it cool for at least 5 hours; repeat the cycle until about 6 mm of wax is left at the bottom. Do not decide before the 4th cycle.
- 6
Observe
At each burn, note the flame height, the diameter and depth of the pool, soot, mushrooming and how hot the glass gets.
When room temperature changes, the same formula can behave differently. Retest the formula at least twice a year, and whenever the wax, fragrance oil, dye or container changes.
Frequently asked questions
Why does the center of a candle sink?
Wax shrinks as it cools; if the surface sets early, a dip or hidden hollow is left around the wick. Pierce the surface and pour a second layer of about 3 mm; for a mold candle, make the second pour 3 °C hotter than the first.
Why does the surface of a candle crack?
Because the outside and inside of the candle cool at different speeds. Cool the candle for 48 hours at 18–25 °C in a draft-free spot; the fridge and freezer make cracking worse.
How do you prevent air bubbles in a candle?
Stir slowly, pour slowly from the edge and tap the container lightly after pouring. You can melt any bubbles left on the surface with a hair dryer.
Why does a candle tunnel?
The wick is too thin for the container, or the first burn was kept short. On the first burn, burn the candle for about 1 hour per 2.5 cm of diameter; if the problem continues, use a wick one size thicker.
Why does a candle make soot?
The most common cause is a long wick; a thick wick, drafts and too much fragrance oil also cause soot. Trim the wick to 0.5 cm before every burn.
Why does frosting happen in a soy candle?
It is the natural crystallization of soy wax and does not affect burning. Pouring at a lower temperature, warming the container and cooling the candle slowly at 21–24 °C reduce it.
Why won't a candle come out of the mold?
A soft wax like container soy wax was used, or the candle has not cooled completely. In a silicone mold, use Pillar Soy Wax or paraffin with 10% stearic acid; if it sticks, put the mold in the fridge for 5 minutes.
Why does a candle sweat?
Too much fragrance oil, fragrance oil added to cold wax, or temperature swings bring oil to the surface. Keep fragrance oil at 6–10%, add it at 80–85 °C and store candles at 18–25 °C.
The right materials, fewer problems
Thermometer, stearic acid, Pillar Soy Wax and wick types; shipped within 1–3 business days.