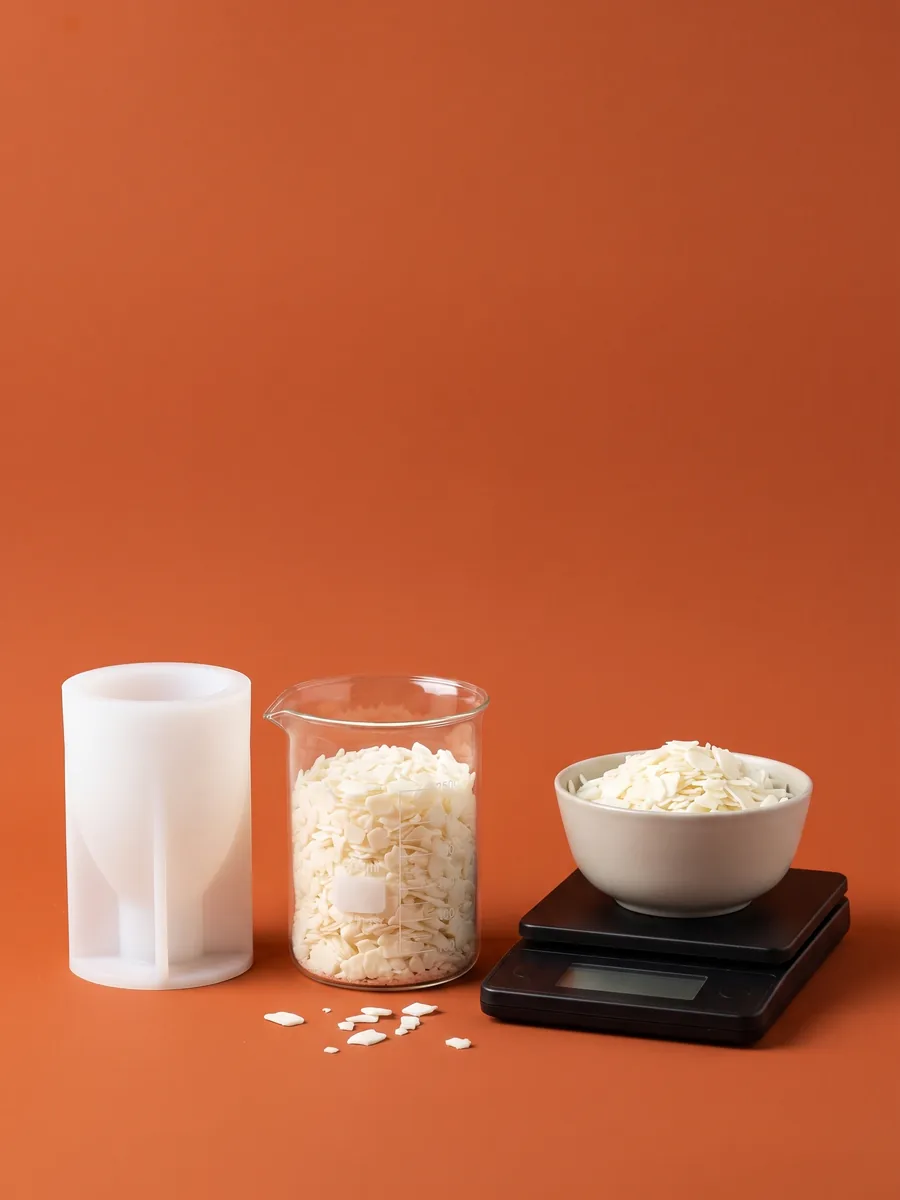
What Is a Wax Melt? How to Make and Use Wax Melts
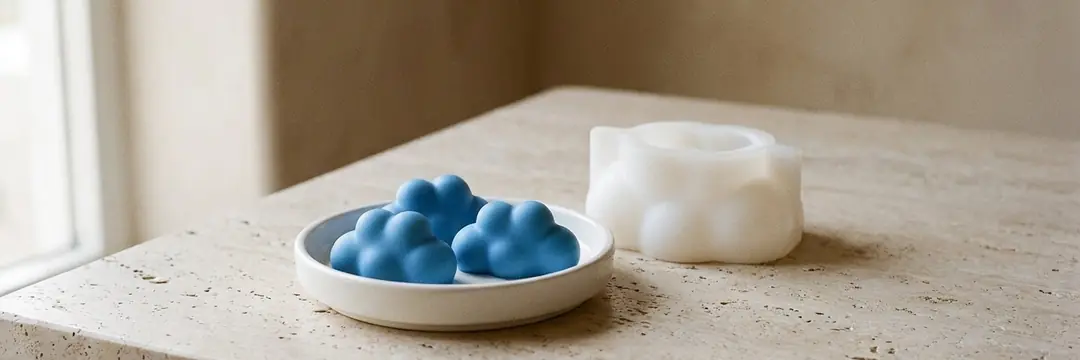
A wax melt is a scented piece of wax with no wick: it melts when heated in a wax warmer and spreads its scent through the room. In this guide we explain how to make wax melts with soy wax, including fragrance oil ratio, pouring temperature and mold choice, and we add safe use in a wax warmer and preparation for selling.
In short
- A wax melt has no wick; in a wax warmer it is melted with a tealight or an electric heater.
- Use a hard Pillar Soy Wax that releases cleanly from the mold; the pouring range is 55–65 °C.
- Fragrance oil is 9–10% of the wax weight: 45–50 g for 500 g of wax. Do not exceed 10%.
- Melt the wax at 70–80 °C, add the fragrance oil after taking it off the heat, and pour at 60–65 °C.
- Let it cure for at least 48 hours before use, and 1–2 weeks for the strongest scent.
- Avoid shapes that look like food, such as candy, chocolate or cake.
In this guide
- What is a wax melt, and how is it different from a scented candle?
- Which wax is used for wax melts?
- What should the fragrance oil ratio be for wax melts?
- Making wax melts step by step
- Wax melt molds: which molds work?
- How to use wax melts: wax warmer guide
- Safety, packaging and labeling
- Common problems and fixes
- Frequently asked questions
What is a wax melt, and how is it different from a scented candle?
A wax melt is a candle without a wick. It does not burn itself: the heat source underneath melts it, and the scent rises from the melted wax. When the scent fades, the dish is cleaned and a new piece goes in. In a candle, the flame burns on the wick and the wax is the wick's fuel. Although they are made from the same materials, the two products work differently:
| Wax melt | Scented candle | |
|---|---|---|
| Wick | None | Yes; the wax is the wick's fuel |
| Heat source | Wax warmer: tealight or electric | Its own flame |
| Wax | Hard wax that releases cleanly from the mold | Soft wax for containers, hard wax for molds |
| Fragrance oil ratio | %9–10 | %6–10 |
| After use | When the scent is gone, the wax is thrown away and replaced | The wax gets used up as it burns |
| IFRA category | Category 12 | Category 12 |
Both products fall under IFRA category 12: ambient scents that do not touch the skin. So the maximum allowed level of a fragrance oil for candles also applies to wax melts. The biggest difference between a wax melt and a candle is in use: with an electric warmer, there is no open flame in the room.
Which wax is used for wax melts?
A wax melt has to release cleanly from the mold and keep its shape in the box and on the shelf. That is why foreign suppliers such as CandleScience also recommend a hard, mold-type (pillar) wax for wax melts instead of container wax. The best fit among our products is Pillar Soy Wax for Silicone Molds.
Comes in pellets and is easy to weigh. Because it is formulated for mold casting, it comes out smooth, resists cracking and warping, and holds fragrance well.
Go to productA soft container wax in flake form. It is designed for jar and glass candles; it can lose its shape when removed from a silicone mold.
Soy WaxUsed in both container and pillar candles. If you want to try it for wax melts, check the release from the mold in your first batch.
We explained the differences between soy waxes in detail in our soy wax types guide.
Materials for making wax melts
Besides wax and fragrance oil, a few simple tools are enough. You can complete everything in your kitchen or in a single order:
What should the fragrance oil ratio be for wax melts?
In a wax melt, the scent comes only from the heated wax; that is why sources recommend a ratio slightly higher than for candles. CandleScience works with 9% and Candle Shack goes up to 10%. Since the recommended usage rate of our candle fragrance oils is 6–10%, stay within 9–10% for wax melts and do not exceed 10%.
| Wax | 9% fragrance oil | 10% fragrance oil |
|---|---|---|
| 100 g | 9 g | 10 g |
| 250 g | 22.5 g | 25 g |
| 500 g | 45 g | 50 g |
| 1 kg | 90 g | 100 g |
The ratio is calculated on wax weight: grams of fragrance oil = grams of wax × ratio. Measure fragrance oil in grams on a scale, not in drops, spoonfuls or ml; fragrance oils differ in density. If you are blending two scents, the total ratio should still not exceed 10%.
Each of our fragrance oils has an IFRA certificate page (for example, Lavender IFRA). The Category 12 value on the certificate is not a recommendation; it is a ceiling that must not be exceeded.
Making wax melts step by step
The method below is for Pillar Soy Wax and small silicone molds. For melting details, you can also see our how to melt candle wax guide.
- 1
Prepare the mold
Wash the silicone mold and dry it completely, then place it on a flat tray; the tray keeps the filled mold from tilting as you carry it. Silicone releases the wax by itself, so no release agent is needed.
- 2
Weigh the wax
Multiply the estimated candle capacity on the mold's product page by the number of cavities and weigh 10% extra wax. If no capacity is listed, fill the mold with water and weigh it; the Calculator works out the weight for you.
- 3
Melt in a double boiler
Melt the wax in a pot set in boiling water or in a melting pot, stirring now and then. 70–80 °C is enough; watch the temperature with a thermometer and never put the wax directly over the flame.
- 4
Add color (optional)
Drop in a few candle dye granules and stir until they melt. 10 g of dye colors about 10–15 kg of wax, so 0.7–1 g is enough for 1 kg. Put a few drops on a white plate to see the true color.
- 5
Add the fragrance oil
Take the pot off the heat, add the fragrance oil you weighed (9–10%) and stir slowly for 1–2 minutes, without making foam.
- 6
Pour at 60–65 °C
When the wax has cooled to 60–65 °C, pour it into the mold in a thin stream. If you will pour into a clamshell plastic tray, wait until it is around 60 °C; hotter wax can soften the thin plastic.
- 7
Let it set
Leave the mold at room temperature, away from drafts. Small pieces set in a few hours; wait overnight for the cleanest release.
- 8
Unmold and cure
Flex the mold at the edges to pop out the pieces. Let them cure in a closed box in a cool, dark place for at least 48 hours; you can wait 1–2 weeks for the strongest scent.
| Stage | Temperature | Note |
|---|---|---|
| Melting | 70–80 °C | Watch with a thermometer |
| Adding fragrance oil | After taking it off the heat | Stir slowly for 1–2 minutes |
| Pouring into a silicone mold | 60–65 °C | Pillar Soy Wax pouring range is 55–65 °C |
| Pouring into a plastic tray | About 60 °C | So the tray doesn't soften or leak |
Wax melt molds: which molds work?
A wax melt mold should be small, shallow and easy to flex: the piece sets quickly, comes out without breaking and fits in the warmer dish. Our silicone molds are suitable for candles, soap, concrete, epoxy, plaster, stone powder and scented stones; wax does not wear away fine detail in the mold.
To give you an idea of size: according to CandleScience's calculation, 227 g of wax fills about 3 standard 6-cavity plastic trays. That comes to about 75 g per tray and 12–13 g per cavity. Our molds below hold more wax in a single piece; you can break up larger pieces when you use them.
| Mold | Piece size | Estimated capacity |
|---|---|---|
| Mini Puffy Cloud Silicone Mold | 7 × 3.7 cm | ~38 g |
| Mini Bubble Candle Mold | 3.5 × 3.5 cm | ~47 g |
| Cloud Candle Mold | 6.5 × 4.5 cm | ~47 g |
| Rose Candle Mold | 7 × 6 cm | ~46 g |
| Santa's Sleigh Candle Mold | 5 × 6 cm | ~33 g |
| Moon and Sun Candle Mold | 6.5 cm diameter | ~58 g |
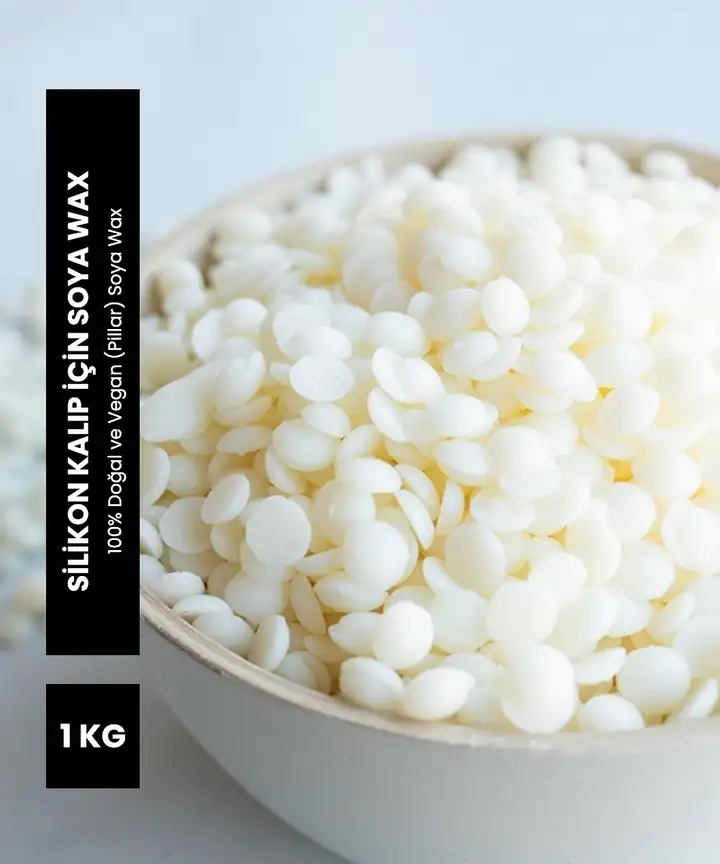 Pillar Soy Wax for Silicone Molds 1 kgView
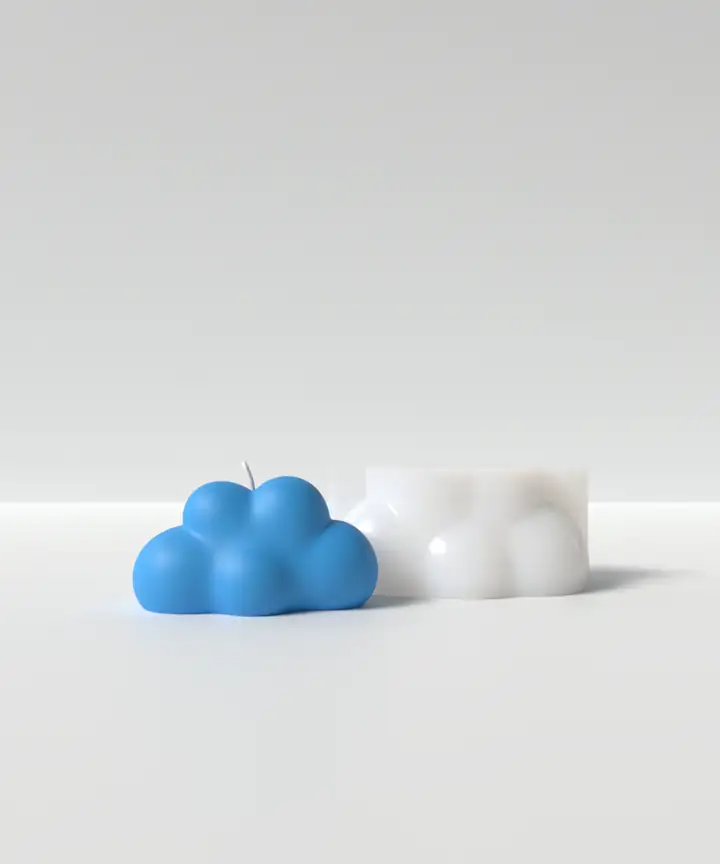 Mini Puffy Cloud Silicone MoldView
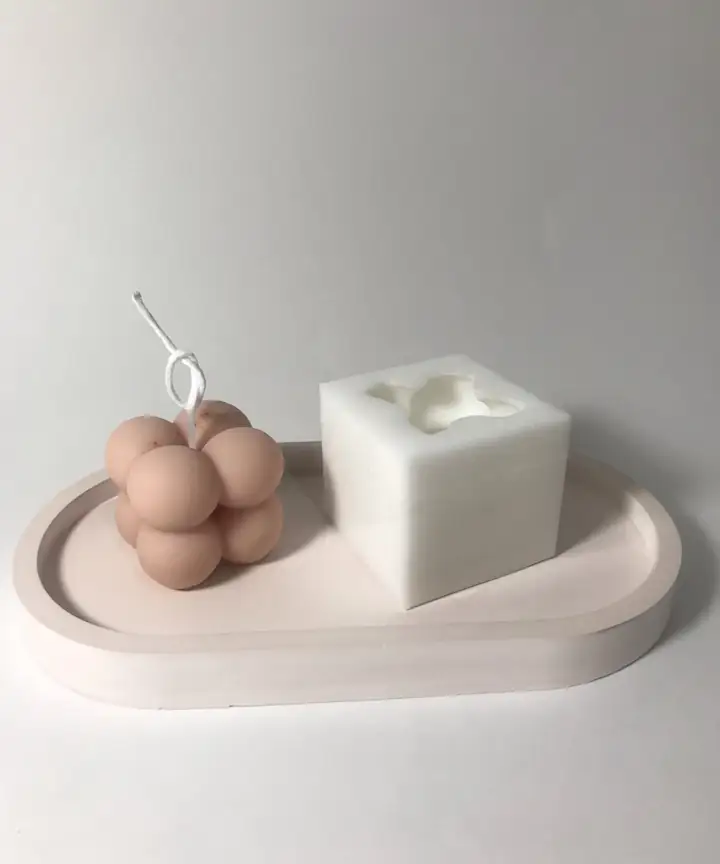 Mini Bubble Candle MoldView
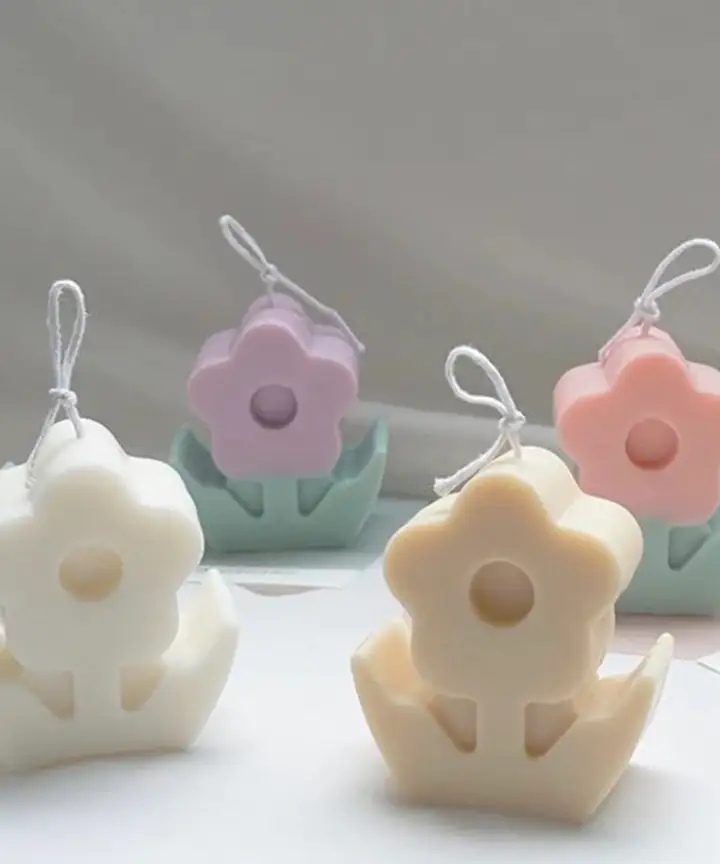 Rose Candle MoldView
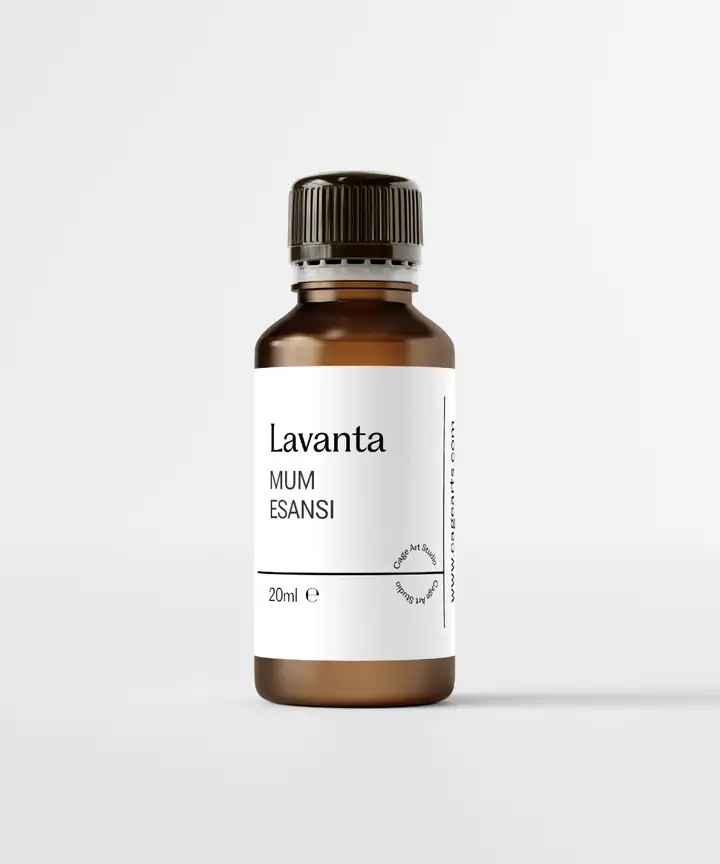 Lavender Candle Fragrance OilView
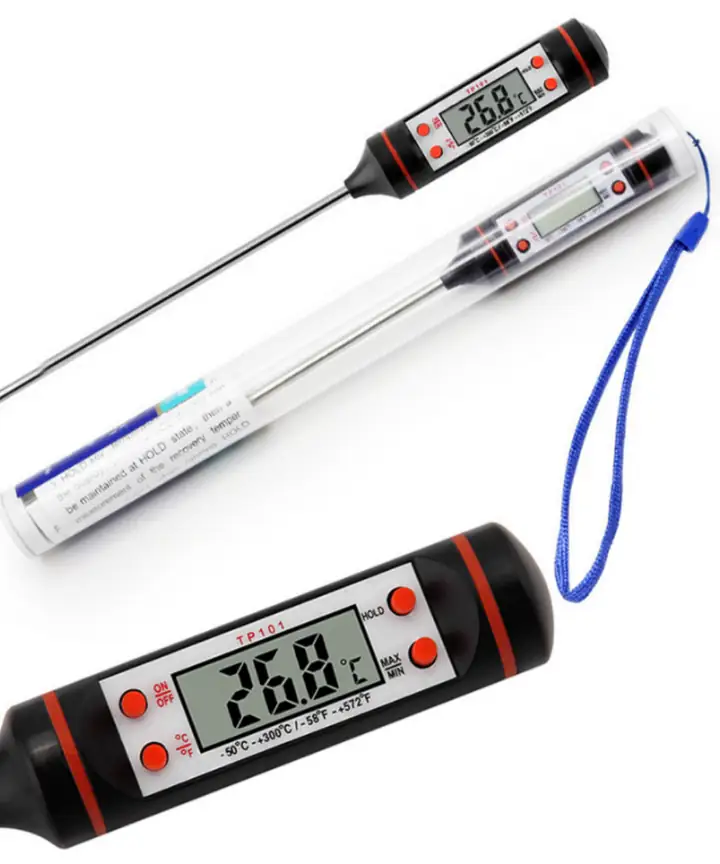 Digital ThermometerView
Children can put small pieces that look like candy, chocolate or cake and smell like food in their mouths. That is why products that children might mistake for food are banned in the EU and UK (87/357/EEC). Choose clouds, flowers or geometric forms, and avoid small decorations that break off easily.
How to use wax melts: wax warmer guide
Wax melts are used with two kinds of wax warmers: a ceramic warmer with a tealight underneath, or an electric heater. In both, the wax does not burn, it only melts.
There is an open flame underneath, so the candle safety rules apply in full: do not take your eyes off it while it burns, and keep it at least 30 cm away from anything that could catch fire.
There is no flame, but the dish gets hot. Follow the manufacturer's instructions, and keep the device and its cord out of children's reach.
- 1
Check the dish
The dish should be empty and clean. If you put a new piece on top of old wax, the two scents mix.
- 2
Add a piece of wax melt
Add as much wax as the dish can hold without overflowing; you can break large pieces with a knife.
- 3
Turn on the heat
Light the tealight or turn on the electric heater. As the wax melts, the scent spreads through the room.
- 4
Replace the wax when the scent fades
How long the scent lasts depends on the fragrance oil, the ratio, the size of the piece and the heater. When the scent weakens, turn off the heater, wait for the wax to set, remove it and add a new piece.
How do you remove used wax? Turn off the heater and wait for the wax to set completely; set wax comes out of most dishes in one piece. If it is hard to remove, put the cooled dish in the fridge for a few minutes: wax shrinks in the cold and separates easily. Do not pour liquid wax down the sink; it hardens in the drain and clogs it.
Do not carry the warmer while the heater is on; liquid wax is hot and can spill. Put out a flame warmer before you go to sleep or leave the room. Use it on a stable, heat-resistant surface, away from children and pets.
Safety, packaging and labeling
If you want to give wax melts as gifts or sell them, packaging and labeling are part of the job:
If you poured into a clamshell plastic tray, close the lid only when the pieces have set completely. Finish the curing before putting them in the box.
CandleScience recommends placing the warning label inside the tray's lid. It should include the product name, net weight, usage and safety warnings, and manufacturer information.
In the EU and UK, a wax melt also needs a CLP label for its fragrance oil content. Turkey's SEA Regulation is aligned with CLP; check the current rules before selling.
Avoid
Pieces that look like sugar, chocolate or cake; bright colors combined with a food scent; small decorations that break off easily; packaging without a warning.
Prefer
Cloud, flower, heart and geometric forms; a clear warning label inside the lid; tight-closing packaging that does not crush the pieces.
We covered cost, pricing and labeling rules in detail in our making and selling candles at home guide. For gift ideas, see our gift candle ideas article.
Common problems and fixes
Piece won't come out of the mold or breaks
Weak scent
Oily surface (sweating)
Plastic tray softened or leaked
White crystal look (frosting)
Frequently asked questions
What is a wax melt?
A wax melt is a scented piece of wax with no wick. It is heated in a wax warmer with a tealight or an electric heater; the wax does not burn, it melts and releases its scent. When the scent fades, the wax is replaced.
Which wax is used for wax melts?
You need a hard wax that releases cleanly from the mold and keeps its shape. The best fit among our products is Pillar Soy Wax for Silicone Molds; its pouring temperature is 55–65 °C.
How much fragrance oil goes into a wax melt?
9–10% of the wax weight: 45–50 g of fragrance oil for 500 g of wax. The recommended upper limit for our candle fragrance oils is 10%; weigh the fragrance oil in grams on a scale.
At what temperature are wax melts poured?
Melt the wax at 70–80 °C, add the fragrance oil after taking it off the heat, and pour into a silicone mold at 60–65 °C. Pour into a plastic tray at around 60 °C.
How do you use wax melts?
Put a piece in the warmer dish and light the tealight underneath, or turn on the electric heater. Never leave a flame warmer unattended, and keep it at least 30 cm away from anything that could catch fire.
How do you remove used wax melts?
Turn off the heater and wait for the wax to set completely; set wax comes out of most dishes in one piece. If it is hard to remove, leave the cooled dish in the fridge for a few minutes. Do not pour liquid wax down the sink.
How long should wax melts cure?
After unmolding, keep them in a closed box for at least 48 hours. For the strongest scent, you can let them cure for 1–2 weeks in a cool, dark place.
Everything you need for wax melts
Hard soy wax, IFRA-certified fragrance oils and small silicone molds in a single order, shipped in 1–3 business days.