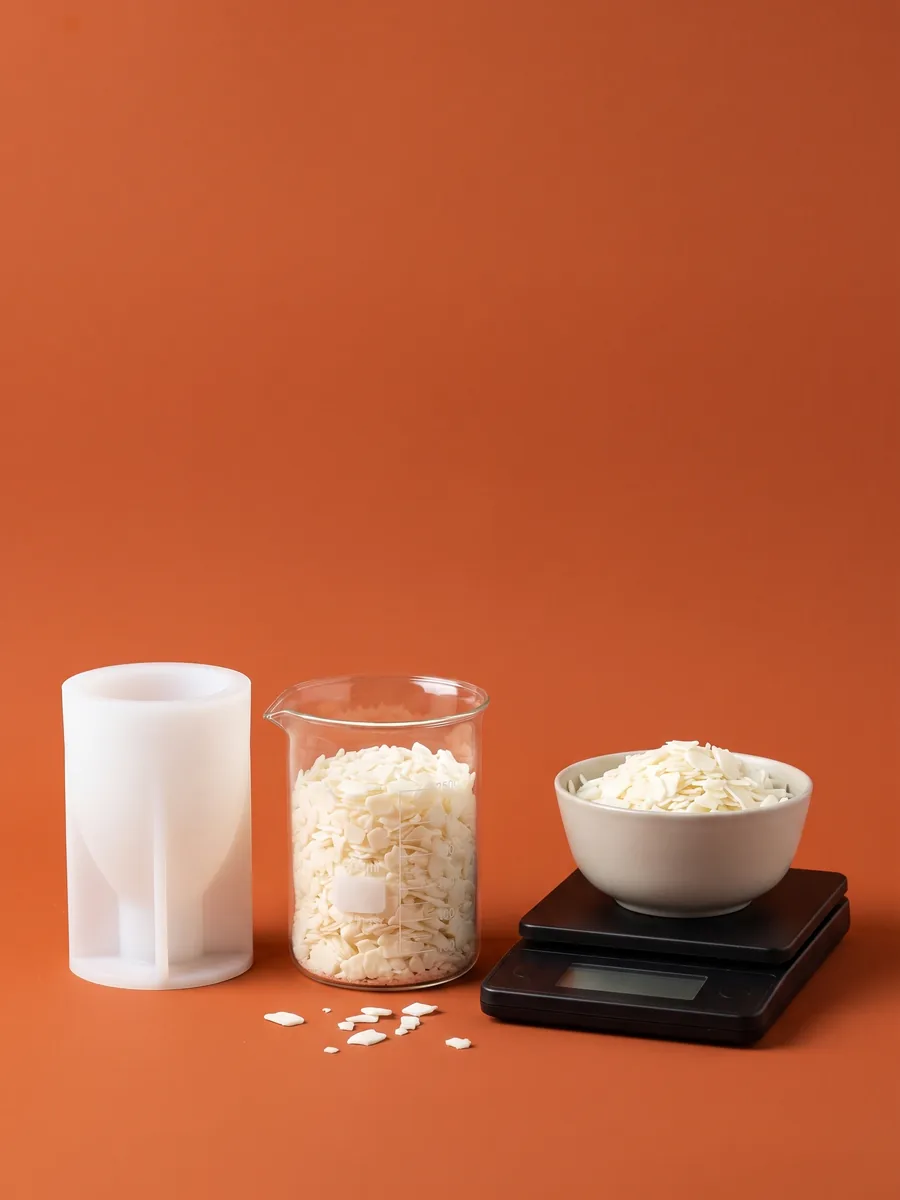
How to Make Bubble Candles: Wax, Wicks and Gift Packaging
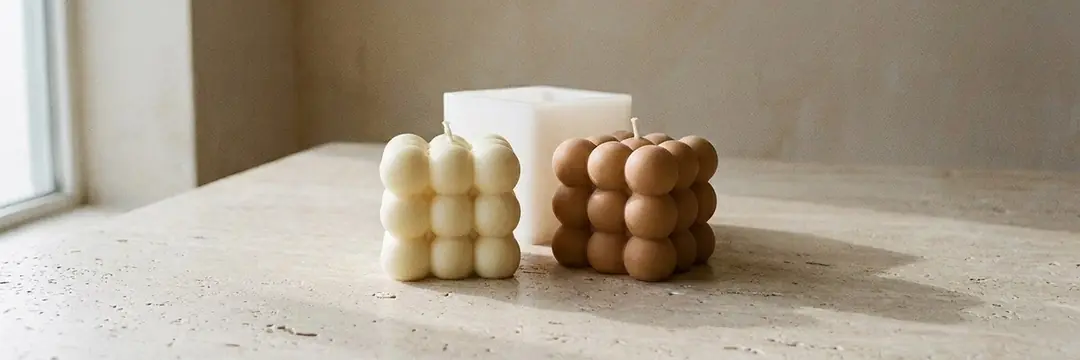
Bubble candles are made by pouring firm mold wax around a centered wick in a silicone mold, then cooling completely before demolding. Pour Pillar Soy Wax at 55–65 °C; if the room is cold, you can go up to 70 °C. Mini Bubble holds approximately 47 g and Large Bubble approximately 135 g; calculate fragrance, fill weight and any second pour separately.
In short
- Mini Bubble holds ~47 g and Large Bubble ~135 g; these are estimates from the product descriptions.
- Use Pillar Soy Wax for molds; its product page specifies a 55–65 °C pouring range.
- For a 135 g total fill at 8% fragrance: approximately 125 g wax + 10 g fragrance oil.
- After adding fragrance, stir gently for 1–2 minutes; keep the wick centered.
- Wait at least 24 hours before burning; scented soy candles can be rested for 1–2 weeks to assess scent.
What supplies do you need for bubble candles?
A bubble candle stands without a container supporting its cube shape. Choosing a soft container wax therefore increases the chance of dents and marks during demolding. Pillar Soy Wax is our option for silicone molds. For paraffin, follow its own product instructions; the 10% recommendation on our stearic acid product is based on paraffin weight.
Choose mini, large, pumpkin or cylinder models according to the finished dimensions you want.
Prepare a pre-waxed wick suitable for molded candles and a holder to keep it centered.
Measure weight and temperature separately; a measuring cup does not replace a precision scale.
Use candle dye and a fragrance compatible with your wax; unscented candles are another option.
How much do mini and large bubble candles weigh?
| Model | Object size | Estimated candle capacity |
|---|---|---|
| Mini Bubble | 3.5 × 3.5 cm | ~47 g |
| Large Bubble | 6 × 6 cm | ~135 g |
| Bubble Pumpkin | 6 × 6.2 cm | ~146 g |
| Cylinder Bubble | 8.7 × 6.2 cm | ~190 g |
The dimensions describe the finished casting, not the outside of the mold. Do not treat capacity as the amount of dry wax alone: added fragrance contributes to the total fill weight. Do not promise an exact quantity for a large batch before testing your color and fragrance recipe.
For a target quantity, use the candles from 1 kg of wax table. This guide focuses on pouring the same bubble model well; the other guide compares yields from different molds.
How do you choose and fit a bubble candle wick?
Do not choose a wick by candle height alone. The widest section, wax, dye and fragrance all affect burning. A wick tested in the mini model is not automatically suitable for the large one. Start with the wick manufacturer's guidance and make the final choice through a burn test of your own candle.
Thread the wick through the mold hole and center it across the opening. Too much tension can distort the mold; too little allows the wick to drift. Check for leaks around the hole before pouring. For detailed selection and anchoring, use our wick selection guide.
How do you pour bubble candles, and at what temperature?
- 1
Prepare the mold
Clean and dry the mold completely, then place it on a level tray. For a slit model, align the edges and secure them with a rubber band. If leakage is possible around the wick hole, seal it from the outside with tape.
- 2
Center the wick
Thread the pre-waxed wick through the hole. Hold it centrally at the opening with a wick holder. The mold opening becomes the finished candle's base, so keep the wick straight throughout pouring.
- 3
Weigh wax and fragrance
Start with an approximate total fill of 135 g for one Large Bubble. At 8% fragrance, this requires roughly 125 g wax and 10 g fragrance oil. Plan extra material for a second pour and what remains in the pot separately.
- 4
Heat under control
Melt the wax in a double boiler or wax melting pot. Monitor the 80–85 °C soy heating range in the research with a thermometer; your product's current instructions take priority. Do not heat directly over a flame or splash water into the wax.
- 5
Add color and scent
Dissolve candle-compatible dye and distribute it evenly. Remove the pot from heat, add the weighed fragrance, and stir gently for 1–2 minutes. Avoid whipping in air; do not add decorative glitter or dried flowers.
- 6
Fill at the pouring temperature
Pour Pillar Soy Wax in a thin stream when it reaches the 55–65 °C range on the product page. Keep the stream low and at one point; check that the wick stays centered.
- 7
Cool and top up if needed
Keep the mold still in a draft-free place. If shrinkage forms around the wick, top up with blend reserved from the same batch, following the wax instructions. Do not exceed the first fill level; let the second fill cool completely too.
- 8
Demold and rest
Flex the opening and peel the silicone away from the candle. Trim the top wick to 0.5 cm. Follow the product descriptions' minimum 24-hour wait; allow a longer rest before assessing scent in fragranced soy candles.
Do not melt over direct heat or mix water into wax. Keep children and pets away from the work area. Do not transfer temperature instructions from one wax type to another.
Follow the 55–65 °C pouring range for Pillar (up to 70 °C in a cold room). Paraffin application temperature depends on the product; one bubble candle temperature does not suit every wax. See the difference between heating and pouring in our wax temperature table.
How much dye and fragrance do bubble candles need?
Assess fragrance at 6–10% of wax weight; do not exceed the limits for either the wax or fragrance. The 8% example for Large Bubble comes from dividing the 135 g total fill by 1.08. Adding unmeasured fragrance to increase scent can worsen sweating and burning problems.
Our dye guide says 10 g of granular candle dye colors approximately 10–15 kg of wax. This broad range depends on color intensity. Start small and drip a little onto a white surface to check the cooled color. Do not replace candle dye with acrylic paint, food coloring or glitter that could clog the wick.
When can you demold a bubble candle?
A candle with a set exterior can still be soft inside. Wait until the mold reaches room temperature and the base is firm. Rather than pulling the rounded bumps, gently flex the opening and move the silicone away from the wax. Do not use the wick as a carrying handle; delicate details can be damaged.
Do not try to save time by putting the candle in the freezer. Rapid cooling can increase cracking in plant waxes. See readiness signs and options for a stuck candle in how to demold a candle. Clean the mold afterward and store it flat.
What causes bubbles, seams and sinkholes in bubble candles?
Air pockets on the rounded surfaces
A seam or line
A sinkhole around the wick
How do you package bubble candles as gifts?
For engagement and celebration favors, prepare a single sample first: check its fit in the box, cooled color and label readability. Sources suggest resting soy candles for 1–2 weeks to assess scent; allow for that in your event schedule. Package only once the candle is fully cool and its surface has settled.
Avoid tight packing that crushes the candle's bumps. State the candle type, net weight, scent and safe-burning information on the label. Remove ribbons and paper decorations before lighting; use the candle on a heat-resistant plate under supervision. Do not embed combustible decorations in the wax.
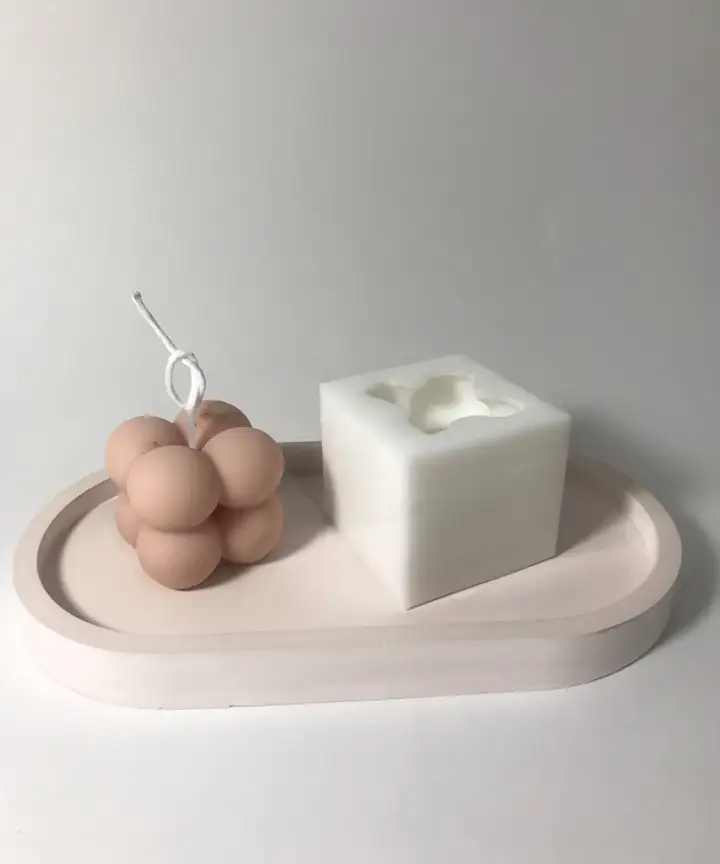 Mini Bubble Candle MoldView
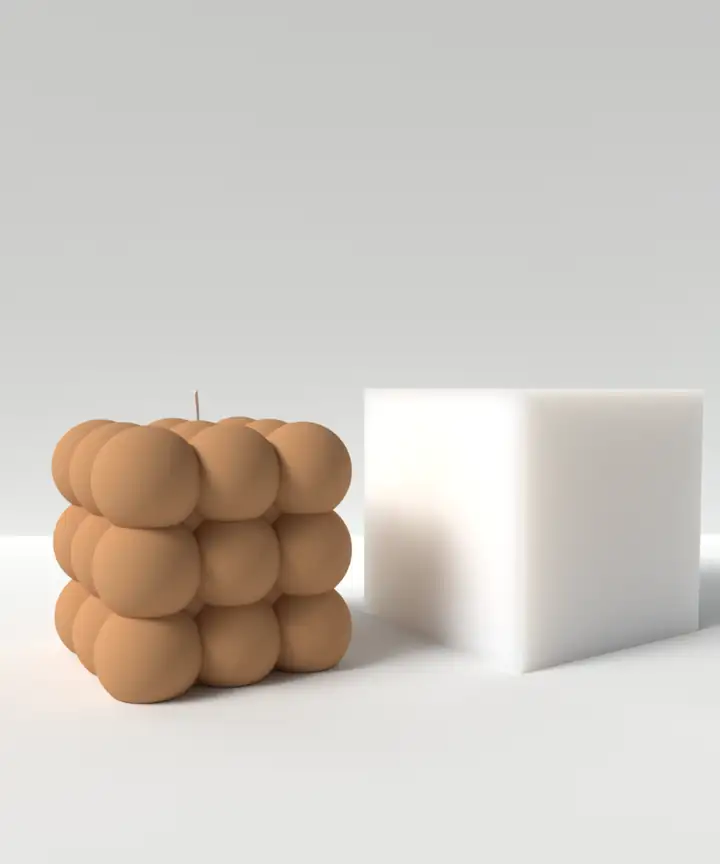 Large Bubble Candle MoldView
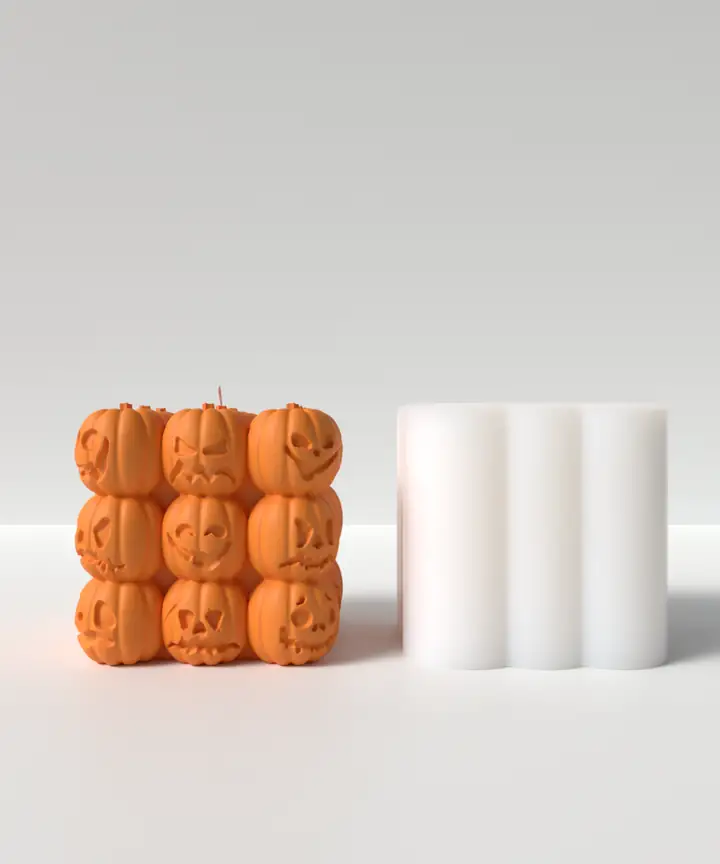 Bubble Pumpkin Candle MoldView Product
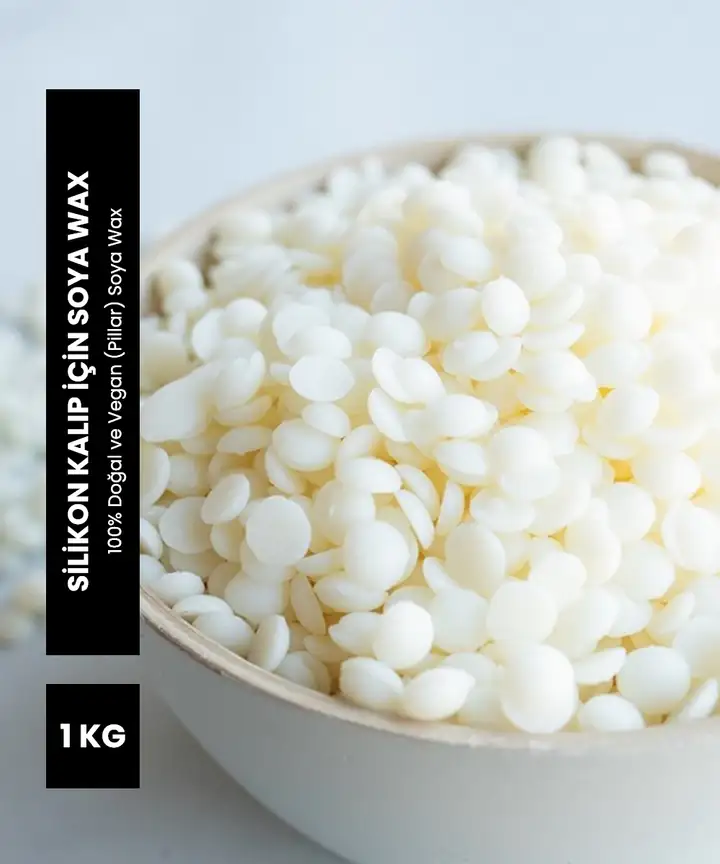 Pillar Soy Wax for Silicone Molds 1 kgView
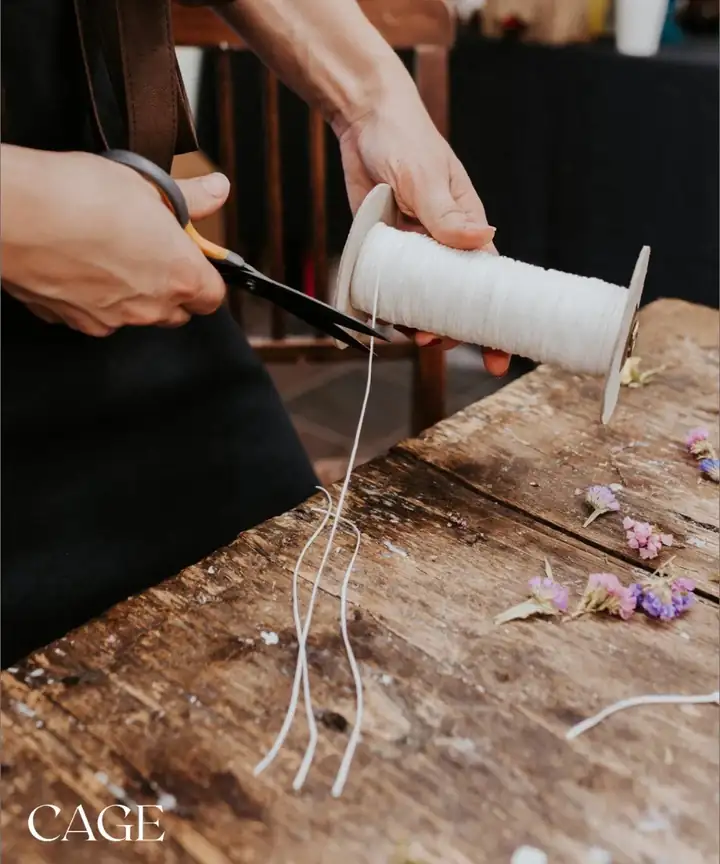 Pre-Waxed Thin Candle Wick 10 mView
 Lavender Candle Fragrance OilView
What are the common questions about making bubble candles?
How do you make bubble candles?
Fit a centered wick in a clean silicone mold, use a firm molding wax and weigh in grams. Pour Pillar Soy Wax at 55–65 °C; once the candle is fully cool, peel the mold away.
How much does a mini bubble candle weigh?
Our Mini Bubble description lists an approximate 47 g candle capacity and 3.5 × 3.5 cm casting dimensions. Check the quantity by weighing a test pour of your own recipe.
How much does a large bubble candle weigh?
Our Large Bubble holds approximately 135 g and produces a 6 × 6 cm casting. The example at 8% fragrance uses about 125 g wax and 10 g fragrance oil.
Which wax is best for bubble candles?
Use Pillar Soy Wax or a suitable paraffin blend for silicone molds. Our stearic acid product recommends 10% for paraffin, or 100 g per 1 kg paraffin; do not automatically add this amount to Pillar Soy Wax.
How many hours before you can demold a bubble candle?
With Pillar Soy Wax, usually after 3–5 hours; size, wax and room conditions change this time. The mold should be at room temperature, the base firm, and any second pour fully set. Wait at least 24 hours before burning.
Can bubble candles be engagement favors?
Mini Bubble suits small boxed sets and Large Bubble individual gifts. Make a test candle first and complete cooling and resting; add net weight, scent and safe-burning information to the label.
Choose your bubble mold and supplies
Pair mini and large bubble molds with molding wax, wicks, dye and fragrance oil.