How to Clean Silicone Molds: Care, Storage and Lifespan
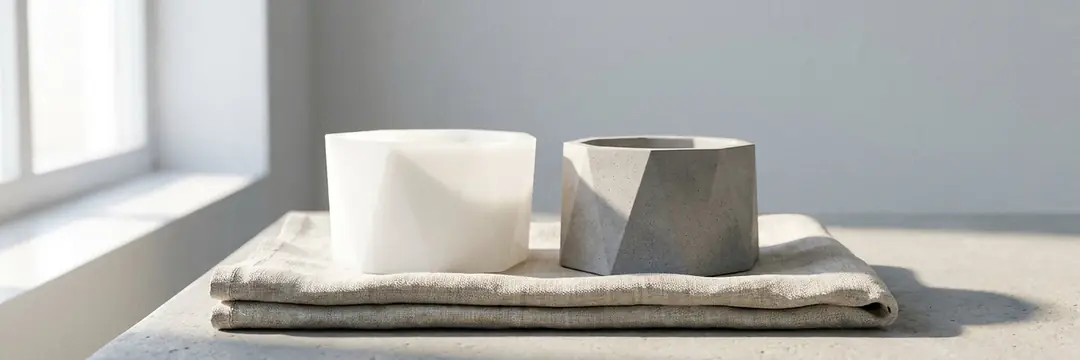
Clean silicone molds by gently removing residue, washing with warm soapy water and a soft sponge, then rinsing and drying completely. Our care guide recommends soaking stubborn residue in soapy water for at least 30 minutes. Avoid sharp tools, keep plastic supports out of hot water and store each mold in its natural shape.
In short
- Use warm soapy water and a soft sponge; avoid dishwashers and solvents.
- For stubborn residue, our care guide recommends soaking in soapy water for at least 30 minutes.
- Protect plastic inserts from hot water and sunlight.
- Store the mold dry, flat and free from pressure.
- There is no universal guaranteed number of uses or mold lifespan.
How do you clean silicone molds, and what should you check first?
First read our mold use and care guide. The basic method is warm soapy water, a soft sponge, thorough rinsing and complete drying. Do not put the mold in a dishwasher or use acetone, paint thinner or similar solvents. Abrading silicone to remove residue can leave a more visible flaw in the next casting.
The silicone body and any supplied plastic insert are different parts. Do not wash plastic cores in hot water or leave them in the sun. Separate the inserts as the product design allows before washing, then put them back without forcing them in the wrong way. Cutting or repairing a mold for cleaning is outside this guide’s scope.
To prepare a clean mold for another pour, secure cuts and calculate quantities, see how to use silicone molds.
This guide covers cleaning after casting. Check our what can you pour into silicone molds chart for material compatibility; being removable by cleaning does not make a material suitable for casting.
How do you remove wax, concrete and epoxy residue?
| Residue | First step | Caution |
|---|---|---|
| Paraffin / hard wax | Let cool, remove loose pieces and wash with soapy water | Do not scrape with a knife or heat the mold over a flame |
| Soy wax | Wipe away the soft film, then clean with warm soapy water | Leave no oily film or detergent behind |
| Gel candles | Gently remove residue that comes away easily | Do not use solvents; gel wax is a separate material used in containers |
| Concrete / stone powder / plaster | Collect loose residue and use soapy water with a soft sponge | Do not break hardened crust with metal tools or pour mortar down the drain |
| Cured epoxy | Remove pieces that release freely | Do not overstretch silicone or disperse sticky resin in water |
| Melt-and-pour soap | Remove residue with warm water and rinse | Check that no slippery film remains, then dry |
The sequence in the chart keeps you from using one strong cleaner before identifying the residue. A soft wax film and a hard concrete crust behave differently. With epoxy, first establish whether the resin has fully cured. A manufacturer’s cleaner being suitable for resin does not mean it is suitable for our silicone mold; both materials’ instructions must be met.
How do you wash and dry a silicone candle mold?
- 1
Remove the residue
Clean the mold with lukewarm water and a soft cloth, and store it only once it is completely dry. Wait until the casting can be safely removed and the mold has cooled. Collect loose pieces and gently wipe remaining marks with a paper towel. Do not insert a pointed tool into narrow recesses.
- 2
Wash with warm soapy water
Use a little dish soap and warm water. Our care guide recommends soaking stubborn residue in soapy water for at least 30 minutes; do not put the plastic insert in hot water.
- 3
Clean with a soft sponge
Gently wipe inside the mold with a soft sponge or cloth. Do not use metal scourers, stiff brushes or knives, and do not forcefully scrape pieces out of recesses.
- 4
Rinse and dry completely
Rinse until no detergent remains and remove water with a clean cloth. Check that no droplets remain in the cavities. Do not pour wax or resin into a mold that has not dried.
Do not check dryness only on the outside. Narrow recesses in deep sculpture molds and areas around a planter mold’s core can hold water. Rather than pressing a cloth into every area, let the mold air-dry in its natural shape. Do not speed drying with an oven, direct flame or very hot air. Check again just before pouring.
How do you remove wax or concrete stuck to a silicone mold?
When wax sticks to a silicone mold, first check the demolding time. If the center is still hot, pulling strains both the candle’s shape and the mold’s thin sections. Once fully cool, gently loosen the opening and peel the silicone away from the casting. See how to remove a candle from a mold for detailed steps.
When removing concrete or stone powder residue, do not turn the mold inside out and stretch it forcefully to break the crust. If an area remains firmly attached after soapy-water cleaning, stop and inspect the surface. No exact dissolution time can be given. For the next pour, check the mortar, its demolding time and any suitable release agent requirement.
If epoxy residue remains sticky, do not try to clean it by pouring fresh resin over it. Follow the resin’s safety and disposal instructions without bypassing our ban on solvents. The resin manufacturer specifies gloves and workspace requirements. Asking for help with a surface you cannot clean is more controlled than trying random chemicals.
Which mistakes shorten a silicone mold’s life?
Using pointed tools and stiff brushes
Using a dishwasher, flame or excessive heat
Applying oil, petroleum jelly or solvents
Folding the mold or leaving it under heavy loads
How should you store silicone molds?
- 1
Keep its natural shape
Pour the wax at the right temperature in a thin, steady stream. Place the clean, completely dry mold on a level shelf. Align the parts of multipart molds correctly; do not let silicone stay folded or under pressure.
- 2
Arrange molds side by side
Do not put molds under heavy items or squeeze them inside one another. Give each enough space instead of piling small molds on large ones.
- 3
Keep away from sun and moisture
Choose a cool, dry place out of direct sunlight. A spot beside a heater or a tightly packed bag is unsuitable. Store the plastic insert so it retains its shape too.
- 4
Inspect before the next pour
Assess any dust, droplets, cracks or distortion before pouring. Pay extra attention to areas that released poorly last time; looking clean is not enough.
Arrange molds on the shelf so you can identify which casting materials they have been used with. A mark from a resin mold appearing on the next candle may not be the new wax’s fault. A simple usage log helps identify the operation after which release became difficult. It is not a lifespan guarantee; base care decisions on visible damage and casting quality as well.
When should you replace a silicone mold?
Reassess the mold if sticking continues after cleaning, or if you see tears, clear distortion or worn detail. Dulling alone does not always make a mold unusable; inspect both the casting surface and the mold’s integrity. If a thin area is strained more with every pour, repeating the same process can enlarge a tear.
Sources report different user experiences for resin mold lifespan, but these are not use guarantees for our products. We therefore do not promise a fixed number of pours. Browse our silicone molds to replace a worn model, or use our custom silicone mold service for a special shape. When you resume candle casting, the molded candle guide reviews the preparation sequence.
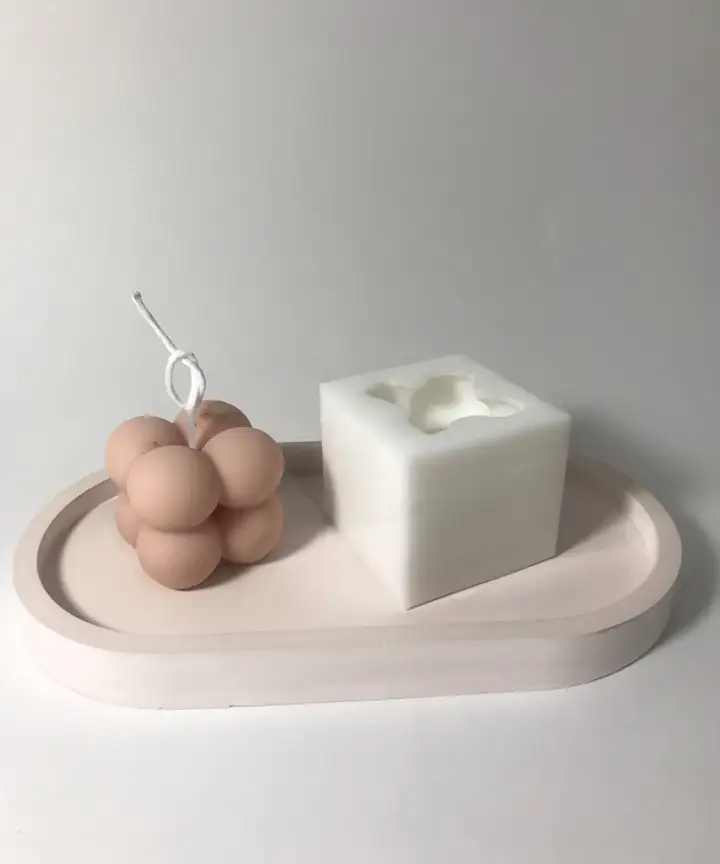 Mini Bubble Mum silikon KalıbıView
 Beton Saksı Silikon Kalıbı - K1View
 ERIC GILL Heykeli Silikon KalıbıView
What are common questions about silicone mold care?
Can silicone molds go in the dishwasher?
No. Our instructions recommend handwashing with warm soapy water and a soft sponge. Dishwasher heat and strong detergent can damage the mold.
How do you clean a silicone candle mold?
Let the wax cool and remove residue. Wash with warm soapy water, clean with a soft sponge, rinse and dry completely. Our guide recommends soaking stubborn residue for at least 30 minutes.
How do you clean a silicone epoxy mold?
Remove cured resin pieces that release freely, without force. For sticky or uncured resin, check the manufacturer’s cleaning instructions; do not apply acetone or paint thinner to the mold.
How many times can you use a silicone mold?
There is no verified number of uses for all models. Casting material, force during demolding, cleaning and storage affect lifespan; concrete and resin can wear fine detail more quickly.
Should you scrape concrete stuck to a silicone mold?
Do not scrape with metal or pointed tools. Remove loose residue and try gentle cleaning in warm soapy water; do not tear silicone away to remove a remaining hard crust.
Should you oil silicone molds before storage?
No. Store it clean, dry and in its natural shape. Oil and petroleum jelly can swell and soften silicone; they are not care treatments.
Choose materials that suit your project
Choose molds, wax and accessories for your intended use, and record the first sample’s results as you go.