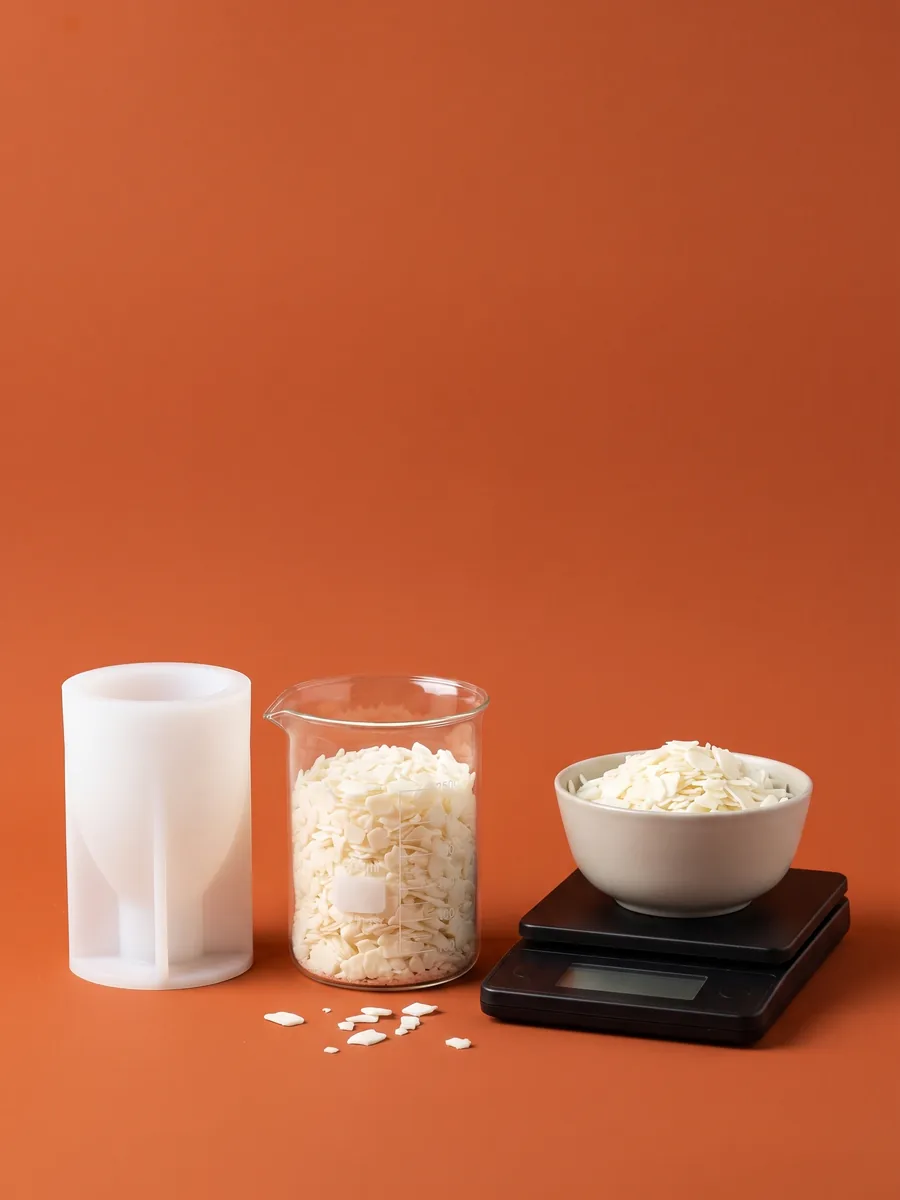
How to Use Silicone Molds: From First Pour to Storage
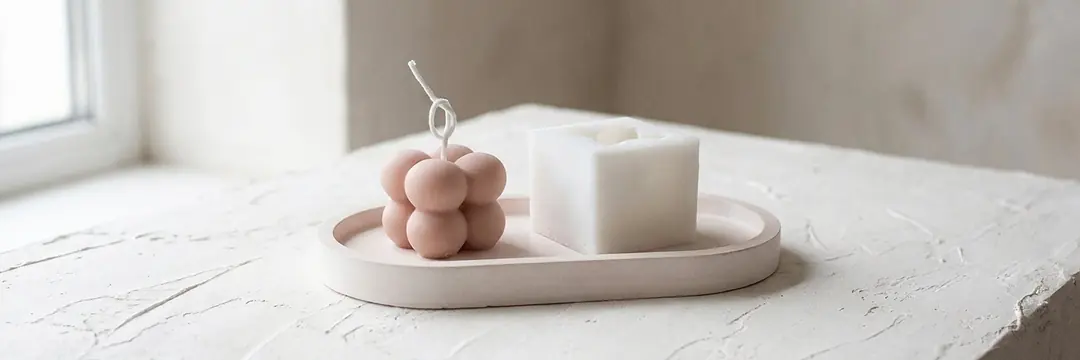
To use a silicone mold, secure it clean and dry on a level surface, then pour compatible material following its instructions. Close split models with tape or bands; flex the mold to release hardened pieces. Pillar Soy Wax usually pours at 55–65 °C (up to 70 °C if the room is cold); that is not the mold's heat limit. Cleaning and storage prepare it for reuse.
In short
- Before first use, wash with warm soapy water and dry completely.
- Align split molds with tape or bands; do not distort them by overtightening.
- The 5 materials have different mixing, temperature and demolding instructions.
- Approximate candle quantity: water weight × 0.82; verify with a test weighing.
- Candles, plaster and casting powder need no release agent; concrete uses a very thin water-based release layer.
How do you prepare a silicone mold for first use?
Checks before filling directly affect the finished shape. Correct material alone will not fix a tilted, overcompressed or wet mold. Consider how the model should stand and which direction the piece will leave; take particular care with fine details.
- 1
Check the model and instructions
Read material compatibility, finished-piece dimensions and any support parts in the description. Do not confuse object dimensions with the mold's outside size. For a new material, first make one sample in one mold.
- 2
Wash and dry completely
Before first use, wash in warm soapy water, rinse and let every recess dry. Do not fill while dust, water or old casting residue remains. Keep plastic helper parts out of hot water.
- 3
Place it level and stable
Set the mold on a flat tray or work surface, using support that does not distort it if necessary. Choose a place where the filled mold will not need moving. Check at eye level that the support does not tilt it.
- 4
Align and secure the cuts
Align split edges precisely and close with external tape or bands. Do not overtighten and change the shape. For candles, also check the wick opening and mold base; use a tray to catch possible leaks.
- 5
Pour according to the material
Prepare wax temperature or powder-to-liquid ratio according to its product instructions. Fill from a low height with controlled flow, not by guessing the amount. Record material, quantity and the start of the waiting period.
External tape does not mean applying adhesive inside the mold. Material entering between cut faces can enlarge seam marks, so align edges before filling. Check that any lid or core fits correctly; do not force an incompatible part into place.
How do you pour wax, casting powder, concrete, plaster and epoxy?
Even if one mold suits several materials, one recipe cannot serve all. Wax temperature, mineral mix water ratio, epoxy component ratio and pour depth need separate checks. The table is a starting guide; each material's guide gives detailed instructions.
| Material | Initial check | Demolding criterion | Detailed guide |
|---|---|---|---|
| Wax | Molding wax; pour Pillar Soy Wax at 55–65 °C. | The candle must cool and harden completely. | Making candles with silicone molds |
| Stone powder | Manufacturer's water ratio; weighed mixture. | Product setting and demolding times. | Using casting powder |
| Concrete | Bag instructions; a suitable thin release layer. | The mortar's demolding instructions. | Making concrete planters |
| Plaster | Add plaster to water; use the product's weight ratio. | Setting and demolding differ from complete drying. | Casting plaster in silicone molds |
| Epoxy | A:B ratio and permitted layer depth. | Time specified in the resin's technical sheet. | Using epoxy resin |
Do not read Pillar's pour temperature as the mold's heat limit. We give no specific heat-resistance limit for our molds here. Epoxy heats after mixing, so room temperature alone is insufficient: follow resin pour-depth instructions and never apply flame directly to the mold.
See what to pour into a silicone mold for full compatibility and exceptions. Our shop supplies molds for these projects; we do not list casting powder, plaster, cement or epoxy raw materials as products sold here.
Should you oil a silicone mold or use a release agent?
Our mold guide says candles, plaster and casting powder need no release agent. Concrete uses a very thin water-based release layer; for epoxy, check whether a resin-compatible product is needed. Oiling every material is not a universal answer to demolding problems.
Excess release agent can collect in fine details and affect the surface. Do not automatically reuse a product that worked with another material. Read mold and casting-material instructions together instead of using cooking oil or unknown mixtures.
Do not test all molds at once with a new material or release agent. Observe the surface and release behavior on one model, then use those records to decide on the next pour.
How do you calculate a mold's fill quantity?
Multiplying a mold's outside dimensions does not give its actual fill volume. Recesses, cavities and any core change capacity. For our guide's calculator, fill with water to the intended level and subtract the empty mold's tare to measure water weight alone.
The guide's approximate candle factor is 0.82: a cavity holding 100 g water calls for about 100 × 0.82 = 82 g wax. This is a starting estimate, not measured density for every wax and formula. Empty the water and dry the mold completely before pouring wax.
Find candle and concrete calculators in the mold use guide. Do not apply the candle factor to concrete or epoxy. Weigh the finished item made with your material; for the next batch, prioritise real sample data over calculator estimates.
For several molds, record each water measurement with its model name. Two shapes of equal height need not weigh the same. Compare estimated candle capacities in our silicone candle mold capacity table; plan waste and top-up pours separately.
When and how should you demold a casting?
One waiting time cannot cover every material. Wax must cool and harden fully; setting is not complete drying for plaster or casting powder. Follow concrete and epoxy technical sheets for demolding times. A hard-looking surface does not mean thin parts can withstand force.
Instead of pulling and stretching the piece, gently flex the mold edge while supporting the object underneath. Do not use thin projections as handles or insert sharp tools into silicone. If it resists, check waiting time and material choice before applying more force.
See how to remove a candle from a mold for candle-specific steps. Drying and finishing a mineral casting come later; release from the mold does not mean it is ready to paint or use immediately.
How do you clean and store the mold?
After casting, let the mold cool and remove residue without scratching. Our guide recommends warm soapy water, thorough rinsing and complete drying. Do not use dishwashers, abrasive tools or solvents; avoid forcing stiff brushes into narrow recesses.
Store the mold flat, dry and out of direct sunlight, without heavy objects on top. Let split models rest without distortion. Packing a bent or dirty mold tightly into a box can affect the next casting's shape and surface.
For residue-specific care, see how to clean a silicone mold. We promise no fixed reuse count; inspect for tears, distortion and inner-surface changes each time. Do not continue using a damaged mold expecting identical results.
How can you prevent common mistakes?
| Symptom | What to check first | On the next attempt |
|---|---|---|
| Leaking through a cut | Edge alignment and external fastening. | Reposition tape or bands without overtightening. |
| Crooked object | Surface, support and mold shape. | Check the empty mold's position before pouring. |
| Breakage of thin parts | Waiting time and removal direction. | Support the base and flex the mold. |
| Surface voids | Cleaning, mixing and pouring flow. | Follow the material's bubble-removal instructions. |
Recording the stage of an error helps prevent repetition. Leaks appear during pouring, breakage during removal, and distortion sometimes after storage. Reviewing material, temperature or ratio, fastening method and waiting time together reveals which step to change.
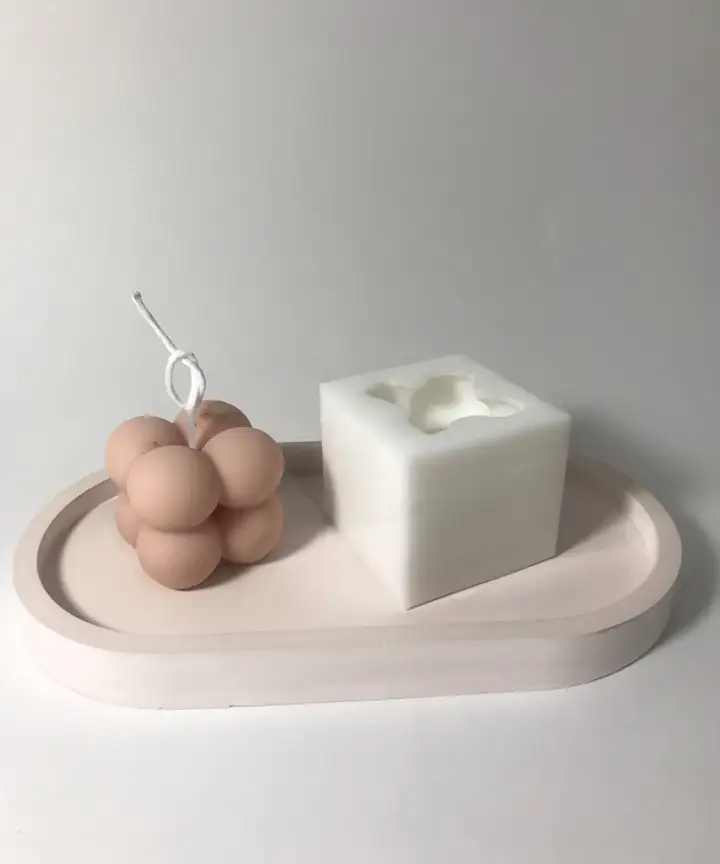 Mini Bubble Mum silikon KalıbıView
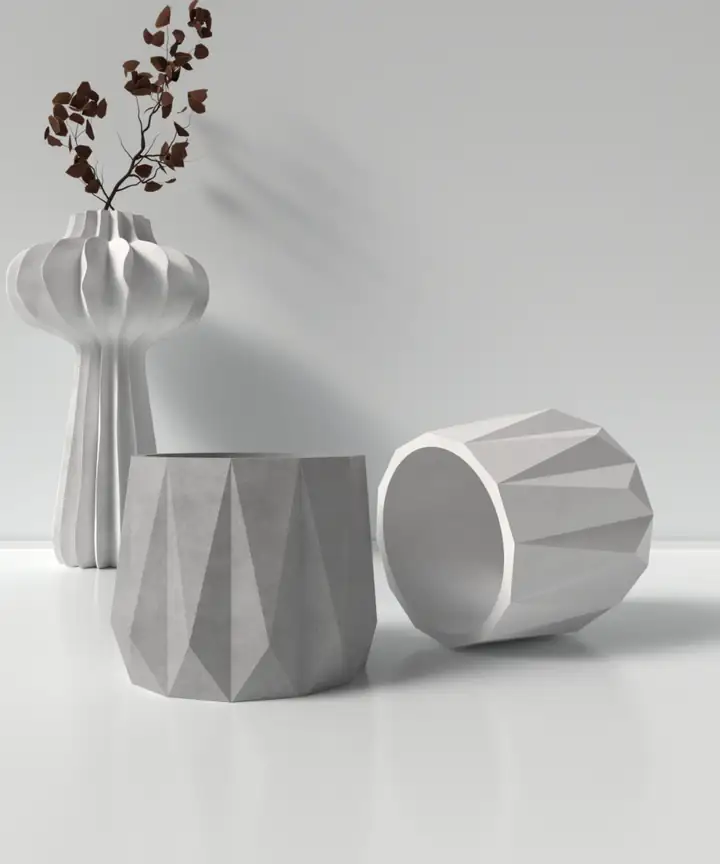 Beton Saksı / Mumluk Silikon Kalıbı - K7View
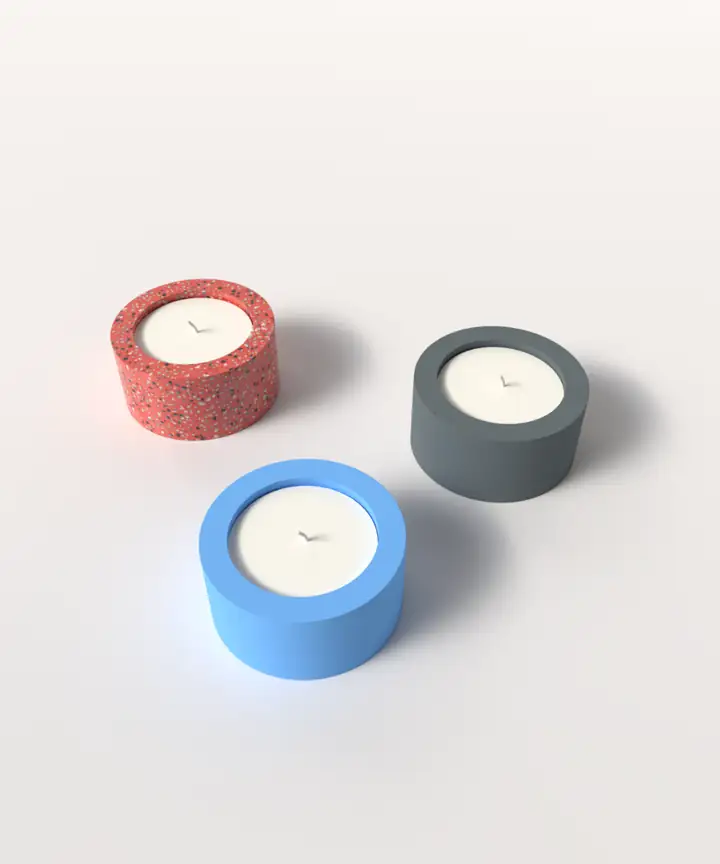 Küçük Beton Tealight / Mumluk Silikon Kalıbı - H1View
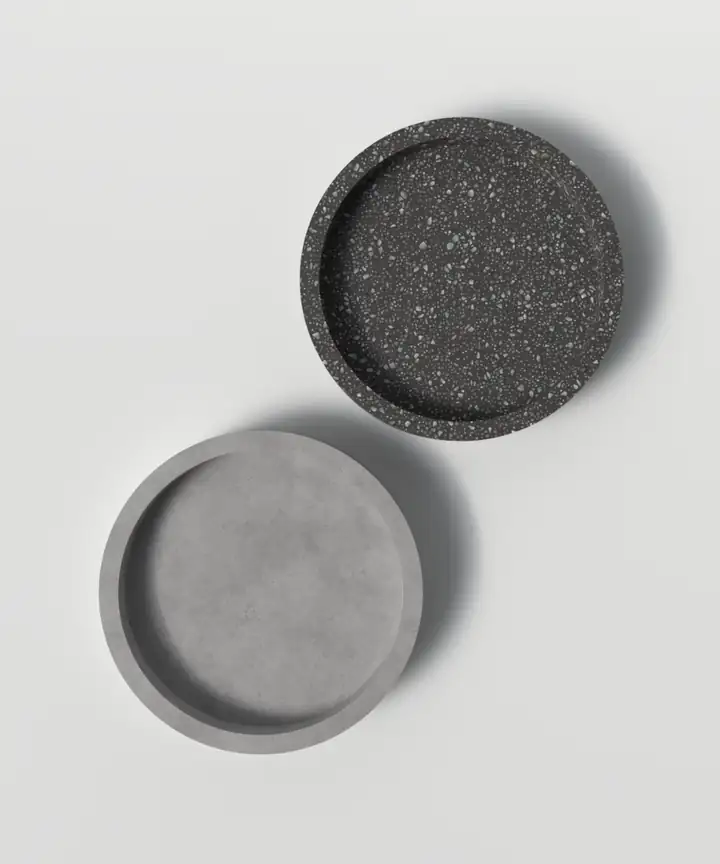 Yuvarlak Bardak Altlığı Silikon KalıbıView
 ERIC GILL Heykeli Silikon KalıbıView
Frequently asked questions
How do you use a silicone mold?
Clean and fully dry the mold, secure it level and close any cuts. Pour compatible material at its specified temperature or mixing ratio. Support the sufficiently hardened piece while removing it; clean the mold and store it without distortion.
Should you wash a silicone mold before first use?
Yes. Our guide recommends warm soapy water and complete drying before first use. Leave no water inside or in narrow recesses; do not wash plastic helper parts in hot water.
Should you oil a silicone mold?
Our guide requires no release agent for candles, plaster or casting powder. It specifies a very thin water-based agent for concrete; epoxy follows resin instructions. Do not use cooking oil as a general mold-care method.
How many times can a silicone mold be used?
We give no single verified reuse count for every model and material. Material, removal and care all matter; check tears, distortion and casting-surface changes before each use.
How do I find how many grams of wax a mold holds?
Our guide estimates by multiplying water weight by 0.82. A cavity holding 100 g water is planned as about 82 g wax; a test weighing with your own wax gives the actual amount.
Can silicone candle molds be used for food?
Our molds are not designed for food. Do not treat a mold used with craft materials as a food mold; choose the application according to the product description.
Choose materials for your project
Compare product descriptions and instructions before preparing your test pour.