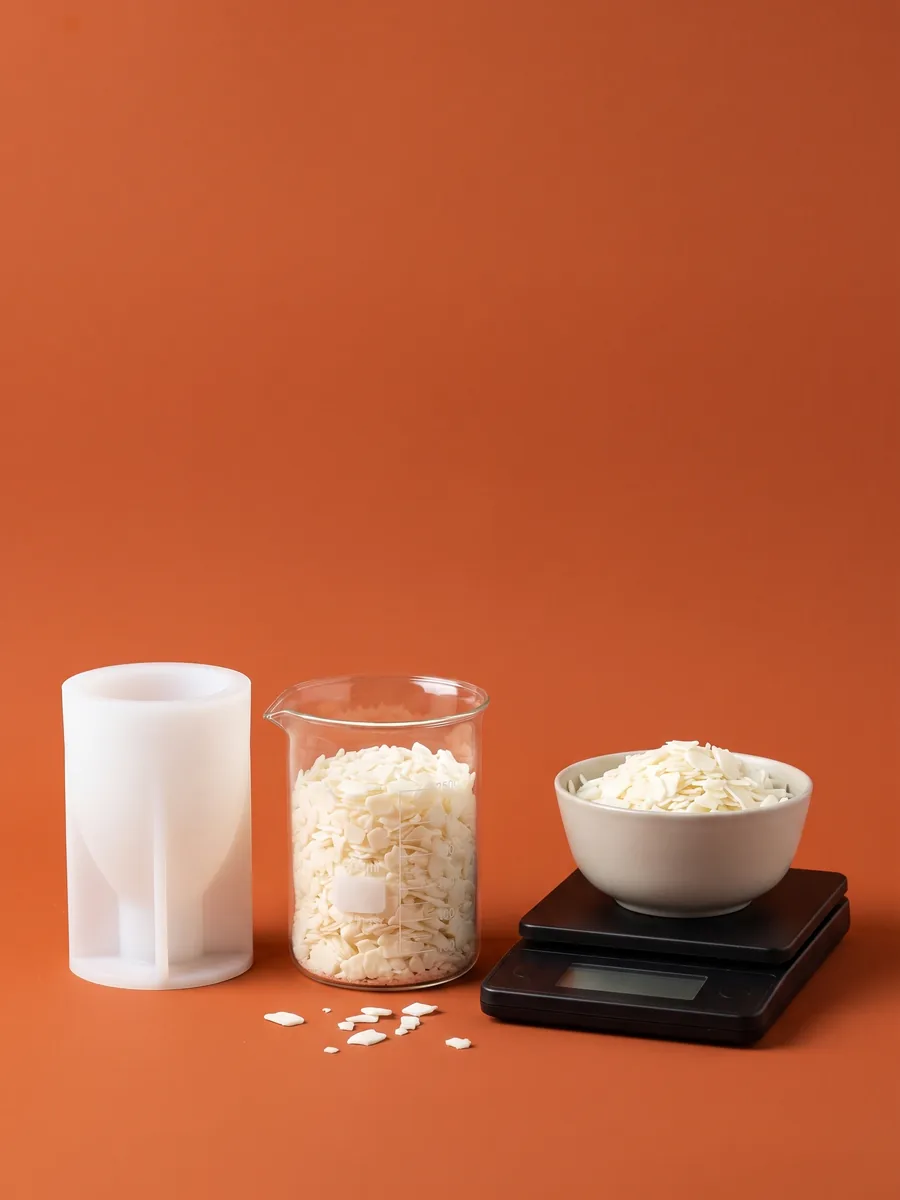
Why Do Candles Sink? Jars, Molds and Second Pours
Candles sink because wax contracts as it cools and air pockets can form inside. A second pour may be needed to fill the depression; reserve wax from the same batch and do not exceed the original fill level. Pillar Soy Wax is usually poured at 55–65 °C; if the room is cold, you can go up to 70 °C. Do not apply paraffin methods above 70 °C to this soy wax.
In short
- Distinguish cooling depressions from tunneling during burning.
- Some paraffins require a second pour as part of production.
- Sources differ: full cooling or methods using 1–2 hours.
- A second pour about 3 °C hotter refers to a specific pillar method.
- Do not exceed the first level; use wax from the same batch.
Why do candles sink, and when does the depression appear?
If a candle develops a depression while cooling before use, inspect pouring and shrinkage first. A deep channel appearing during use may be tunneling, where wick and burning conditions matter. The same treatment does not suit both. This article focuses on cooling sinkholes and second pours.
Wax can look solid outside while remaining warmer within. Continued cooling changes its volume and may leave a depression or internal void. A small surface mark does not always imply an equally large cavity. Record its location, first appearance and whether the candle was cast in a jar or mold.
Sweating, soot, frosting and tunneling are covered in candle-making tips. Here we cover only sinking, air pockets and top-up pours.
Why does the center of a jar candle sink?
| Jar symptom | Possible cause | Check |
|---|---|---|
| Dip around the wick | Shrinkage or a subsurface void | Cooling record and wax-appropriate top-up method |
| Wavy top surface | Uneven cooling or wax formula | Pouring temperature and room conditions |
| Pulling away from glass | Glass adhesion and shrinkage | Do not automatically call this a central sinkhole |
| Deep channel only after burning | Narrow melt pool / wick problem | Burn testing and wick compatibility |
Before topping up a jar, check its integrity and suitability for candles. Wax cannot repair cracked glass. Keep conditions stable rather than heating suddenly or placing hot wax on a very cold surface. If scent is also weak, follow the wick and pool checks in why scented candles have weak scent.
What causes sinking in molded and paraffin candles?
| Mold symptom | Possible cause | Check |
|---|---|---|
| Depression at the open pouring end | Shrinkage during cooling | Decide whether a second pour is needed for this wax |
| Internal void beside the wick | Trapped air or uneven shrinkage | Check the manufacturer’s venting method |
| Outer line after topping up | Exceeding the original level or leaking down the edge | Use the same batch and top up only to the original level |
| Broken fine details | Early unmolding or unsuitable wax | May be a separate unmolding issue |
For some paraffins, a second pour is normal production. CandleScience’s MP-137 review specifically notes this. Do not therefore top up all waxes at one temperature. Our paraffin beads specify about 70 °C, while Pillar Soy Wax pours at 55–65 °C; the formulas differ.
A depression at the mold opening may end up on the finished candle’s base; that does not mean ignoring it. Assess internal voids and level standing together. Do not rush removal; follow the cooling and support sequence in how to unmold a candle.
How do temperature and cooling relate to sinking?
1. Pouring temperature does not suit the wax
2. Cooling is fast or uneven
3. The mold or glass is too cold
4. The wax type needs a second pour
5. The model has a thick section
6. Air was trapped during pouring
When and at what temperature should you make a second pour?
| Method described in the source | Waiting time | Second pour |
|---|---|---|
| CandleScience pillar guide | After full cooling | About 3 °C hotter than the first pour |
| Lone Star paraffin pillar method | After full cooling | Remaining wax around 79–85 °C, for that method |
| Candlewic pillar method | 1–2 hours | With remaining wax from the same batch |
| CandleScience MP-137 | Shrinkage may appear within 24 hours | 88 °C for pillars; specific to this formula |
- 1
Reserve wax from the same batch
Pour the wax at the right temperature in a thin, steady stream. Reserve leftover wax with identical dye and fragrance ratios in a clean vessel. A different recipe can change color and burning behavior; keep the wick centered.
- 2
Follow the wax’s waiting instructions
CandleScience and Lone Star pillar guides wait for full cooling; Candlewic specifies 1–2 hours for its method. Do not merge these times into a rule for all waxes; follow your first-pour method.
- 3
Check the depression and any internal void
Assess whether it is only a surface depression or an internal cavity. Venting holes are not necessary for every wax; without product instructions, do not attempt to pierce the mold or vessel.
- 4
Heat reserved wax under control
CandleScience’s pillar method makes the second pour about 3 °C hotter than the first. Assess this difference within your wax’s allowed range; do not transfer the 88 °C reference for specific waxes such as MP-137 to Pillar Soy Wax.
- 5
Fill without exceeding the original level
Pour carefully into the depression without exceeding the first pour level. Overflow into a gap at the mold edge can create an exterior line. Keep the wick in place.
- 6
Cool completely again and inspect
Cool on a level surface without drafts. Check the depression, layer join and wick center; better appearance does not prove burning performance. Complete curing and tests according to the wax.
The sources in the table are separate methods. Do not create a new recipe by taking timing from one and temperature from another. Do not apply paraffin examples exceeding Pillar Soy Wax’s 55–65 °C pouring range (70 °C in a cold room). See wax pouring temperatures for stage distinctions.
How do you assess an air pocket around the wick?
Lone Star’s particular paraffin pillar method describes relief holes exposing internal voids as a skin forms. CandleScience’s MP-137 notes instead advise against them because that wax shrinks evenly. The difference shows holes are not mandatory for every sinkhole; check your product first.
Do not pierce silicone molds or glass. These methods concern the wax body in suitable processes, not mold making or alteration. Melting a thin surface layer does not always fill a deeper void. If the depression returns, revisit cooling and air records rather than adding more surface treatment.
What should you check to prevent candle sinkholes?
Pre-pour checks
- Choose the correct container or mold wax and note its pouring range.
- Prepare clean, dry molds and vessels in stable room conditions.
- Mix gently, pour with control and keep the wick centered.
- Reserve top-up wax from the same batch if needed.
- Do not move the candle while cooling; protect it from drafts and very cold surfaces.
- Add second-pour and burn results to the same sample record.
If paraffin also needs hardness adjustment, read the stearic acid guide; additives cannot replace correct temperature and cooling. Follow silicone mold candle making for basic casting. Small tests changing one variable make sinking causes clearer than changing the whole recipe.
 Pillar Soy Wax for Silicone Molds 1 kgView
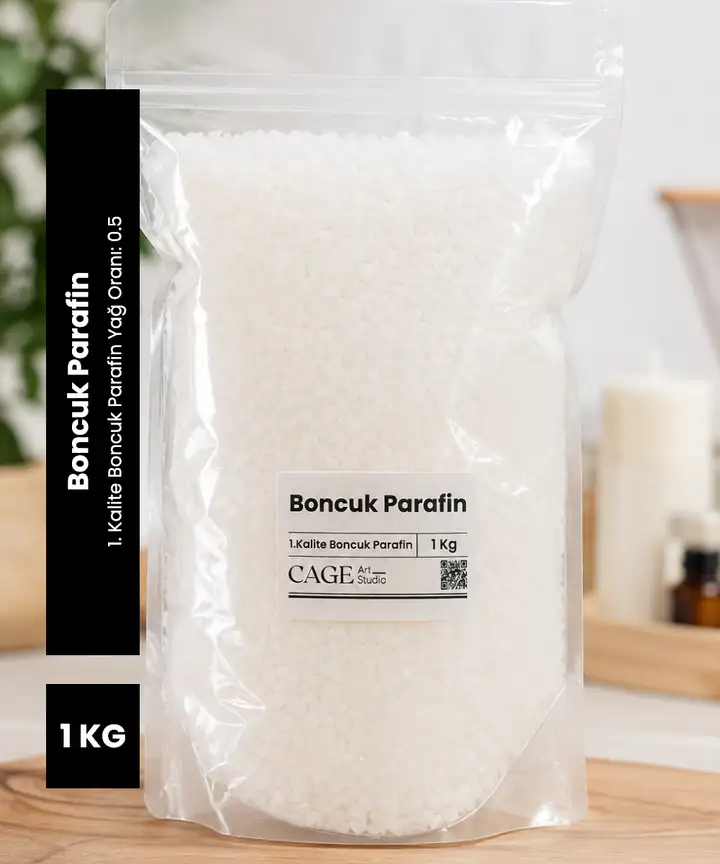 Paraffin Pellets 1 kgView
 Stearic Acid (Starin) 100 gView
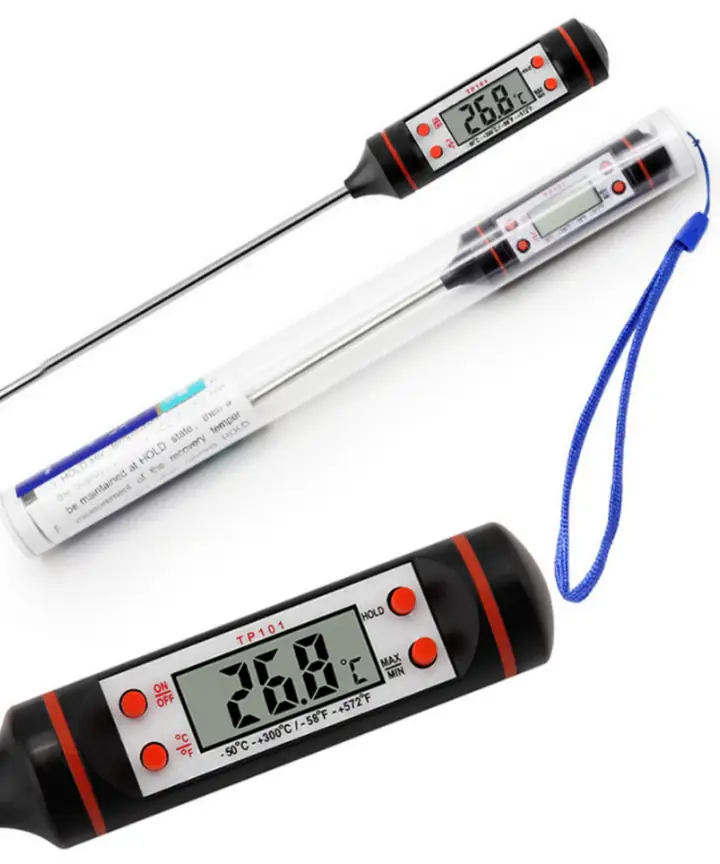 Digital ThermometerView
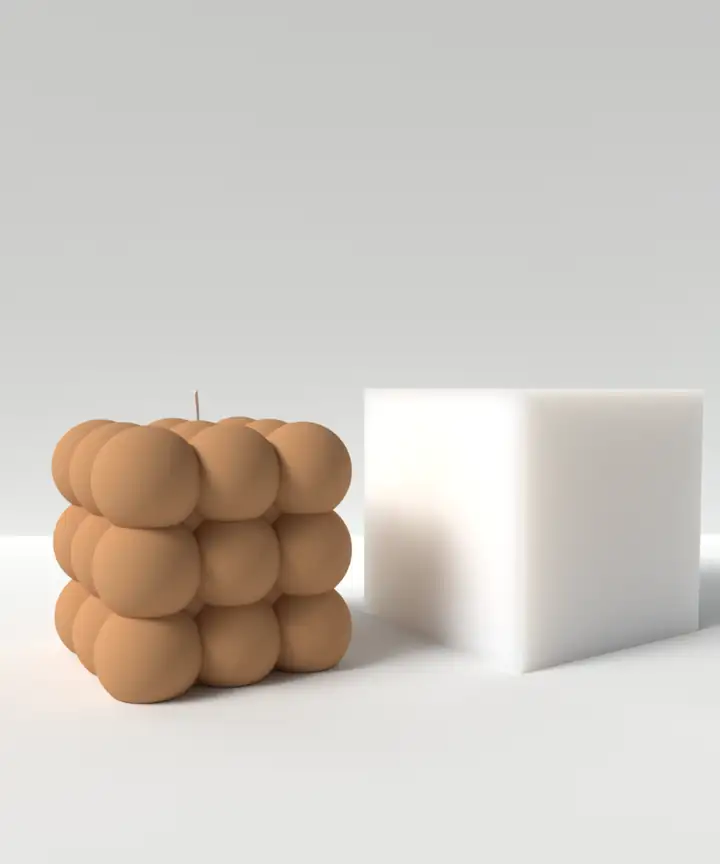 Large Bubble Candle MoldView
What are common questions about candle sinking?
Why do candles sink?
Wax volume can decrease as it cools. When the outside solidifies first, a depression or internal void can form around the wick. Assess pouring temperature, cooling, wax type and model thickness together.
Why does the center of a candle sink?
The center and thick sections cool at a different rate from the surface. Subsurface voids or shrinkage may appear as a central depression; smoothing only the top may not remove every internal cavity.
Why do paraffin candles sink?
Some paraffins shrink noticeably and need a second pour. That alone does not mean a defective product; follow its pouring, cooling and top-up instructions.
How hot should the second pour be?
CandleScience’s pillar method uses wax about 3 °C hotter than the first pour. This is not universal; stay within your product’s range and do not transfer paraffin-specific values to soy.
How many hours before a second pour?
Sources vary by method: some pillar guides wait for full cooling, while Candlewic suggests 1–2 hours. Follow your chosen wax and method; no single time suits every mold.
Does refrigerator cooling prevent sinkholes?
Sudden cooling is not recommended for routine castings and may increase surface defects and cracks. Brief cooling advice for release is not a method for rapidly chilling freshly poured wax.
Choose materials that suit your project
Choose molds, wax and accessories for your intended use, and record the first sample’s results as you go.