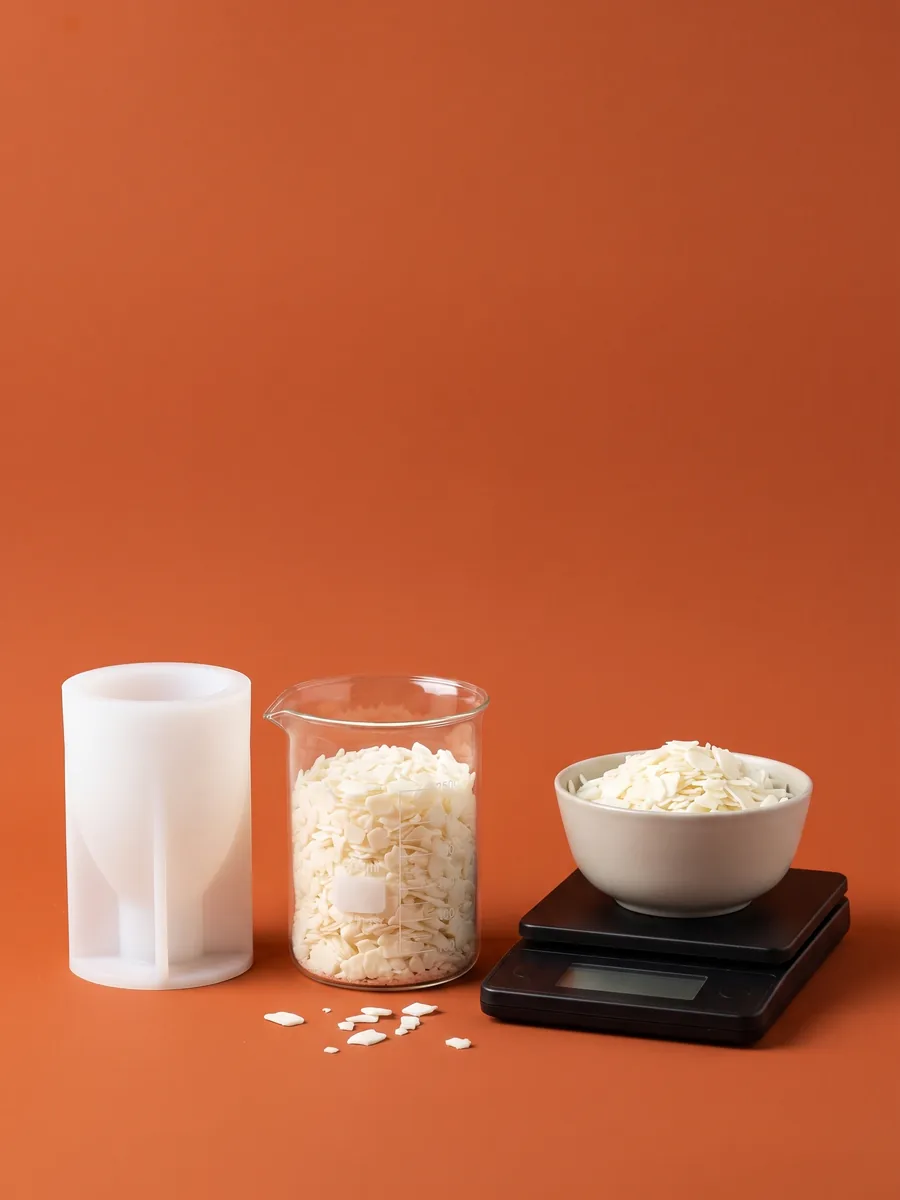
Hot Glue Gun Not Melting Glue Sticks? 8 Causes and Fixes
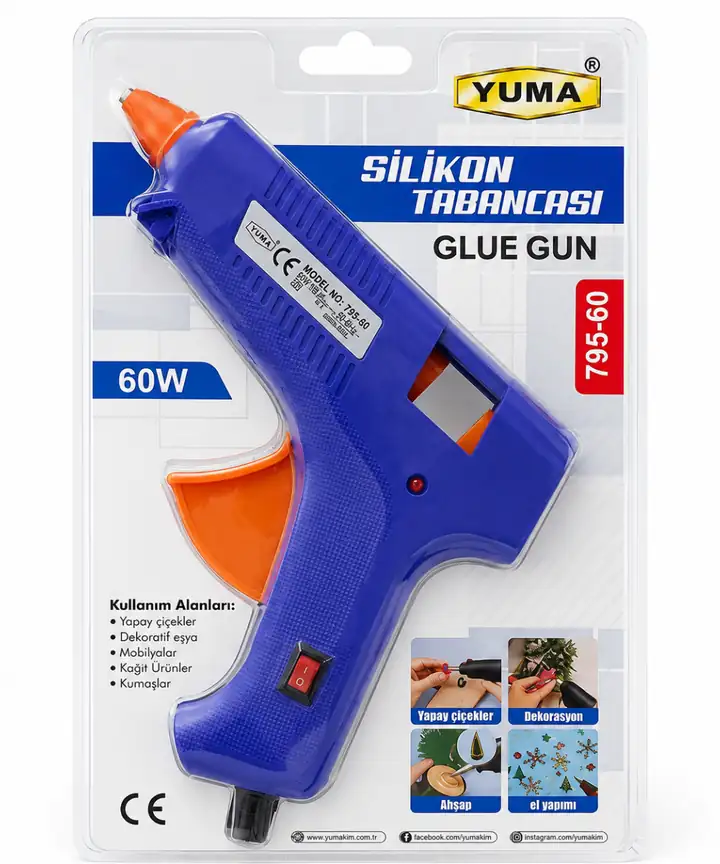
If a hot glue gun will not melt glue, check stick diameter, power, heating and feed. Yuma 60W uses 11.2 mm sticks: allow it to heat after switching on and never force the trigger. Its product page gives no internal-spring instructions, so unplug it and contact the maker or authorized service instead of opening the housing.
In short
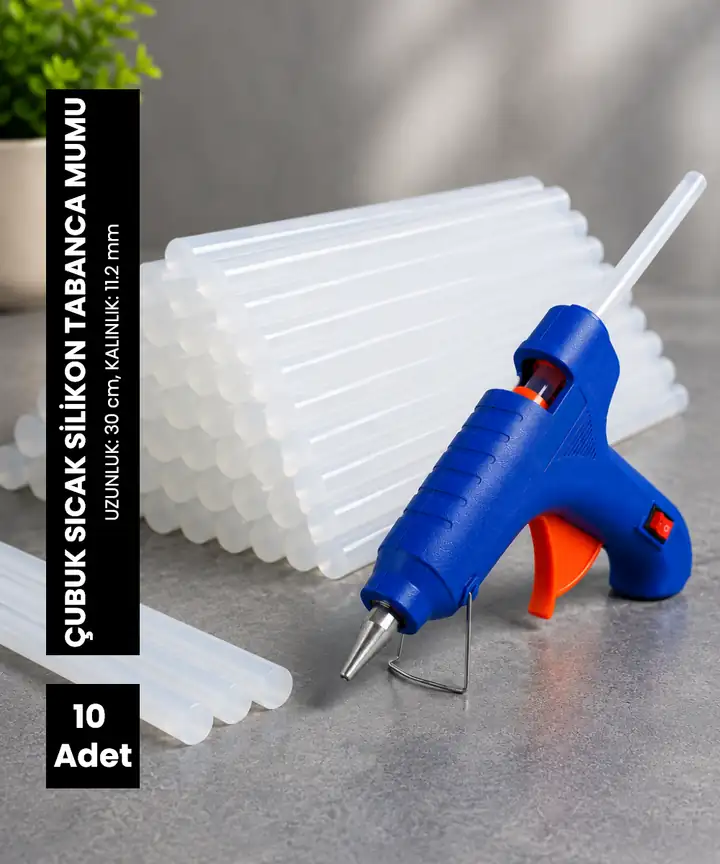
- Full-size guns take 11 mm (7/16 in) glue sticks, mini guns take 7 mm (5/16 in). For the Yuma 60W, use 11.2 mm full-size sticks.
- After you switch it on, don't pull the trigger until the first drop comes out of the tip on its own.
- Squeeze the trigger slowly and steadily: squeezing fast pushes in more stick than the gun can melt.
- Wipe burnt glue off the tip with a clean cloth while the gun is still hot.
- The way to secure a candle wick with no heating at all: wick stickers.
How do you use a hot glue gun?
With the gun cold and unplugged, check housing, cable and specified stick diameter. Use 11.2 mm sticks for Yuma 60W and insert through the rear without force. Stand the gun on a heat-resistant surface, plug in and switch on.
Wait for the heating time in the instructions, then press the trigger slowly. If the stick will not advance, do not force it; check diameter and heating. Avoid the hot nozzle and glue. When finished, switch off, unplug and allow cooling before putting away.
The Yuma 60W page has no spring assembly sequence or internal diagram, so we give no fitting steps. For a loose spring or trigger fault, unplug, cool and consult the maker or authorized service; do not open the housing to experiment.
Check these 3 things first
Before you decide the gun is broken and put it aside, check these three points. Most glue guns that won't melt glue are fixed by one of them:
Is the plug fully seated in the outlet, and does the extension cord work? The Yuma 60W has an on/off switch on the body: even with the plug in, the gun won't heat up if the switch is off.
If you load a mini stick into a full-size gun, the trigger can't grip it. The diameter on the glue stick package must match the gun's diameter.
A glue gun doesn't melt glue the moment you switch it on. Wait until a thin drop comes out of the tip on its own, then pull the trigger.
Switch the gun on, wait a few minutes, then bring your hand near the tip without getting too close. If the tip isn't warm, the problem is the power or the switch; if the tip is hot but no glue comes out, the problem is the stick or the trigger.
Most common cause: the wrong glue stick size
There are two main glue stick diameters on the market, and they are not interchangeable. The trigger pushes the stick forward with a small clamp that grips it. If the stick is too thin, the clamp can't hold it and you squeeze for nothing; if it's too thick, it won't go into the gun at all.
| Glue gun type | Stick diameter | Typical use |
|---|---|---|
| Full-size (e.g. Yuma 60W) | 11–11.2 mm (7/16 in) | Candle making, wood, large surfaces |
| Mini (mini glue gun) | 7 mm (5/16 in) | Paper, small decorations, detail work |
Wrong
Loading a 7 mm mini stick into a full-size gun: the trigger slips, no glue comes out, and glue melting inside can leak back out the rear.
Right
A stick that matches the gun's diameter: 11.2 mm full-size glue sticks for the Yuma 60W. The stick sits in the rear opening with no gap.
Glue gun not heating up enough?
A hot glue gun melts the end of the stick with the heater inside it. If you pull the trigger before the heater reaches the right temperature, the stick is pushed forward without melting, a solid plug forms in the tip, and the gun seems to be "not melting" the glue.
If your workshop is cold, leave the gun on for the whole warm-up time, and when you take long breaks, switch it off and heat it up again. If the extension cord is very long or thin, the power reaching the gun can drop; try plugging the gun directly into the outlet.
Why won't a hot glue gun melt glue? 8 causes
Work through the list below from top to bottom. The first six come from how the gun is used and are easy to fix at home right away; the last two are about the power supply and the gun itself.
1. The glue stick doesn't fit the gun
2. Pulling the trigger before the gun heats up
3. Squeezing the trigger too fast
4. The room is too cold
5. The tip is clogged with burnt glue
6. Glue flowed back inside the gun
7. No power
8. Faulty heater
If your Yuma 60W still doesn't heat up after the checks above, write to us through our contact page with your order number.
How to use a hot glue gun for candle making
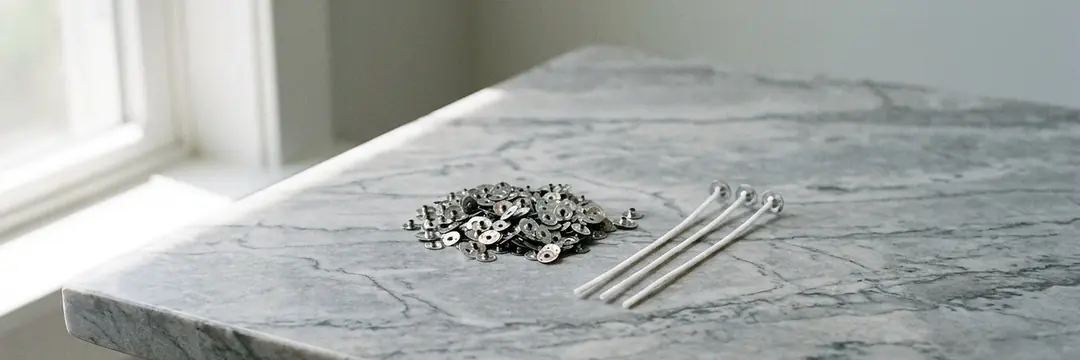
In candle making, a hot glue gun is mostly used for one job: securing a pre-tabbed wick to the bottom of a candle glass or jar. If the wick slides out of place while you pour, the candle burns lopsided and one side of the glass gets too hot. Done right, the wick stays centered and straight.
- 1
Heat up the gun
Plug it in, turn the switch on and let the gun stand upright on its stand. Don't pull the trigger until the first thin drop comes out of the tip on its own.
- 2
Prep the jar
Wipe and dry the bottom of the container. Hot glue won't hold on a dusty or greasy surface.
- 3
Apply glue under the tab
Apply a drop smaller than a chickpea to the metal base of the pre-tabbed wick. Any more will squeeze out around the tab and show at the bottom of the candle.
- 4
Press it into the center
Place the wick in the exact center of the container and press for 5–10 seconds. Once the glue cools and hardens, the wick won't move.
- 5
Keep the wick straight
Thread the top of the wick through a wooden wick holder and rest it across the mouth of the container. The wick stays centered and straight while you pour.
- 6
Pour the wax at pouring temperature
Once the wax has cooled to the pouring temperature on the product page, pour it slowly. Wax poured too hot can soften the glue and shift the wick.
Don't seal the wick hole of a silicone candle mold with hot glue. The glue can stick to the mold's surface and tear the mold when you peel it off. When pouring in a mold, thread the wick through the hole and secure it underneath with a tab or a knot. Details: making candles with silicone molds.
Wick stickers instead of hot glue
If you'd rather not deal with a glue gun, or you're only pouring a few candles, wick stickers are more practical. They work like a double-sided adhesive dot: one side sticks under the wick tab, the other to the bottom of the container. No power, no warm-up and no glue squeezing out.
| Hot glue | Wick stickers | |
|---|---|---|
| Prep | You have to wait for the gun to heat up | Ready to use right away |
| Look | Excess glue can show at the bottom of the glass | A clean, thin dot |
| Hold | Very strong; holds on rough surfaces too | Holds well on clean, dry glass |
| Best for | Large batches, workshop production | A few candles, first tries |
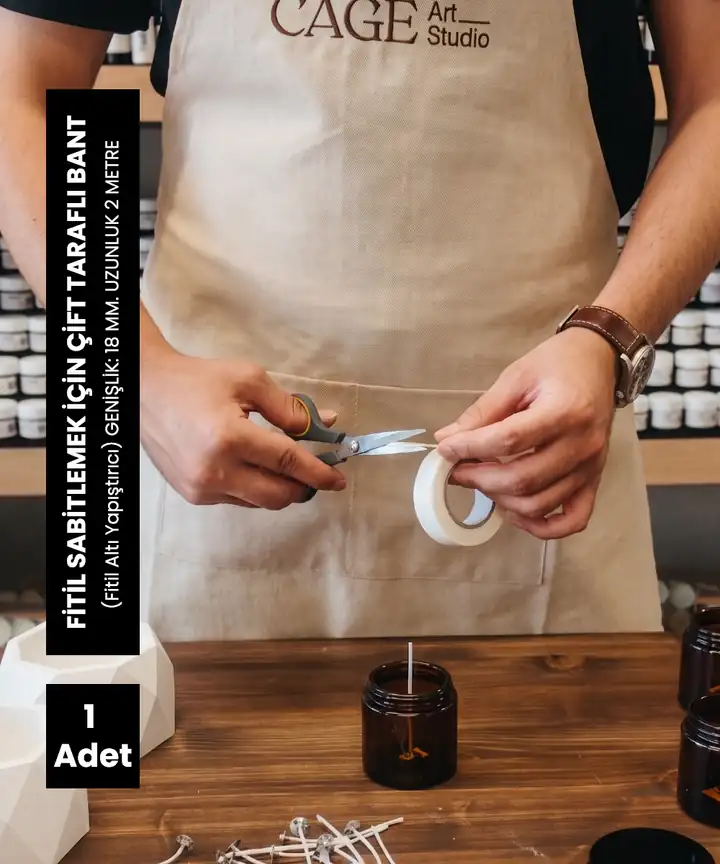 Fitil Altı Yapıştırıcı RuloView
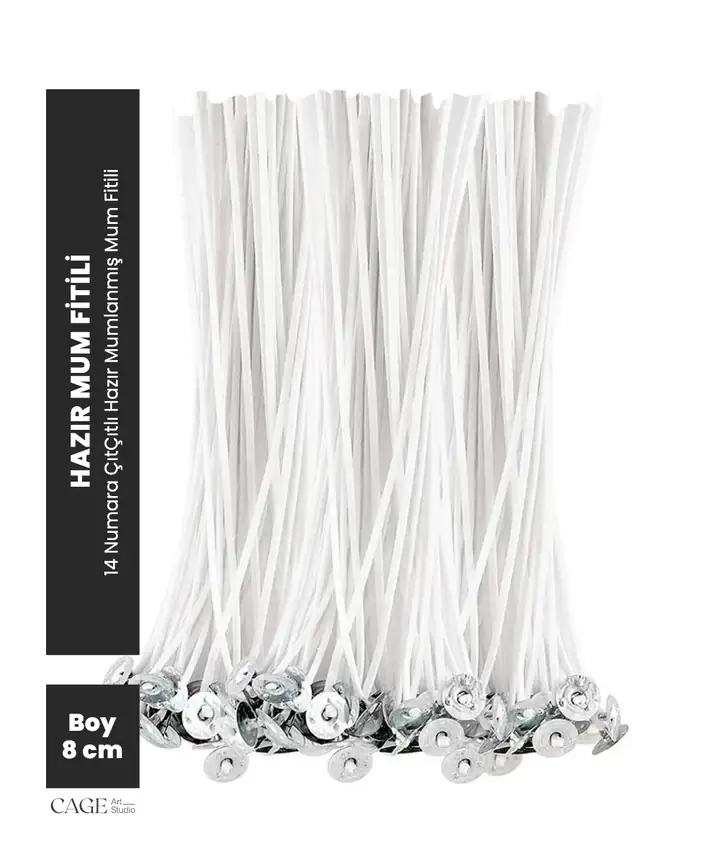 Hazır Çıtçıtlı Mum Fitili 8 CmView
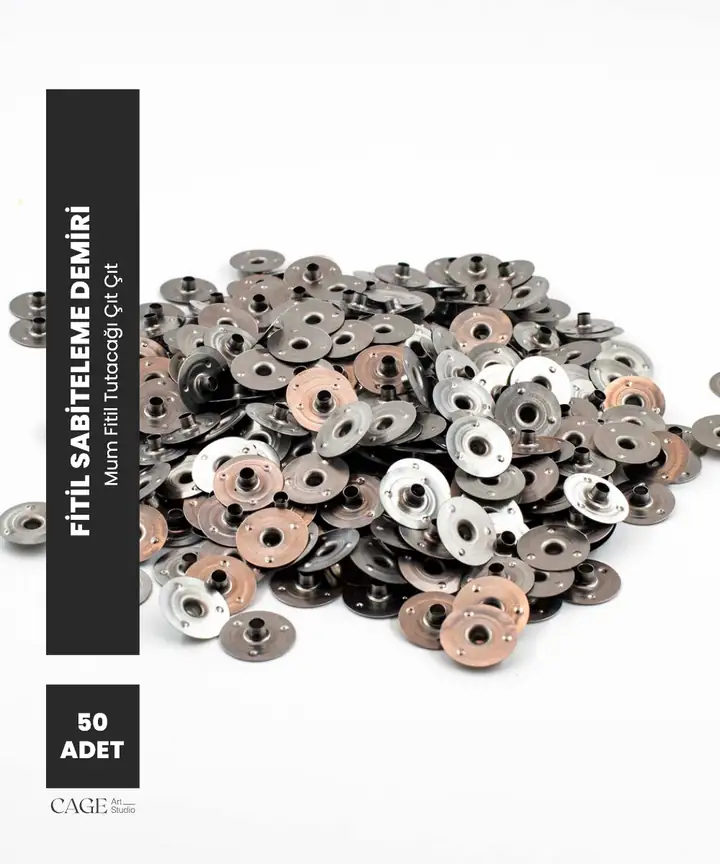 Fitil Sabitleme Demiri - Çıt ÇıtView
Glue gun care and safe use
After every job, wipe the tip with a clean cloth while the gun is still hot. Scraping off glue that has cooled and hardened scratches the tip.
Don't lay the gun on its side. Melted glue flows back and gets the inside of the gun dirty.
Don't touch the tip or freshly dispensed glue with bare hands. Keep a bowl of cold water nearby.
Don't leave the table with the gun plugged in; when you're done, turn the switch off and unplug it.
Frequently asked questions
Why is my hot glue gun not melting the glue?
The two most common causes are the wrong glue stick size and a gun that hasn't heated up enough. Full-size guns take 11 mm sticks, mini guns take 7 mm sticks. After switching the gun on, wait until the first drop comes out of the tip on its own.
How long does a 60W hot glue gun take to heat up?
A few minutes, depending on the room temperature. In a cold room, wait longer. Once a thin drop starts coming out of the tip on its own, the gun is ready.
Can you use mini glue sticks in a full-size glue gun?
No. If you load a mini stick into a full-size gun, the trigger can't push it, the stick sits loose and no glue comes out. Use sticks that match the gun's diameter: 11.2 mm full-size sticks for the Yuma 60W.
Why is my glue gun dripping but not flowing?
You're squeezing the trigger too fast and too often, so more stick is pushed in than the gun can melt. Wait a few seconds, then squeeze slowly and steadily. If burnt glue has built up in the tip, wipe it with a clean cloth while the gun is hot.
Can you use hot glue to secure a candle wick?
Yes, it's one of the common ways to secure a pre-tabbed wick to the bottom of the container. If you pour the wax too hot, the glue can soften, so stick to the pouring temperature or use wick stickers.
Wick stickers or hot glue: which is better?
Wick stickers work cleanly and quickly, with no power and no waiting for warm-up. If you pour a lot of candles or the bottom of the container is rough, hot glue holds more strongly. Both are used with pre-tabbed wicks.
Can you use a hot glue gun on a silicone candle mold?
Don't seal the wick hole of a silicone mold with hot glue; it can stick to the mold's surface and damage it. Just thread the wick through the mold and secure it underneath with a knot or a tab.
Everything you need to secure wicks
Hot glue gun, full-size glue sticks, wick stickers and pre-tabbed wicks in one order.