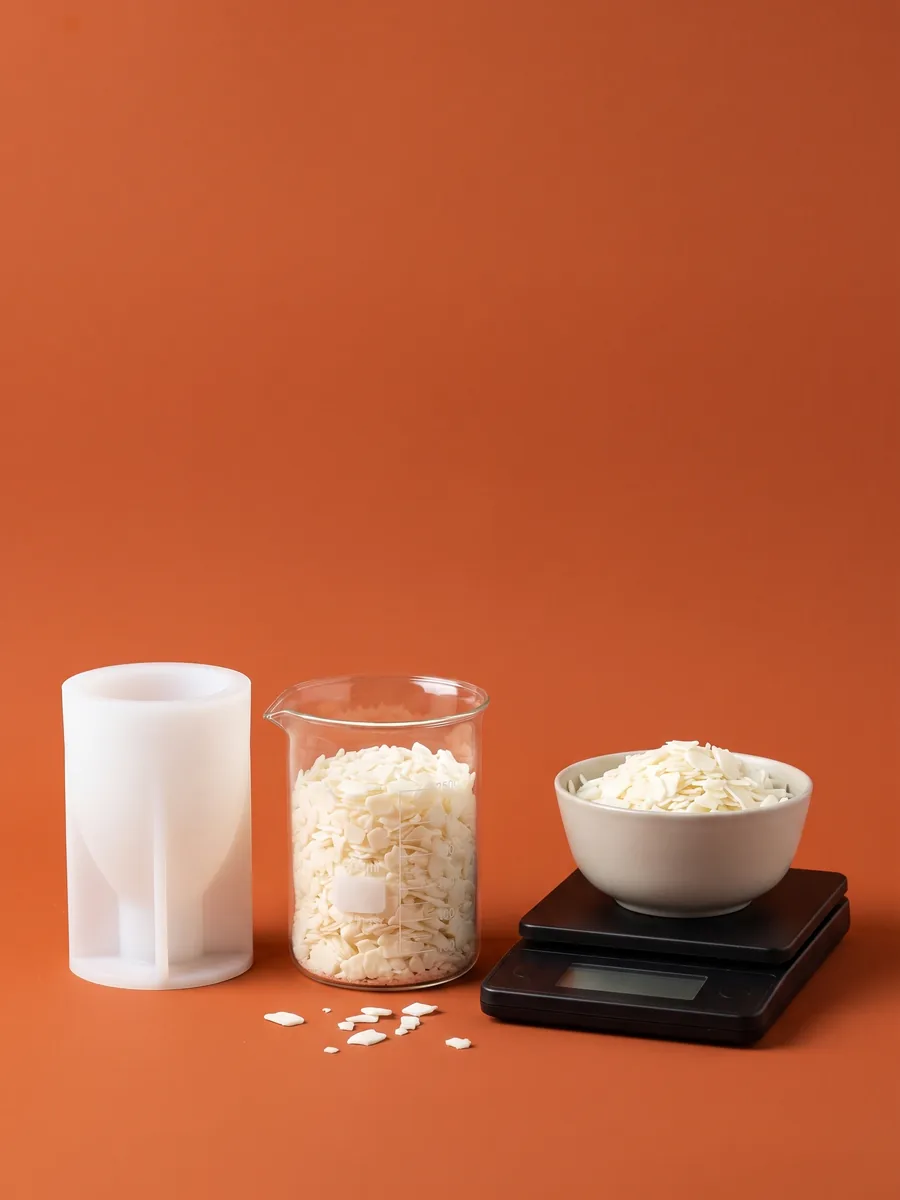
Casting Plaster in Silicone Molds: Ratios and Steps
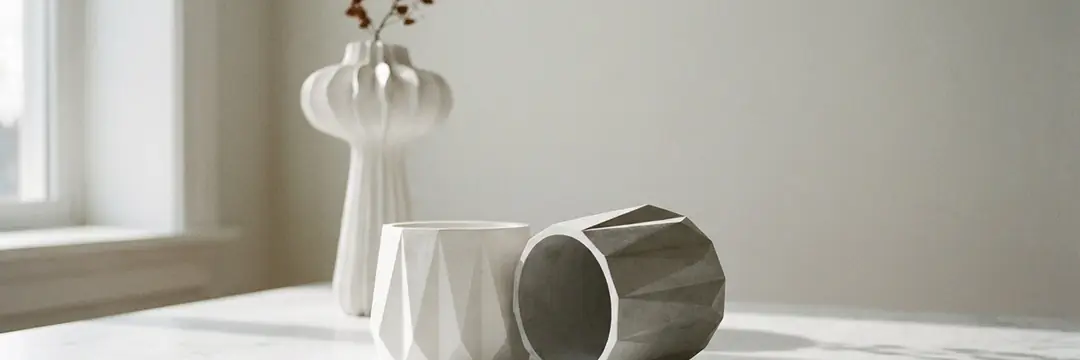
To cast plaster in silicone molds, sift plaster into measured water, mix until uniform and pour a thin stream into a clean mold. USG No. 1 Pottery Plaster uses 70 g water per 100 g plaster by weight; other products require their own technical instructions. Setting, sufficient strength for demolding and complete drying are different stages.
In short
- USG No. 1 Pottery Plaster example: 100 plaster : 70 water by weight; for another product, follow its own data sheet.
- Ceramic practice guides describe 1–3 minutes of soaking and approximately 2–3 minutes of mixing.
- USG's 14–24 minute Vicat set is not a demolding or complete drying time.
- Sift plaster into water; do not pour water over dry plaster.
- Plaster in a clean silicone mold generally needs no oil or release agent.
Which plaster should you use in silicone molds?
Read the intended use on the plaster package. Pottery mold plaster, a product suited to object casting and a building plaster need not share technical properties. Do not guess the water ratio from a wall-plaster or cornice label; look for the manufacturer's suitability and working instructions for casting in small silicone molds.
| Product or description | How to assess it | Scope of the figures in this guide |
|---|---|---|
| USG No. 1 Pottery Plaster | Pottery mold plaster; example with a technical data sheet | 70 water / 100 plaster by weight |
| Another casting plaster | Check object-casting suitability and data sheet | Its own product ratio and timing |
| Wall or cornice plaster product | A building-use name does not establish casting suitability | No general ratio given |
| Ready-made stone powder | Check the commercial formula separately | Do not automatically apply a plaster ratio |
Find a detailed stone powder and plaster comparison in our stone powder guide. Here we focus on pouring plaster into a mold. Cage Art Studio does not sell plaster or stone powder; we supply silicone molds and candle-making materials.
How do you calculate the plaster-to-water ratio?
Our sourced USG No. 1 Pottery Plaster example uses a 70/100 water-to-plaster ratio. This is by weight, not volume. Equal measuring-cup levels do not mean equal weights, so weigh both components. Do not arbitrarily add more or less water in the hope of making the casting stronger.
| Plaster powder | Water: 70% | Total wet mix |
|---|---|---|
| 100 g | 70 g | 170 g |
| 250 g | 175 g | 425 g |
| 500 g | 350 g | 850 g |
| 1,000 g | 700 g | 1,700 g |
Total wet mix weight is not the finished dry object's weight; some water leaves during drying. Do not use this as a mold capacity table. A mold's estimated candle weight is not its plaster requirement either. Use the Calculator for initial planning and record the actual requirement from a test casting.
USG specifies potable mixing water at 21–38 °C for this product. Warmer slurry sets faster. Do not treat this range as a universal rule for all plasters; follow your own product's data sheet.
How do you prepare a mold for plaster casting?
Clean the mold with warm soapy water and dry it completely. Remove old mix residue and oily films. Silicone generally releases plaster without an agent; oiling is not a required preparation step. Oil-based releases and petroleum jelly can swell and soften silicone.
Inspect delicate tips on sculpture molds, the recess and base on holders, and the standing surface on soap dishes. Align slit edges and fit supplied supports as instructed. Test an unfamiliar powder in one mold first; a leak noticed only after pouring may cost the whole batch.
How do you cast plaster in a silicone mold?
- 1
Weigh water and powder separately
Use your plaster's technical data sheet. The USG No. 1 Pottery Plaster example requires 70 g water per 100 g powder. Do not treat another plaster as the same product.
- 2
Sift powder into water
Put water in a clean container first. Sift plaster evenly over its surface; do not pour water onto dry powder. Leave no old hardened plaster at the bottom of the container.
- 3
Allow it to soak
The ceramic practice guides in the research recommend soaking for 1–3 minutes before mixing. If your plaster instructions differ, follow them; count soaking within the product's working time.
- 4
Mix gently and evenly
The same guides give approximately 2–3 minutes of mixing. Aim for a smooth consistency without whipping in foam. Scrape the sides and base to check for dry lumps.
- 5
Pour a thin stream into the mold
Make sure the mix contacts details, then fill at one point with a low stream. Tap the mold sides gently. Do not add water to make a mix fluid again once setting has begun.
- 6
Demold once it has enough strength
Follow the data sheet's demolding time. Do not automatically treat Vicat set time as removal time. Support the base and peel away the silicone; do not pull thin tips.
- 7
Dry and finish the surface
Dry without direct heat. Once fully dry, remove flash and dust, then use plaster-compatible paint and coating according to their instructions. Do not pour leftover plaster down the drain.
Soaking and mixing times come from the ceramic practice guides in the local research. Follow your product data sheet if it specifies another order or duration. Adding water after thickening begins does not restore the original recipe; prepare small batches you can use in time.
When can plaster be demolded, and when is it dry?
Setting time, safe demolding and full drying are different concepts. USG gives a 14–24 minute Vicat set for machine mixing; other tables and conditions show 27–37 minutes. Do not interpret these as instructions to demold at that minute. Consider your product's removal instructions and the model's sensitivity together.
Support a broad surface while peeling the silicone away. Pulling a fine sculpture arm or holder rim can break even set plaster. Then dry with even airflow, without speeding it up on a radiator or with hot air. No one drying time applies to every model; thickness and environment matter.
How do you paint and seal plaster?
Gently remove flash and dust from a completely dry object, then apply plaster-compatible paint as instructed. If absorption is uneven, check remaining moisture and any primer requirement. Testing a small area lets you assess the finish before coating the whole piece.
Sealer can finish a porous surface against stains and moisture, but it does not justify calling it waterproof, food-safe or flame-resistant. Do not assume a plaster object from a decorative soap dish mold suits constant wet use. For holders and coating selection, see the heat assessment in our holder guide.
Why does plaster crack, bubble or set too quickly?
Why does plaster crack?
Why does plaster bubble or look pitted?
Plaster sets immediately
Plaster stays soft
For similar symptoms in stone powder, see why stone powder cracks. For scented decoration, use our scented stone guide instead of adding fragrance randomly to the mix. Other compatible mold materials appear in the silicone mold compatibility table.
 Eric Gill Sculpture Silicone MoldView
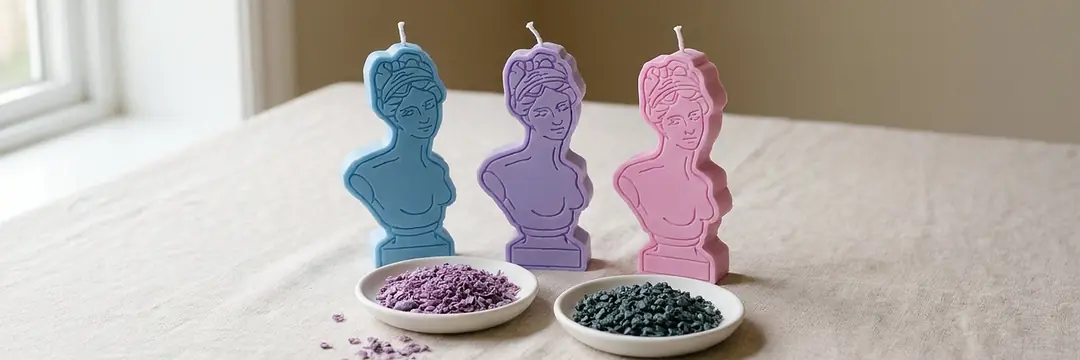
 Venus Candle MoldView
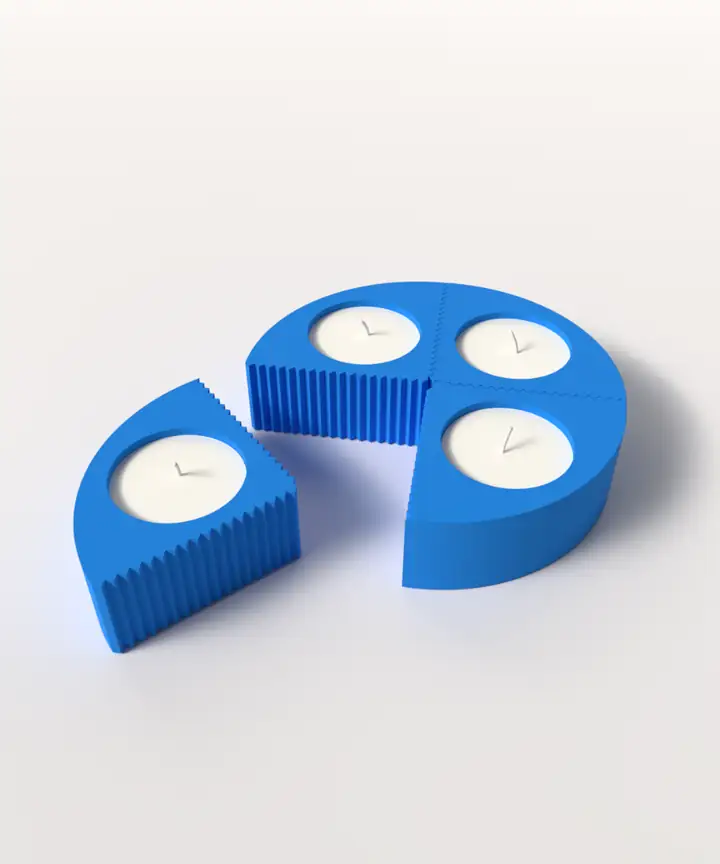 Concrete Tealight Holder Mold - H4View
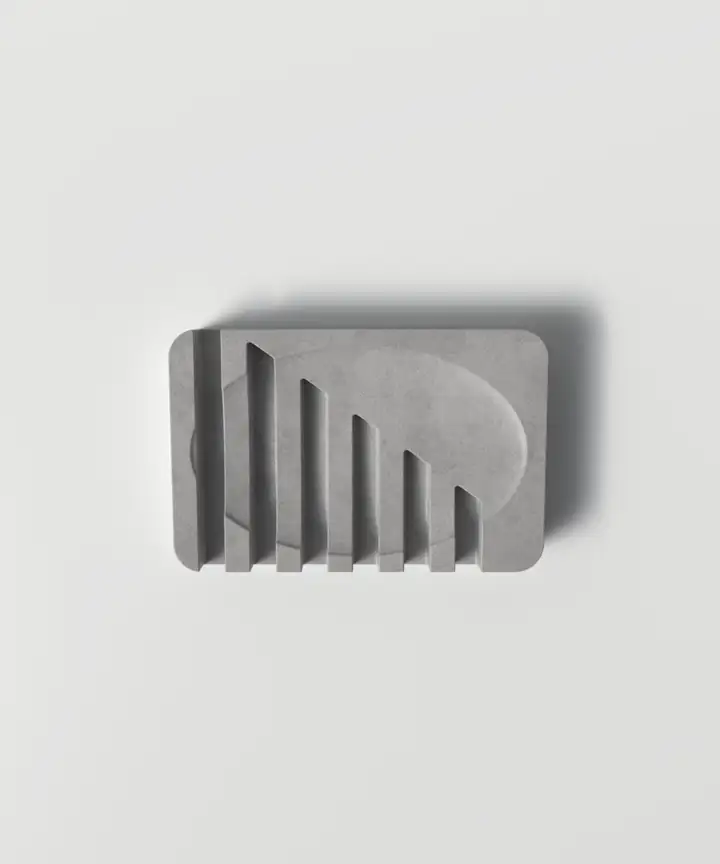 Concrete Soap Dish Mold M1View
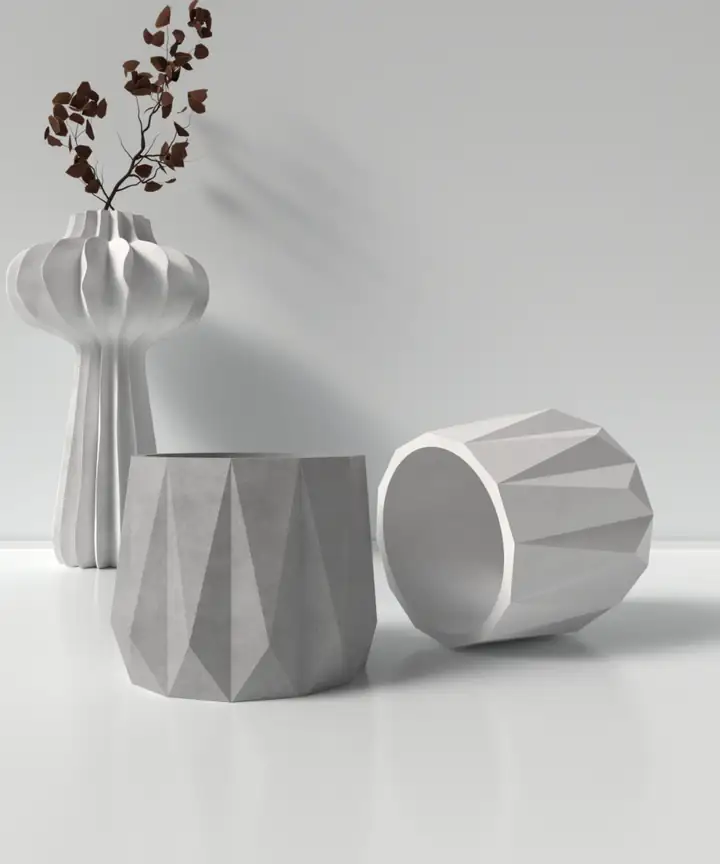 Concrete Planter / Candle Holder Mold K7View
What are the common questions about plaster casting?
Which plaster should you use in silicone molds?
Choose plaster whose technical data sheet states suitability for mold casting and decorative objects. The sourced example is USG No. 1 Pottery Plaster; its ratios and timings refer to that product, not every plaster.
What should the plaster-to-water ratio be?
USG No. 1 Pottery Plaster specifies 70 parts water per 100 parts plaster by weight: 350 g water for 500 g plaster. For another product, its packaging or data sheet takes priority.
How do you pour plaster into a mold?
Weigh water first, sift plaster into it, then soak and mix gently as the product instructs. Pour into a dry silicone mold. Once the casting has enough strength to demold, peel the silicone away, then dry completely.
How many minutes does plaster take to set?
USG No. 1 Pottery Plaster gives a 14–24 minute Vicat set for machine mixing; other tables may give 27–37 minutes. These laboratory figures are not universal demolding or complete drying times.
Why is plaster setting too fast?
Warm mix and a short working time may contribute. USG notes that warmer slurry sets faster; follow the data sheet's water temperature and mixing conditions, and do not rewater a mix that has begun setting.
Why does plaster crack or bubble?
Check extra water, forced drying, early demolding and trapped air. For small pits, review air management; for body cracks, examine recipe, section thickness and drying.
Should you oil a silicone mold before pouring plaster?
Silicone generally needs no release agent for plaster. Keep the mold clean and dry; oil or petroleum jelly can swell and soften silicone and spoil the surface.
Choose the right mold for your plaster object
Check product dimensions for sculpture, holder, soap dish and planter molds; contact our mold service for a custom shape.