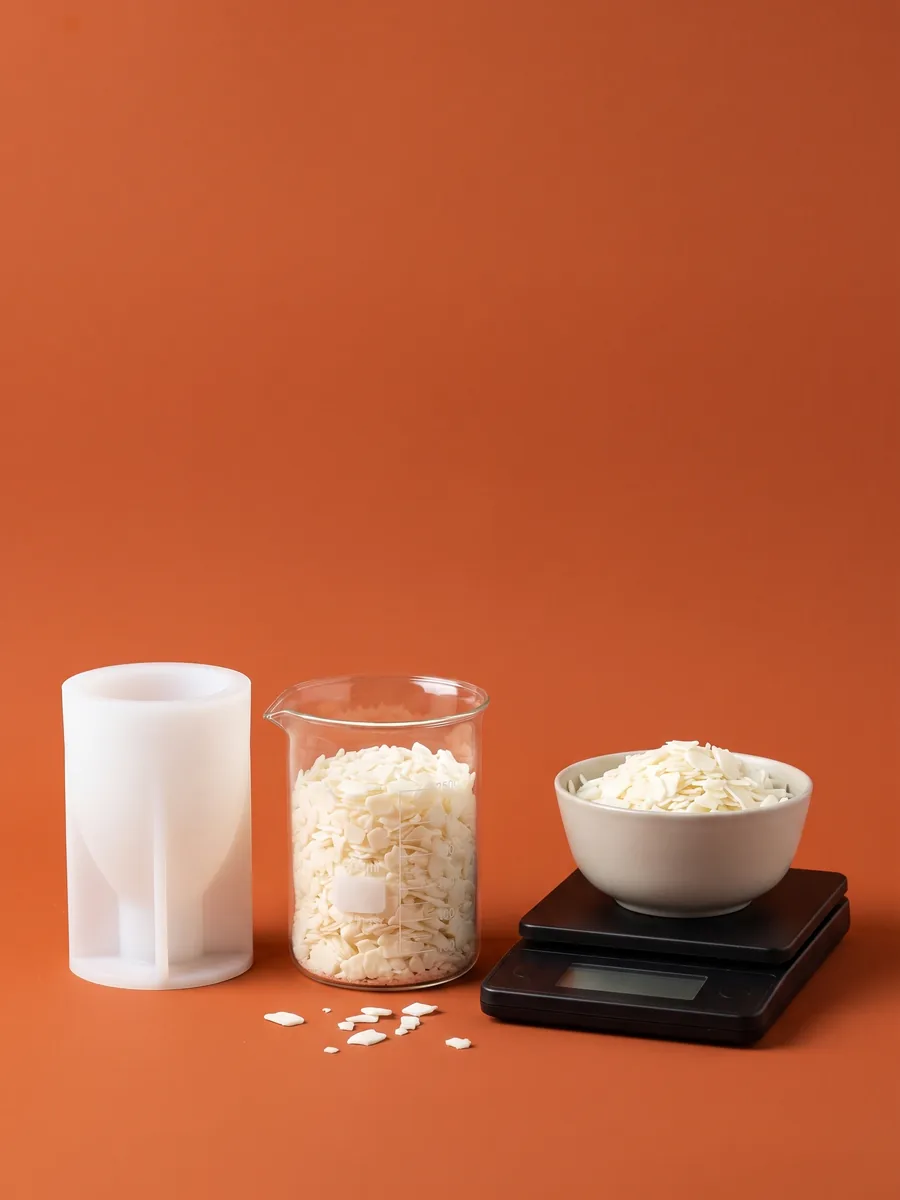
Stone Powder Candle Holder: Casting and Safe Use
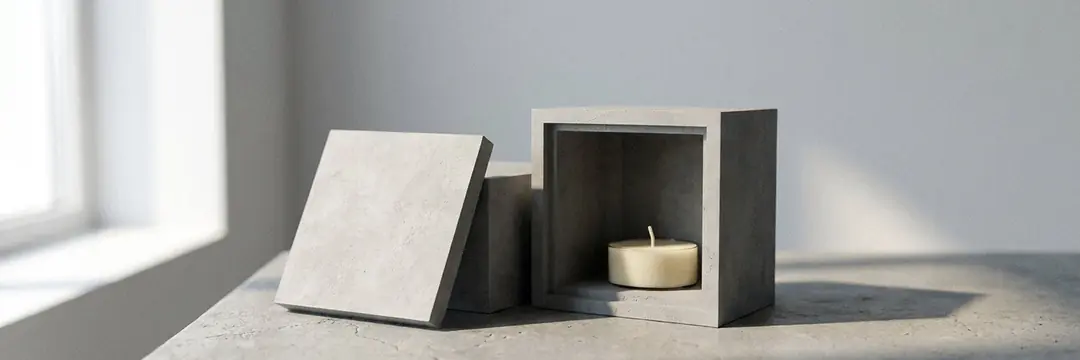
Make stone powder candle holders by weighing powder and water according to the package, pouring into a suitable silicone mold and demolding after setting. The example of 400–450 g water per 1,000 g powder applies to one commercial product only. Follow your product’s ratio and check tealight and coating compatibility once the holder is fully dry.
In short
- H4 holder: 6.7 × 6.7 × 3 cm; tealight recess 4.4 cm diameter, 2.2 cm deep.
- Use the water ratio on your stone powder packaging; 400–450 g water per 1,000 g powder is an example for one particular commercial product.
- Demolding, complete drying and coating drying are separate stages.
- A candle holder mold's shape does not certify the heat safety of your casting mix.
- NCA: keep at least 30 cm from combustible items and use a stable, heat-resistant surface.
Which mold should you choose for a stone powder candle holder?
For a first attempt, a simple tealight holder with a wide base is easier to assess than a shape with delicate projections. Along with recess diameter, consider wall thickness and whether the piece sits flat. Do not treat a decorative lid as something to close while a candle burns; remove it during use.
| Mold | Object size | Recess details |
|---|---|---|
| Tealight H1 | 6 × 6 × 3 cm | Diameter 4.4 cm; depth 2.2 cm |
| Tealight H2 | 12 × 6 × 3 cm | Diameter 4.4 cm |
| Tealight H3 | 18 × 6 × 3 cm | Diameter 4.4 cm |
| Tealight H4 | 6.7 × 6.7 × 3 cm | Diameter 4.4 cm; depth 2.2 cm |
| Lidded Square K23 | Outside width 9 cm; height 6 cm | Inside dimensions are not given in the description |
Dimensions come from the product descriptions and refer to the finished casting. Do not treat K23's outside width as its inside diameter. Try your tealight's metal cup in the finished recess without forcing it. For multi-recess models, also check the actual distance between candles.
What supplies do stone powder candle holders need?
Prepare a silicone mold, suitable craft stone powder, water, scale, mixing container and spatula. If painting, choose paint and a coating suitable for dry mineral surfaces. Cage Art Studio supplies casting molds and candle-making materials; we do not sell stone powder, plaster or cement.
Keep the powder packaging so you can match its ratio, batch information and waiting instructions to the finished piece. Do not test many pigments or additives at once in the first sample. A simple recipe makes problems easier to trace. For general material differences, see our stone powder guide.
What water ratio should you use for casting a candle holder?
There is no universal stone powder water ratio. Local research notes record 400–450 g water per 1,000 g powder for a particular commercial product. Read this only as an example of how ratios vary; if your packaging says otherwise, follow it. Do not transfer plaster ratios to this powder.
If the ratio is by weight, weigh both water and powder in grams. Adding water because the mix flows slowly can weaken the dried holder. Remember that the mold product's candle capacity describes a different material. Use the Calculator for initial planning, then adjust the actual quantity from your first casting record.
How do you make a stone powder candle holder?
- 1
Check the mold and recess
Place the mold on a level tray. Check the tealight recess shape and the metal cup you will use. Product dimensions indicate fit; they do not establish thermal suitability on their own.
- 2
Clean and dry the mold
Leave no old mix, oil or water inside. For slit or supported models, assemble parts according to the product instructions. The mold must sit flat; a sloping base can leave the finished holder unstable.
- 3
Weigh powder and water
Follow the weight ratio on your stone powder packaging. Do not add unmeasured water to improve flow. Do not use the mold's candle weight as the stone powder requirement.
- 4
Mix and reach the details
Follow the manufacturer's order of addition and mixing instructions. Avoid foaming. Check that the first mix reaches fine details, especially around the recess; spread it with a soft brush if the system allows.
- 5
Fill with a thin stream
Pour slowly at one point in the mold. Tap its sides gently to help air escape. Shaking hard can displace the center insert and alter wall thickness.
- 6
Demold at the specified time
Check both the packaging's demolding time and the piece's strength. Peel the silicone away; do not lift the holder by pulling its thin recess edge. Support the piece from the base.
- 7
Dry and finish the surface
Dry the piece where it receives even airflow. Do not paint or seal before it is completely dry. After finishing and the coating manufacturer's waiting period, assess suitability for the intended use separately.
Even a small holder can have a thin wall on one side and a rocking base if the mold is tilted. Position the tray before pouring; do not shift the center insert when moving a full mold.
When can you demold a stone powder candle holder?
Setting means the mix starts holding its shape. Drying means excess moisture leaves it. A holder coming out intact does not mean it is ready for a candle or immediate sealing. Thick bases and areas around narrow recesses may dry differently from the outer surface; do not judge by color alone.
For stone powder, follow the manufacturer's demolding and drying instructions. Do not leave the piece in the mold until the next day merely for convenience.
How do you paint and seal a candle holder?
Gently remove flash from the dry casting and clear surface dust. Check that the paint and sealer suit mineral surfaces and are compatible with each other. Thin coats are easier to control than a thick buildup around the recess. Take each coat's waiting time from the coating instructions.
Porous stone powder can stain; a coating helps protect the surface. Water protection, however, is not heat or flame certification. If material and coating suitability near heat is uncertain, use the piece decoratively.
How do you use a stone powder holder with a tealight?
Use the tealight in its own metal cup; metal heats up too. Keep the flame away from the body, paint and decorations. If heat suitability for the finished piece and coating has not been verified, do not use it with a burning candle or fill it directly with wax.
NCA recommends a sturdy holder on a stable, heat-resistant surface, at least 30 cm from anything combustible. Never leave a burning candle unattended; keep it away from children and pets. Do not continue testing a holder that cracks, tips or overheats.
You do not have to fill every recess shown in a multi-tealight mold photo. Consider NCA's recommendation to keep burning candles at least 7.6 cm apart too. Follow the candle's own burn limits and cooling instructions; our candle burning guide brings together safe-use steps.
What should you do if a candle holder cracks or breaks?
The recess edge breaks
For bubbles and cracks, review the casting record before changing the recipe. Note when the defect appeared; if the piece was intact in the mold but cracked while drying, check the environment too. See the detailed symptom table in why stone powder cracks; for concrete, use the concrete candle holder guide.
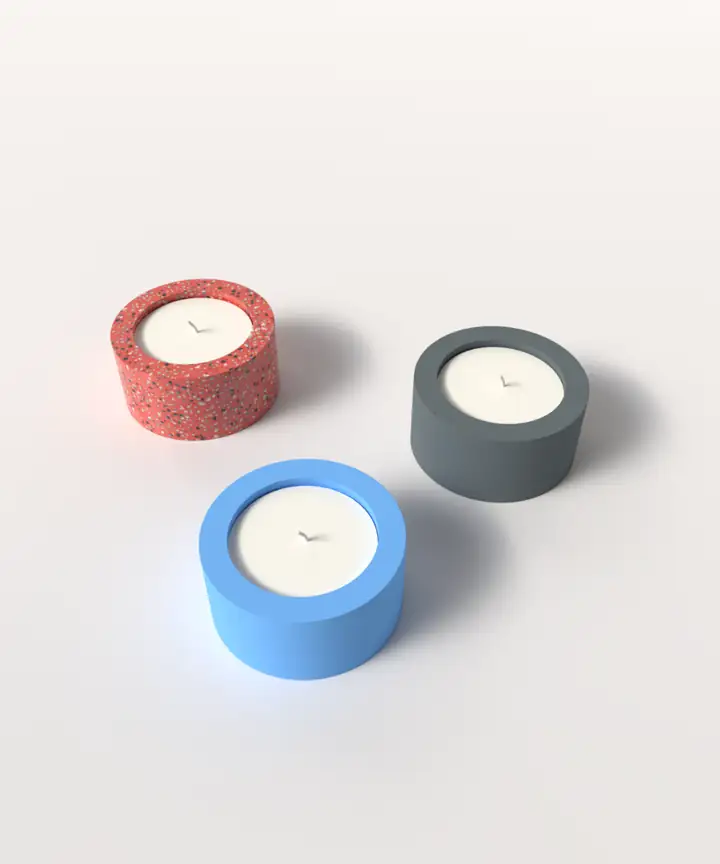 Small Concrete Tealight Holder Mold - H1View Product
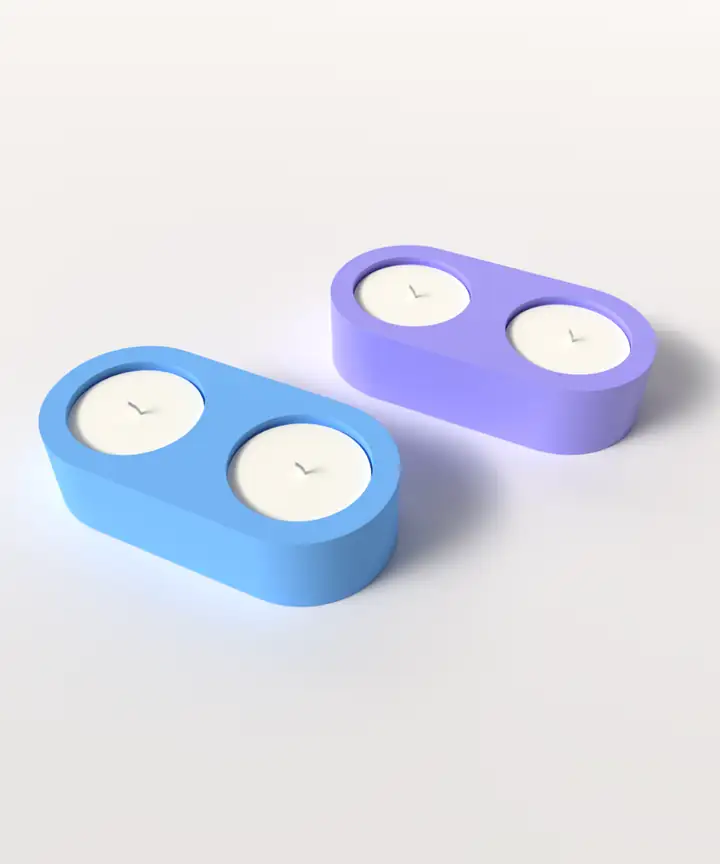 Medium Tealight Holder Mold - H2View Product
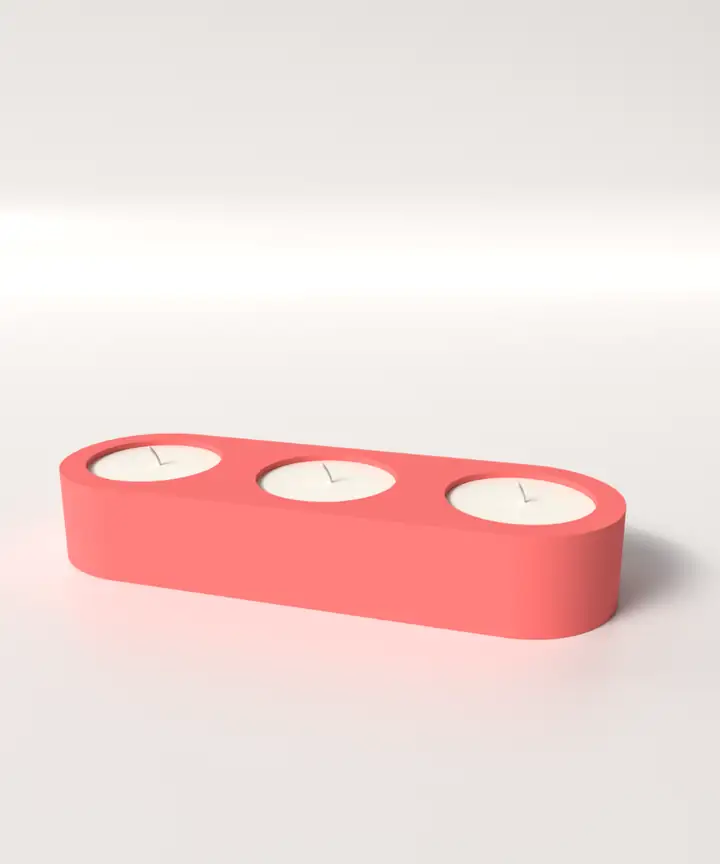 Large Tealight Holder Mold - H3View
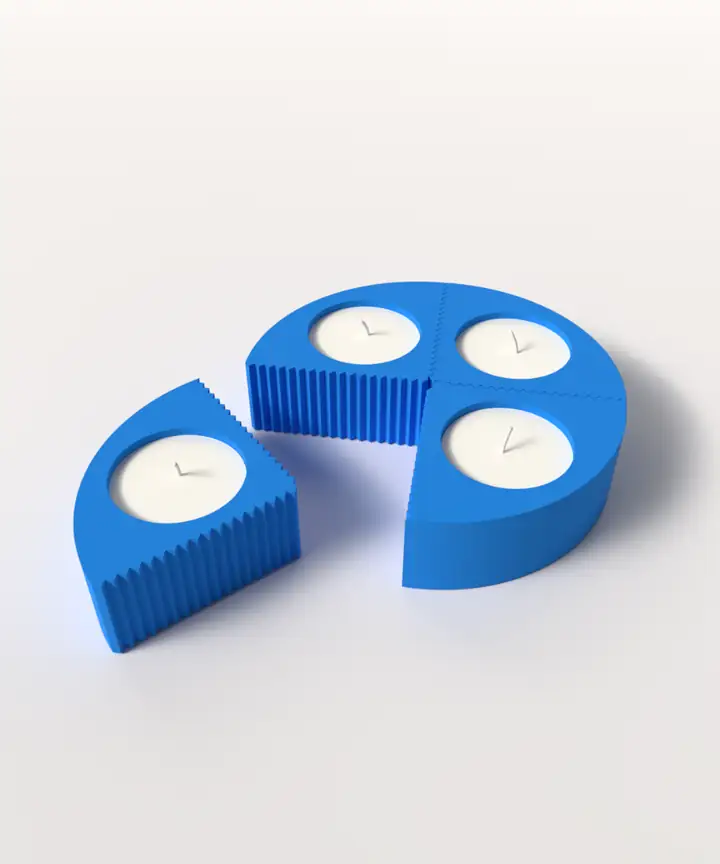 Concrete Tealight Holder Mold - H4View
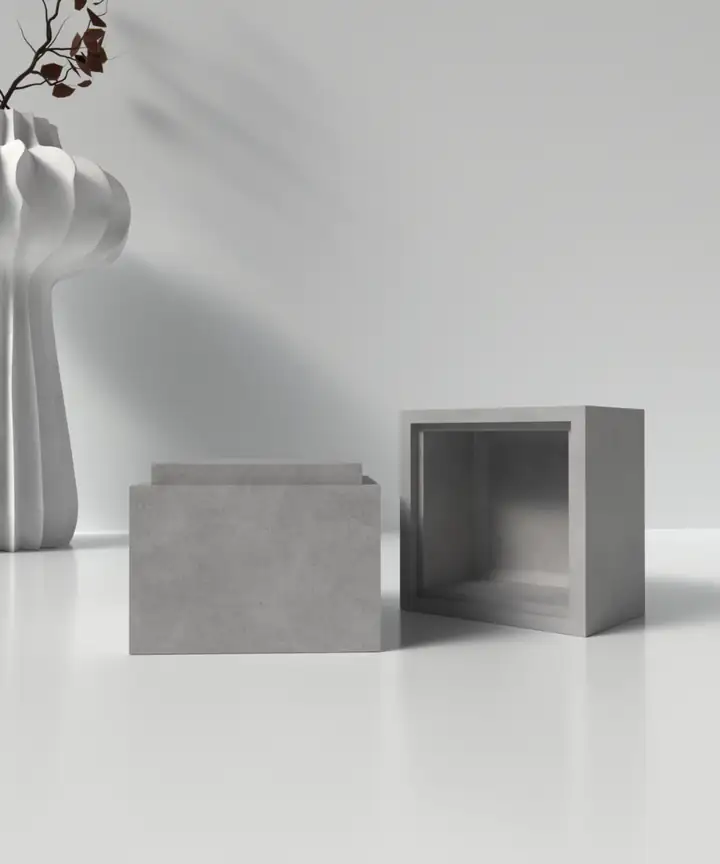 Lidded Square Candle Holder Mold K23View
What are the common questions about stone powder candle holders?
Which mold works for stone powder candle holders?
Start with holder molds with tealight recesses, such as H1, H2, H3 and H4. H4 produces a 6.7 × 6.7 × 3 cm object with a recess 4.4 cm in diameter and 2.2 cm deep.
What is the water ratio for a stone powder candle holder?
Follow the packaging ratio. Local research gives one commercial powder example of 400–450 g water per 1,000 g powder; it is not a general recipe and must not be transferred to another product.
How long does a stone powder candle holder take to dry?
There is no single time because powder formula, thickness and room humidity vary. Being ready to demold does not mean fully dry; follow your product's drying instructions before painting.
Can you pour wax directly into a stone powder holder?
Do not fill directly with wax unless candle-container suitability has been verified for your material and coating. Choosing a decorative tealight shape does not guarantee heat safety either; do not use a cracked or overheating piece.
Can you seal a stone powder candle holder?
A fully dry piece can be finished with a coating suitable for its material. Sealing protects against stains and moisture; it does not make the holder fireproof or approved as a candle container.
Can you cast stone powder in a concrete candle holder mold?
Yes, if the product description lists stone powder compatibility. “Concrete” in the mold name does not mean that a stone powder casting has the same heat and strength properties.
Find the right shape for your candle holder project
Check dimensions for tealight, lidded holder and decorative casting molds, and complete your candle-making supplies.