
How to Use Candle Polish: 6 Steps for a Glossy Finish

To use candle polish, apply a thin, even coat to the clean, dry surface of a fully cooled candle. The first coat dries in 5–6 hours; for a deeper shine you can add a second coat, and full drying takes 24 hours. Polish works best on paraffin candles; with soy wax, test a small area first.
In short
- Apply polish only to a candle that has fully cooled and been removed from the mold.
- One coat dries in 5–6 hours; full drying takes 24 hours.
- It works best on paraffin candles; for soy wax, do a small test first.
- Polish is flammable: work in a ventilated space, wear gloves and a mask, and keep it away from flames.
- Don't put polish on the wick; don't package or burn the candle until the 24 hours are up.
What is candle polish and what does it do?
Candle polish is a finishing product brushed onto the outside of a handmade candle that leaves a glossy layer once it dries. According to the product description for Cage Art Studio Candle Polish, it creates a smooth, shiny surface, helps colors look more vivid, and protects the surface against dust, scratches and fingerprints.
Polish doesn't change the candle's formula; it only affects how the outside looks. Scent strength, burn time and wick choice still depend on the wax, fragrance oil and wick. So think of polish as a finishing step you add after pouring and demolding have been done right.
Gives a dull-looking paraffin surface a glossy, smooth finish.
Helps the color of dyed candles look richer.
Protects the surface against dust, scratches and fingerprints.
Gives decorative candles that will be wrapped or put on display a clean final coat.
Which candles can you use candle polish on?
The product description says the polish gives the best results on paraffin candles and can also be used on other types of candles. For soy wax, it says the polish may not be suitable and should be tested on a small area before applying. That note is a reminder that soy wax's soft, crystalline surface may hold the polish differently.
| Candle type | Polish compatibility | What to do |
|---|---|---|
| Paraffin molded candle | Best results | Apply it directly; try it on a sample candle in your first batch. |
| Pillar Soy Wax molded candle | Test needed | Try it on a single candle or a small area on the bottom. |
| Container and glass candles | Usually not needed | The surface stays inside the container; focus on pouring temperature instead of polish. |
| Gel candle | Not needed | Gel is poured inside the glass and is meant to stay clear; a clean glass and the right pour matter more than polish. |
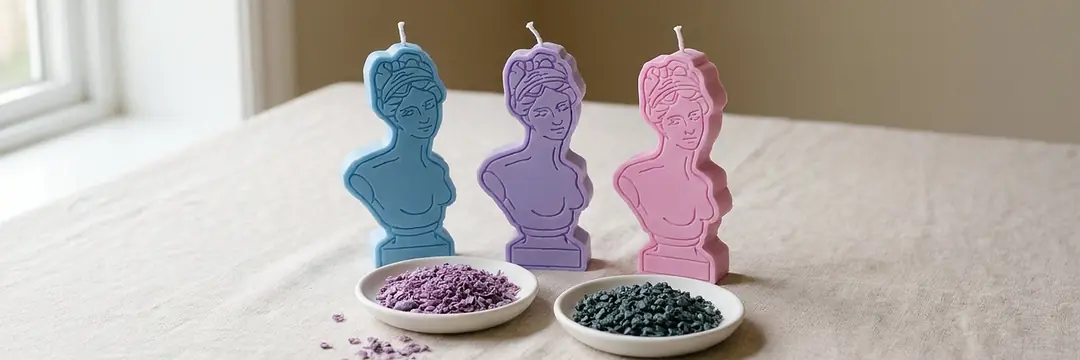
Polish makes the biggest difference on figural and patterned candles that come out of silicone molds. On sculpture, bust, flower and geometric designs, fine details reflect light better. For the demolding step, see our guide on how to remove a candle from a silicone mold.
 Candle PolishView
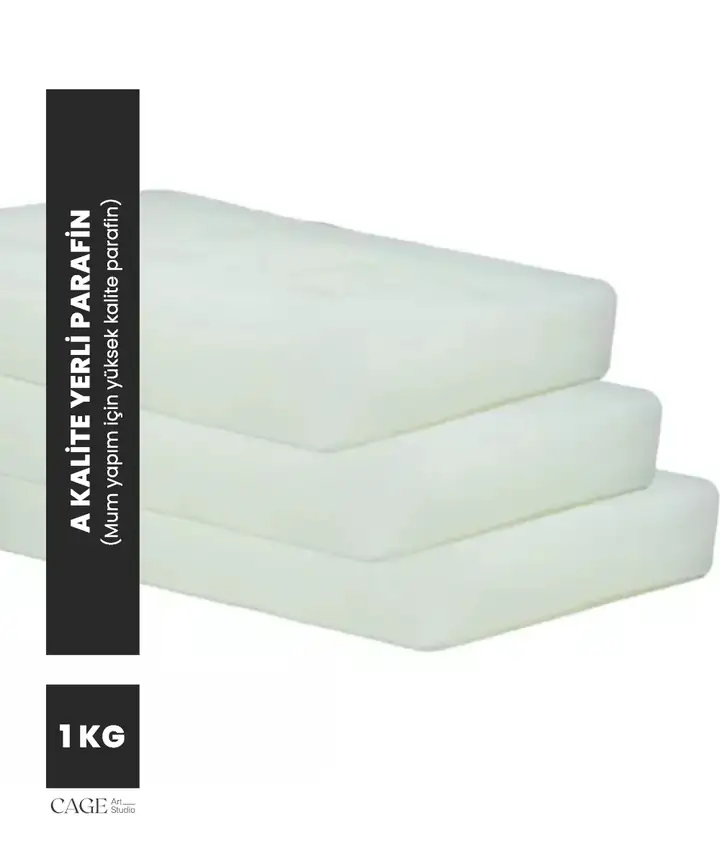 Domestic Paraffin Wax Grade A 1 kgView
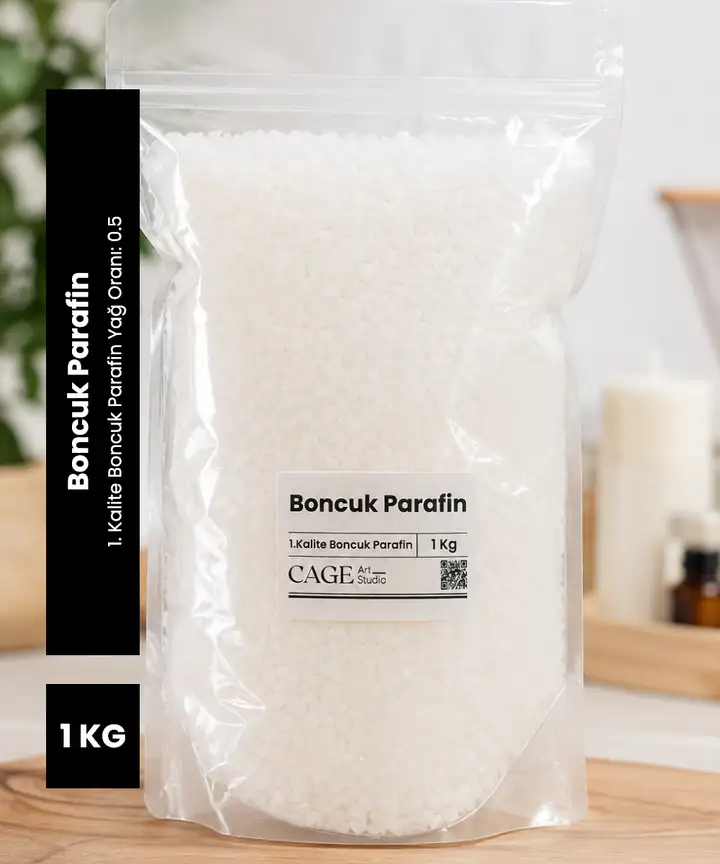 Paraffin Pellets 1 kgView
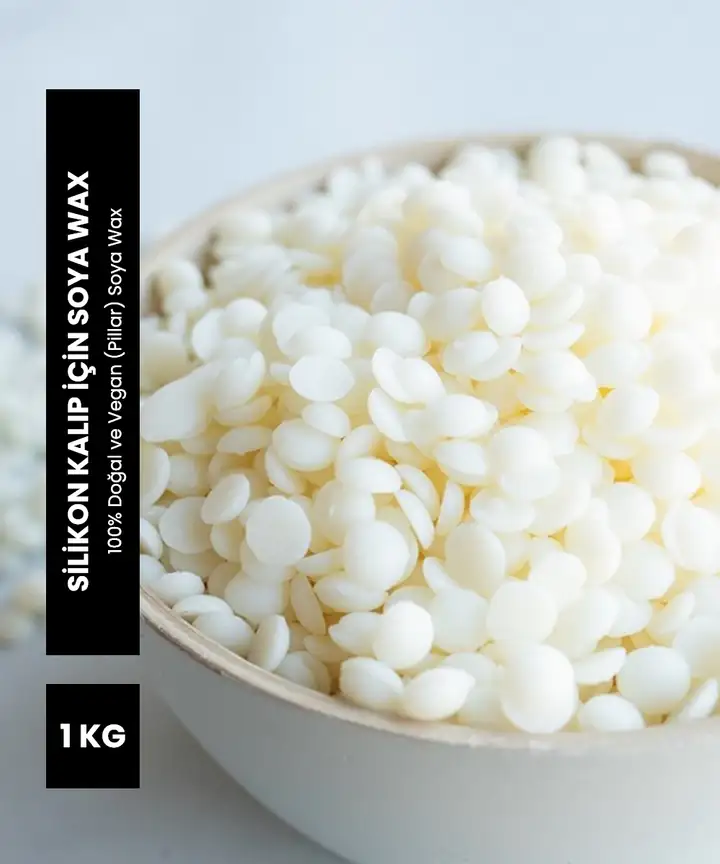 Pillar Soy Wax for Silicone Molds 1 kgView
How do you apply candle polish step by step?
The sequence below turns the drying times and safety notes from the product instructions into a working routine. In your first batch, set one candle aside as a sample and check the result in daylight before you move on to the whole batch.
- 1
Let the candle cool completely
Polish goes on the surface of a candle that is out of the mold and fully hardened. If the candle is still warm or just came out of the mold, let it rest; pressing it with a finger should leave no mark.
- 2
Clean and dry the surface
According to the product instructions, the surface must be clean and dry. If there is a seam line or mold flash, smooth it out first; wipe off dust with a dry, soft cloth.
- 3
Prepare your workspace
Polish is flammable: work in a well-ventilated place away from flames and heat sources. The instructions recommend wearing gloves and a mask while applying it. Don't apply polish next to a burning candle.
- 4
Apply a thin, even coat
Apply the polish to the candle surface in a thin, even layer. Where it goes on thick, you may see buildup and drip marks. Don't put polish on the wick; polish is for the outside surface of the candle.
- 5
Let it dry for 5–6 hours
The drying time in the product instructions for the first coat is 5–6 hours. During this time, keep the candle on a flat surface away from dust and don't touch it.
- 6
Add a second coat if you like, then wait 24 hours
For a deeper shine you can apply a second coat. Full drying takes 24 hours; packaging, gift prep and burning should wait until the end of that time.
Candle polish is flammable. Keep it away from flames and heat sources and use it in a well-ventilated area. Store it in a cool, dry place out of reach of children and pets.
How long does candle polish take to dry?
According to the product instructions, one coat of polish dries in 5–6 hours and full drying takes 24 hours. A surface that looks dry may still be hardening underneath. That's why waiting the full 24 hours is the safest way before packaging, stacking or burning.
| Stage | Time | What to do in the meantime |
|---|---|---|
| Coat 1 | 5–6 hours | Leave it on a flat surface away from dust; don't touch it. |
| Coat 2 (optional) | 5–6 more hours | Repeat with the same thin coat for a deeper shine. |
| Full drying | 24 hours | After this time is up, you can package, sell or burn the candle. |
For example, if you apply the first coat at 10:00 a.m., you can apply the second coat between 3:00 and 4:00 p.m. at the earliest. Single-coat candles are ready after 10:00 a.m. the next day, and two-coat candles are ready 24 hours after the second coat.
What are the most common candle polish mistakes?
Runs and drip marks
Dull or blotchy look
Fingerprints and tackiness
Polish on the wick
What can you use instead of candle polish?
We don't recommend coatings that aren't made for candles, such as varnish, nail polish, hairspray or furniture polish. How flammable these products are and how they behave on a candle surface is unknown, and what they would do near a burning candle can't be predicted. Any final coat you use should be a product made for candles that comes with instructions.
You can also get a glossy paraffin surface without polish. According to CandleScience's notes on paraffin pillar wax, pours made at 77–82 °C gave a glossy surface, while pours below 77 °C showed streaks and dull patches. For pouring temperatures, see the candle pouring temperature chart.
Random coatings
How varnish, nail polish or spray behaves on a candle is unknown; they carry a fire risk.
Candle polish or the right pour
Apply candle polish following its instructions, or get the shine from the right pouring temperature and a clean mold.
Residue on the mold surface transfers to the candle surface too. Cleaning the mold before every pour directly helps the shine; for the method, see our post on how to clean silicone molds.
What look do you get with polish on colored candles?
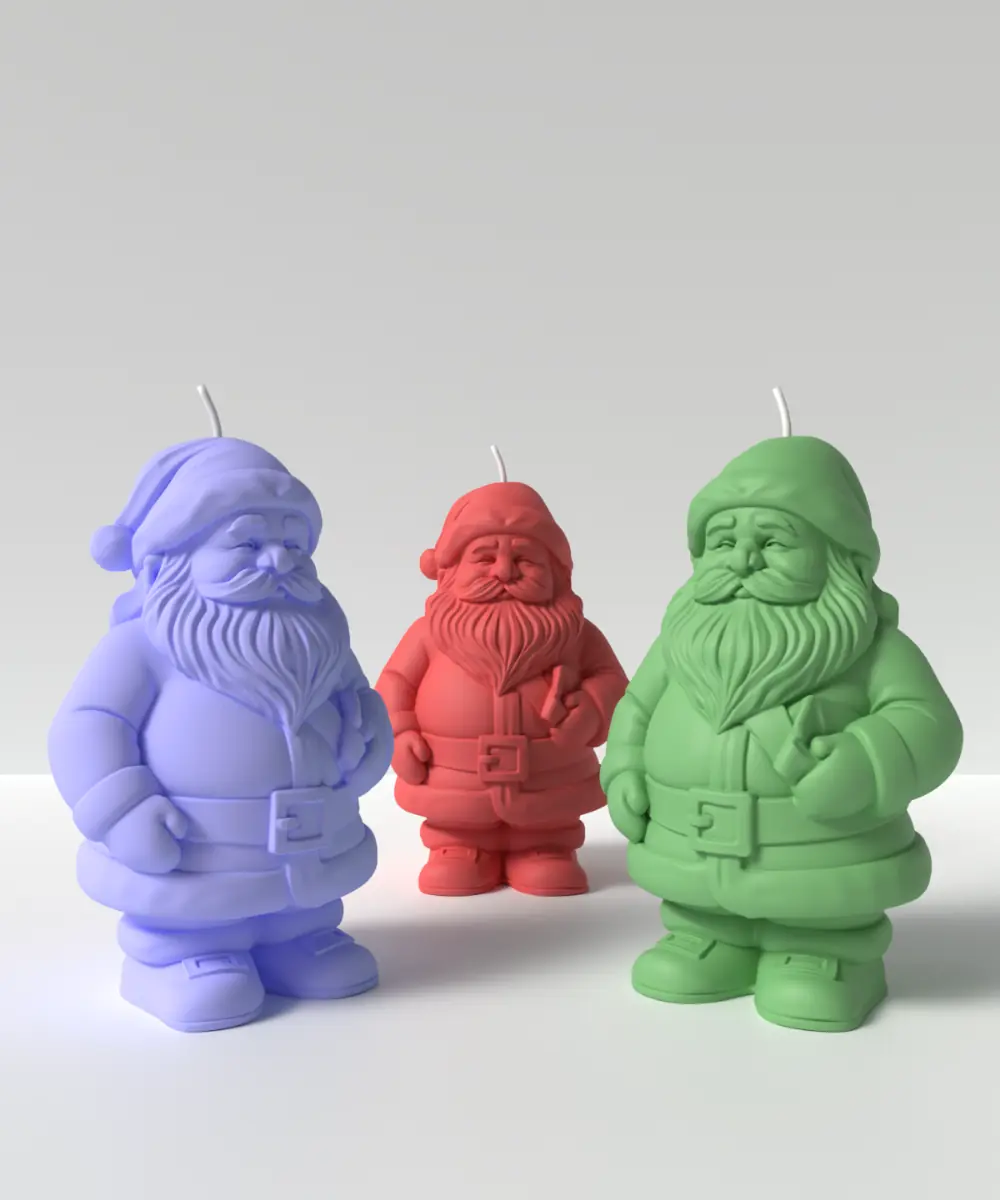
According to the product description, when the polish is used with Cage Art Studio candle supplies and colored coating waxes, it gives a glossy, jelly-like surface. This effect is especially noticeable on brightly colored paraffin figures. Get the color right first and apply the polish last.
We cover how to use granule dye to build color in the how to use candle dye guide. Yellowing that develops over time on white and light-colored candles can't be reversed with polish; for the causes, see the why candles turn yellow post.
Frequently asked questions
How do you use candle polish?
Apply a thin, even coat to the clean, dry surface of a fully cooled candle and let it dry for 5–6 hours. Add a second coat if you like. Full drying takes 24 hours. Work in a ventilated space, wearing gloves and a mask.
How long does candle polish take to dry?
According to the product instructions, one coat dries in 5–6 hours and full drying takes 24 hours. In cold, humid conditions this time can run longer; instead of checking by touch, wait the full 24 hours.
Can you use candle polish on soy wax candles?
Our candle polish gives the best results on paraffin candles. According to the product description it may not be suitable for soy wax; always test it on a small area or a single sample before using it on soy candles.
What can you use instead of candle polish?
We don't recommend varnish, nail polish or spray coatings that aren't made for candles; their flammability and compatibility with wax are unknown. If you want shine without polish, pouring the paraffin at the right temperature and keeping the mold clean is the safest way.
Can you burn a candle that has been polished?
Polish is a flammable product; don't burn the candle before the full 24-hour drying time is up. Don't put polish on the wick, and always keep a burning candle under supervision.
How many coats of polish should you apply?
One coat is enough for most decorative candles. For a deeper shine the product instructions recommend a second coat; wait 5–6 hours between coats.
Choose the right supplies for your project
Compare the product descriptions and instructions, then get your test pour ready.